Hello sweeties,
I am very excited to present this tutorial since the person who wrote it has become a good friend over the years (and over the Internet, lol). Eleanna aka Zdrop is a warm person with many talents! She is an architect with a great eye for photography, she makes amazing jewelry and sock monsters and sells them in her etsy shop, she writes the BEST PHOTOGRAPHED and detailed tutorials for crafttuts+ and savoirville AND she is currently a speaker at the upcoming WorldofCrafters in Greece. WOW!!!!
Where does she find the time?
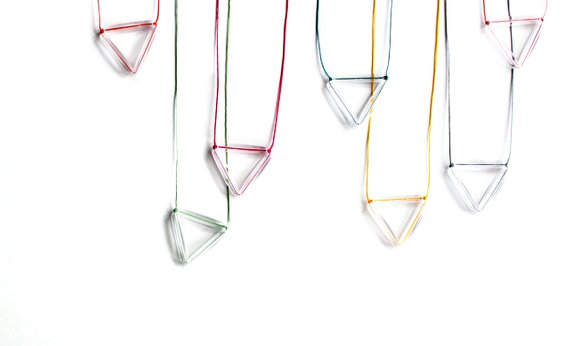
Eleanna uses polymer clay and other cool materials for her creations .
Inspired by her profession her networks series is made of minimal tubes and threads, using transparency as a fun game.
I asked her what she loves best and she said
-
colors
-
design in all scales
-
diagrams
-
the sea
-
abandoned industrial places
-
dancing
-
working late at night
-
chocolate [slurp]
but really dislikes
-
Ruined pavement tiles that splash you unexpectedly [yuck]
-
when it gets dark early and I have woken up late
-
stuffed buses
-
injustice
-
carrying too many stuff [ which I often do somehow]
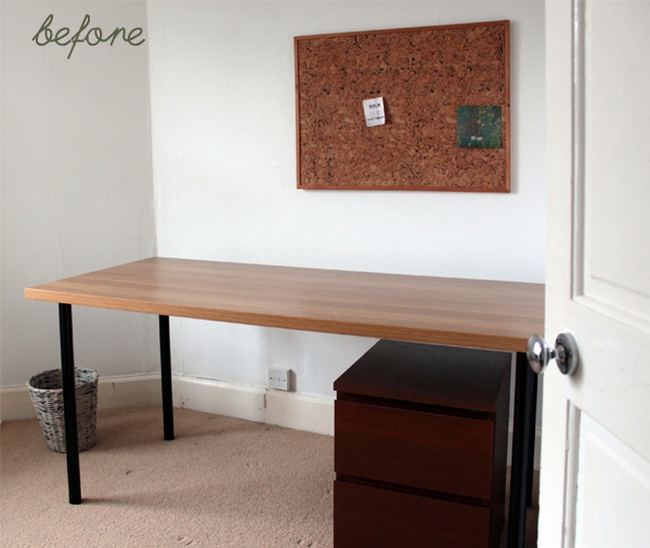
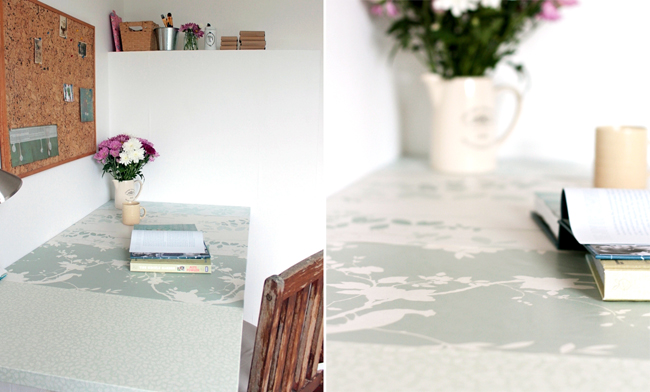
In sinc with her love for design and color, Eleanna transformed this boring table
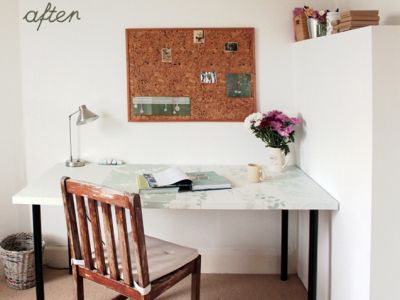
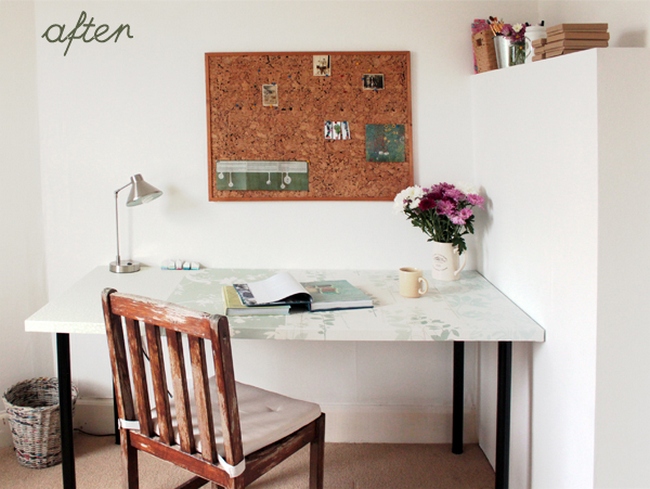
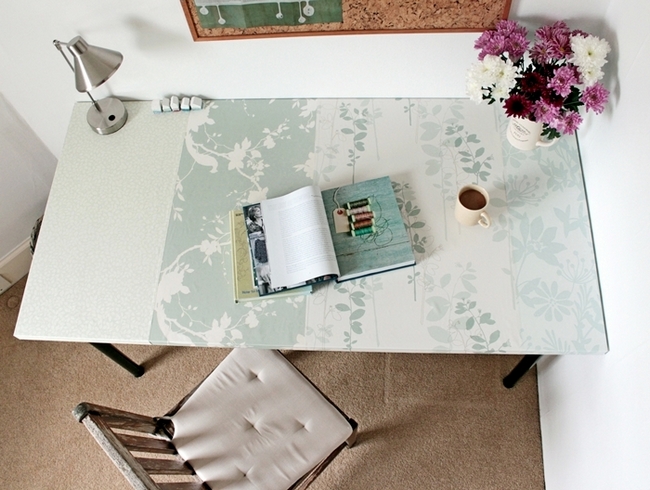
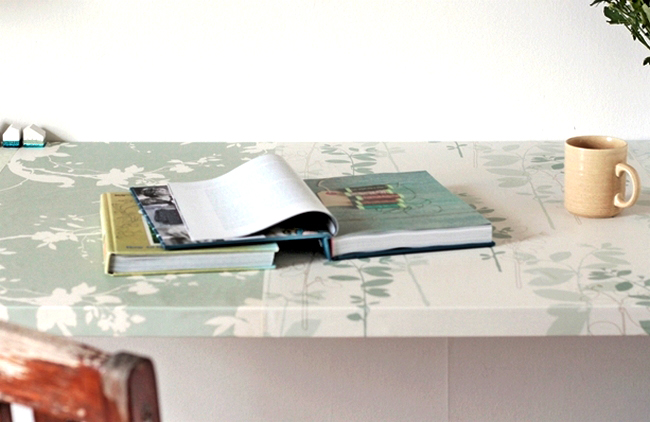
to this awesome piece of furniture!
Wanna know how? Well here it is:
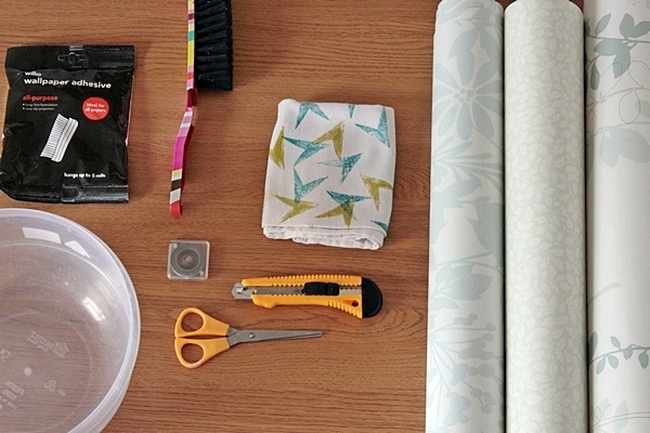
You are going to need a boring table (obviously), waterproof wallpaper, scissors, wallpaper glue, a precision blade,a bawl, a brush, a ruler and a piece of fabric.
For an even more interesting and playful result you can use wallpaper samples in different designs. You have to make sure they are a good fit, meaning they have the same references in their designs and fitting colors. You might also considering colors that are easy to the eye.
First you have to measure the table’s width [1].
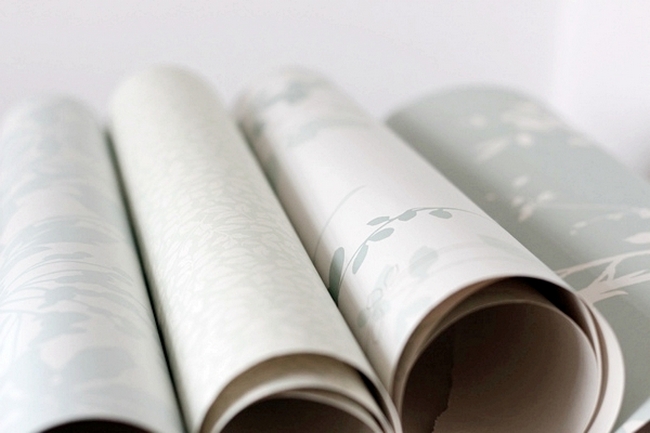
Tip: Before you start, roll the wallpaper in the opposite direction so they will not roll back in [2].
Now cut the wallpaper into pieces [3]. Make sure that each piece equals the table’s width plus 2 times its thickness plus 4cm more. That is in order to cover the upside, the sides and to be able to fold underneath.
As soon as you cut all the pieces (3-4 depending on your desk), put them on the table and decide the order in which you are going to arrange them by [4].
Make sure the desk is clean and dust free. Turn the first piece of wallpaper to its back and put the glue with the brush [5]. Turn it around and glue it to the table. If you glue it crooked you do have some time to re do it since the glue doesn't dry all that fast. With the piece of fabric press the wallpaper in order for it to say put and take all air bubbles out [6].
As soon as it glues ok fold the wallpaper and glue it in the sides and underneath [7]. Continue to the next piece and take good care of the joining parts [8].
The corners might be the trickier part of this project. First straighten the wallpaper and fold it in the corner in a diagonal point [1]. Fold it in the side holding it straight [2]. If there is a lot of extra wallpaper you have to cut it if needed. Fold it underneat, add some glue and hold it place until it glues [3]. Finally, fold it underneath to the other side [4]. Looking from below it will look like this. That wasn't so hard, was it?
Your renovated desk is ready for your reading, writing, serfing and new creations!
Ok how awesome was that? Didn't I tell you she makes the most gorgeous tutorials?
Drop by Zdrop (lol) for many amazing creations and like her facebook page for news and updates.
Thank you Eleanna for this amazing tutorial and for sharing a little more about yourself!

