Hello sweeties
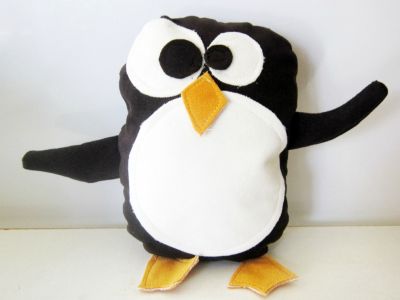
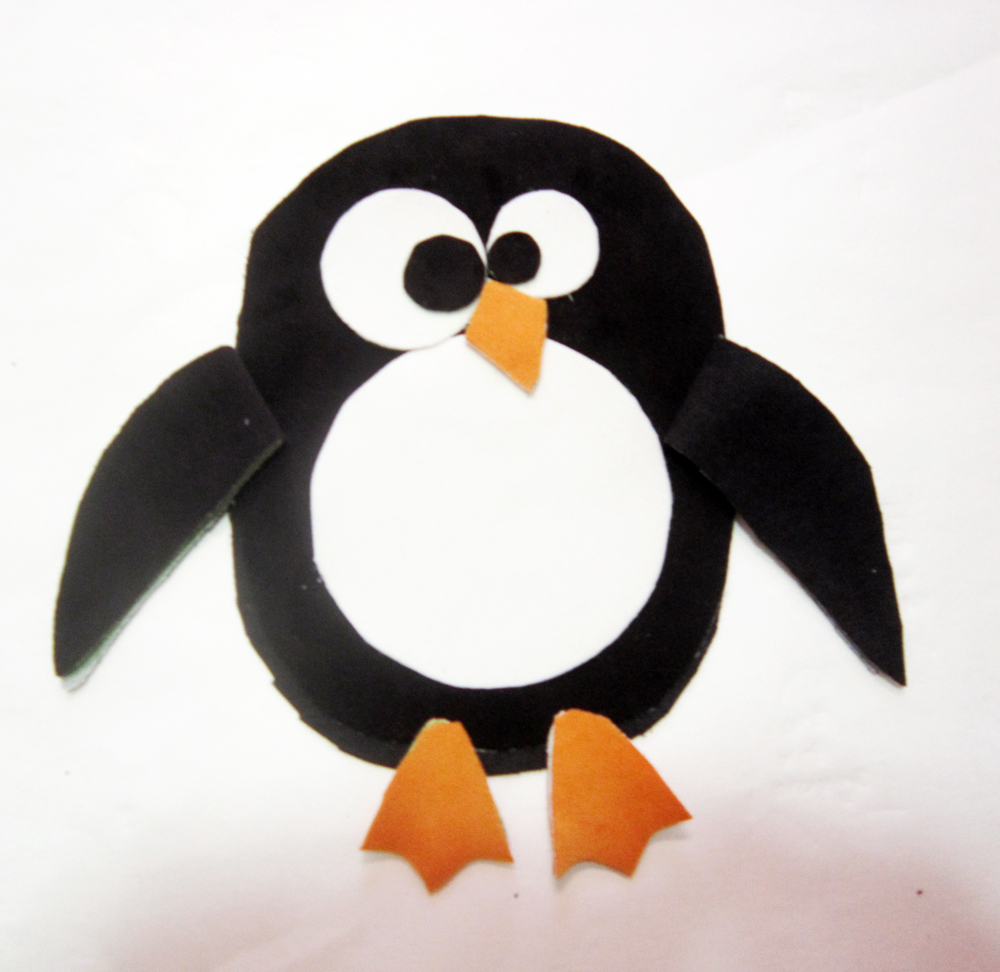
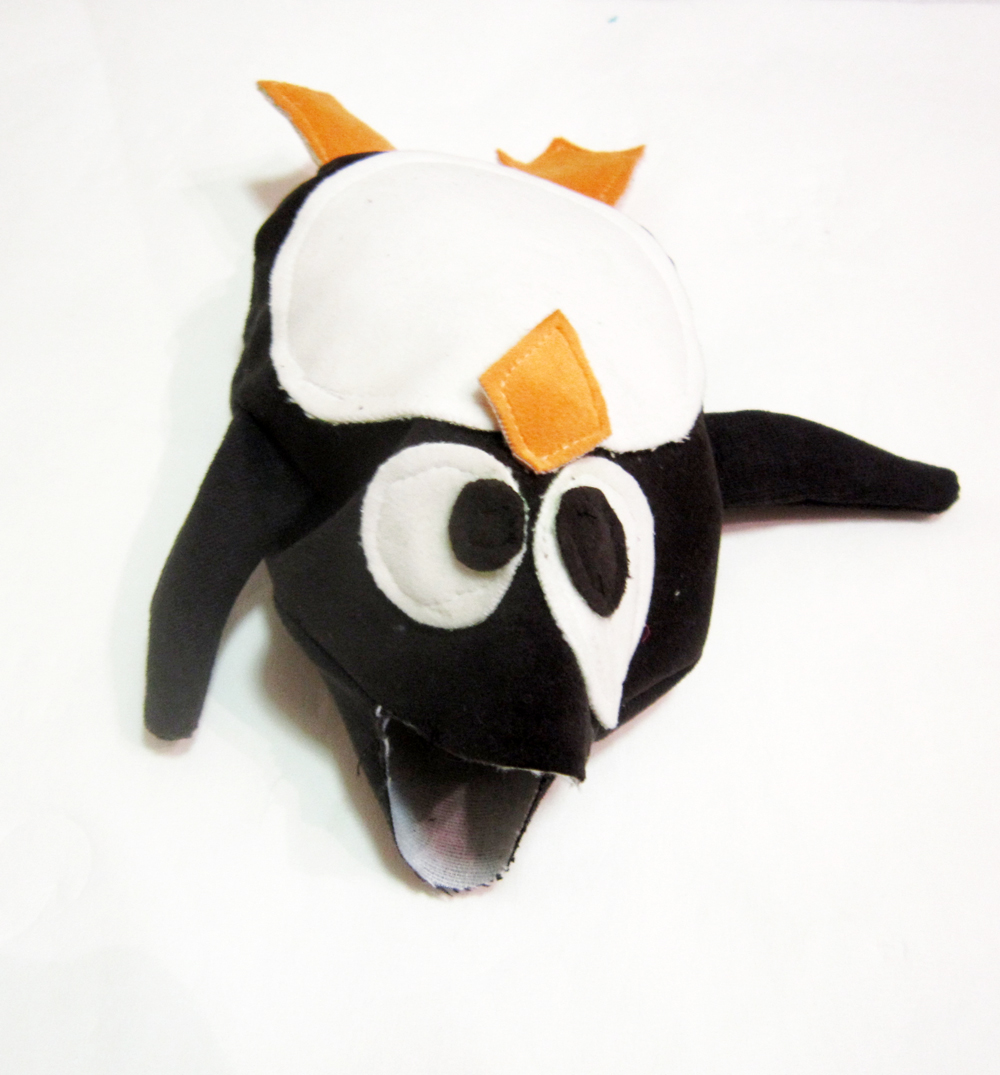
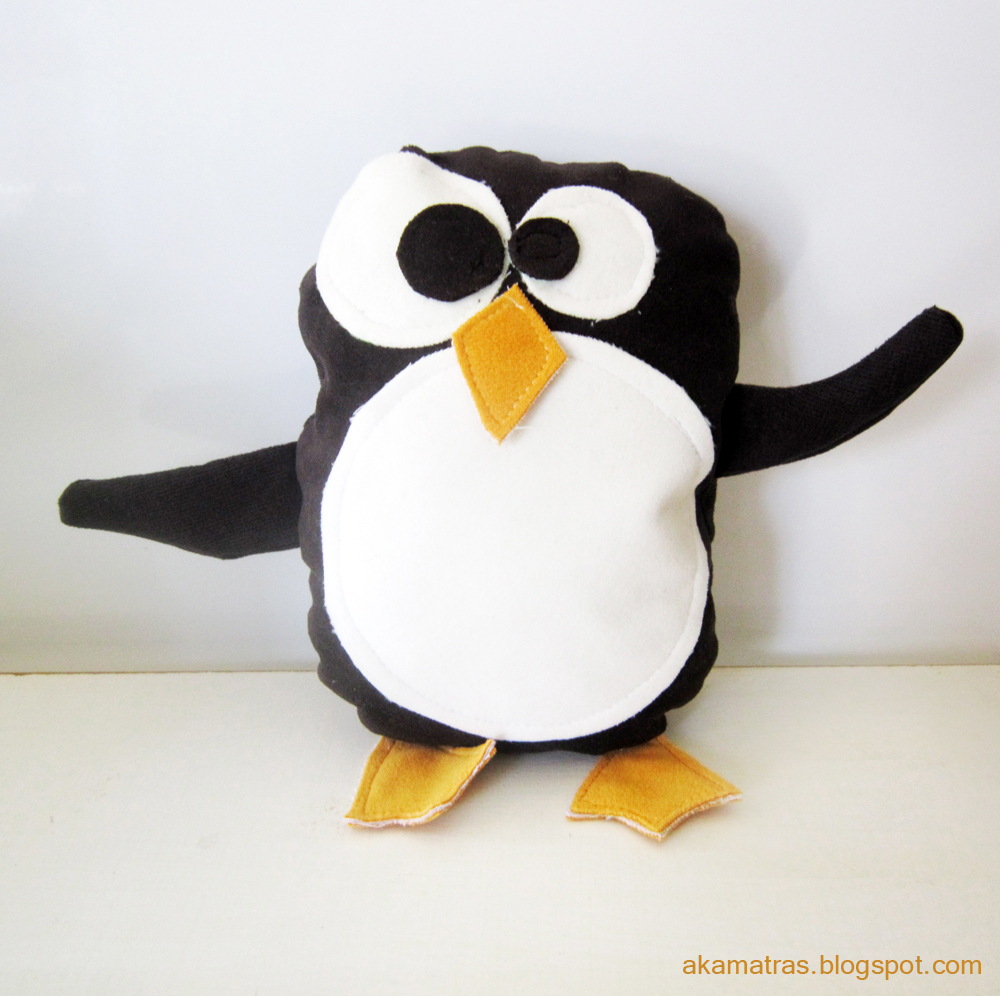
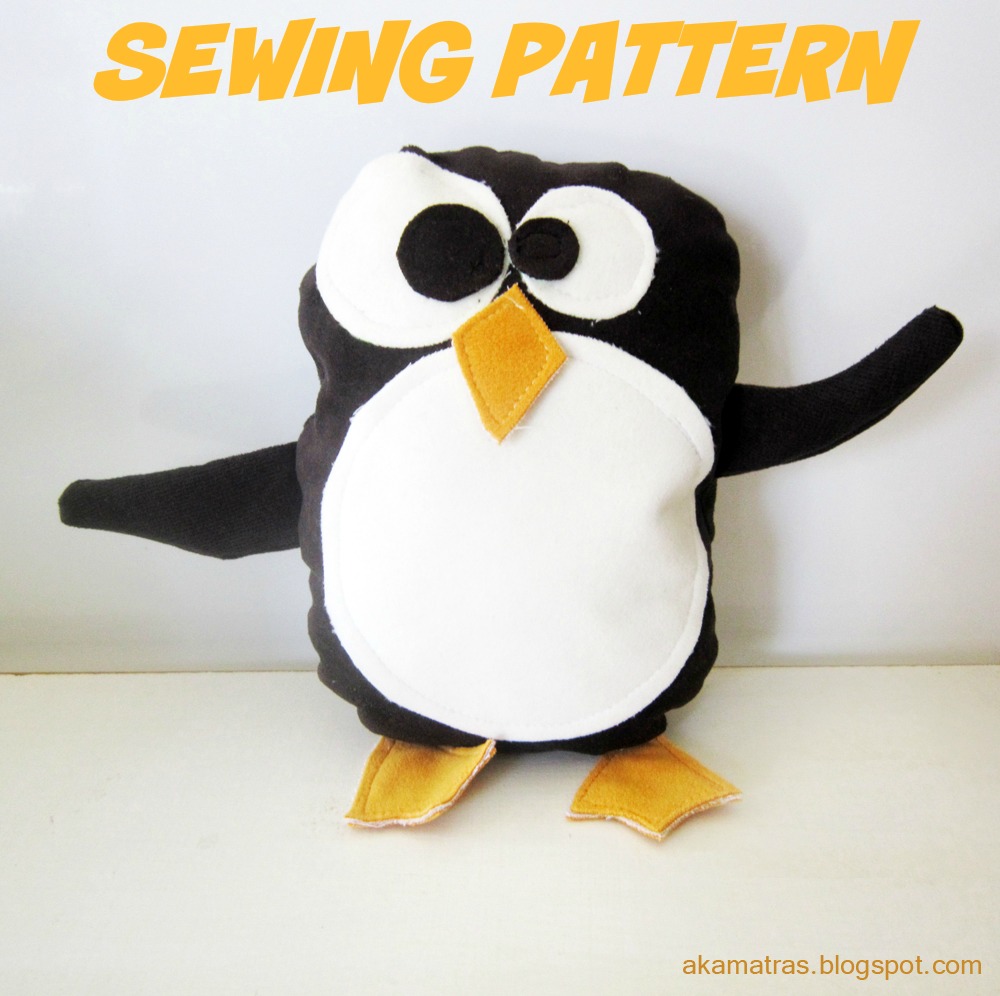
Since my hubby has a somewhat relentless love about stuffed animals a while back I decided to surprise him by making him a stuffed penguin. It was a massive hit!!! He loved so much he kept making it talk like happy feet and tickle me with it every day. We still have laughs with Mr. Penguin!
It was really easy to make Mr. Penguin and I was able to take some photos while doing it (although it was late and the light is artificial, so pardon me if they seem a bit dark) so here is an outline of the procedure in case you need to make one!
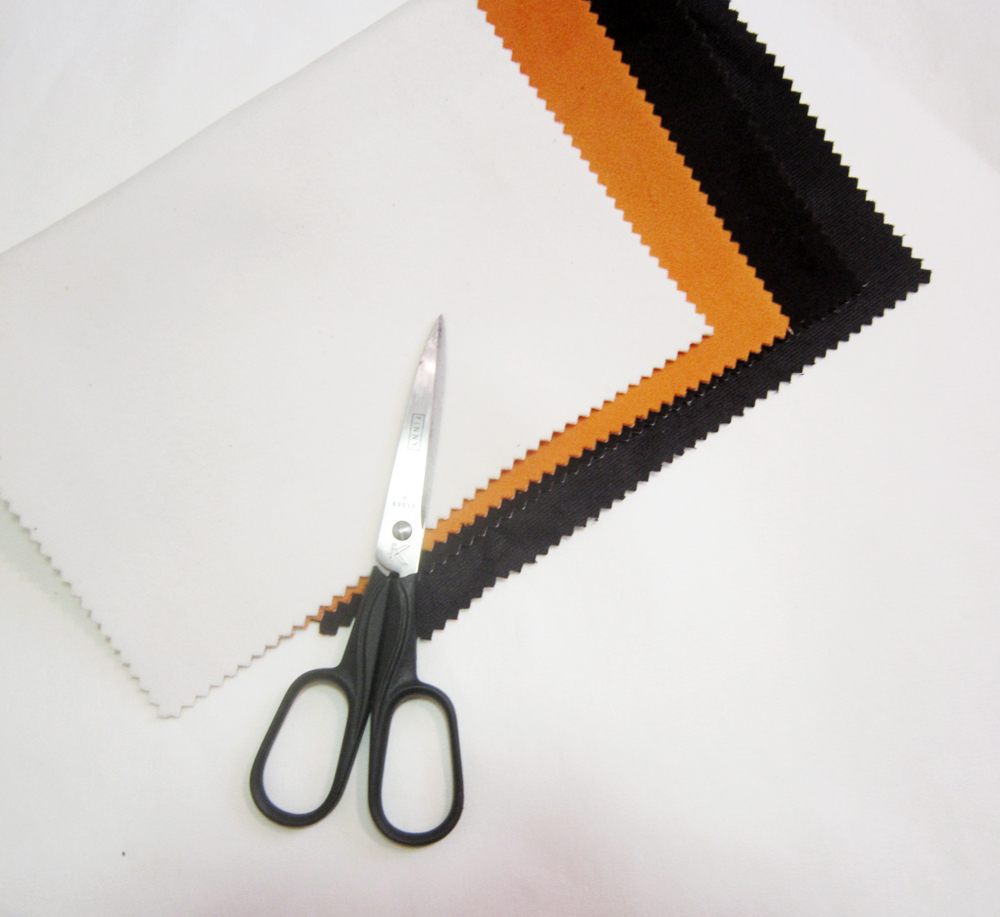
Felt, artificial velour or corduroy in black, white and orange
Scissors
Sewing machine and/or needle and thread
Stuffing material
For Mr Penguin’s exterior I used some samples of soft artificial velour I had lying around but you can use felt or corduroy too.
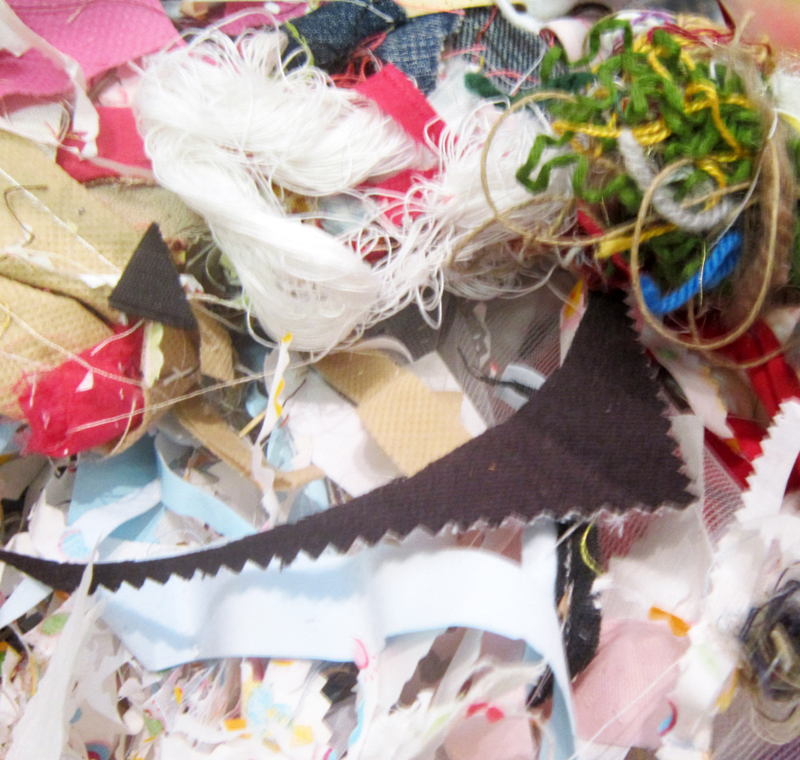
For the interior of Mr. Penguin’s body I used my stash of fabric and threads scraps. I decided long ago to keep all the small scraps of fabric and all the trimmings of thread from my crochet and sewing to use them as fillers for my stuffed animals. I have a large bag of it. It is actually a good filling medium since I don’t like artificial ones and I trust my cotton threads and fabrics more. Plus it is great recycling too!
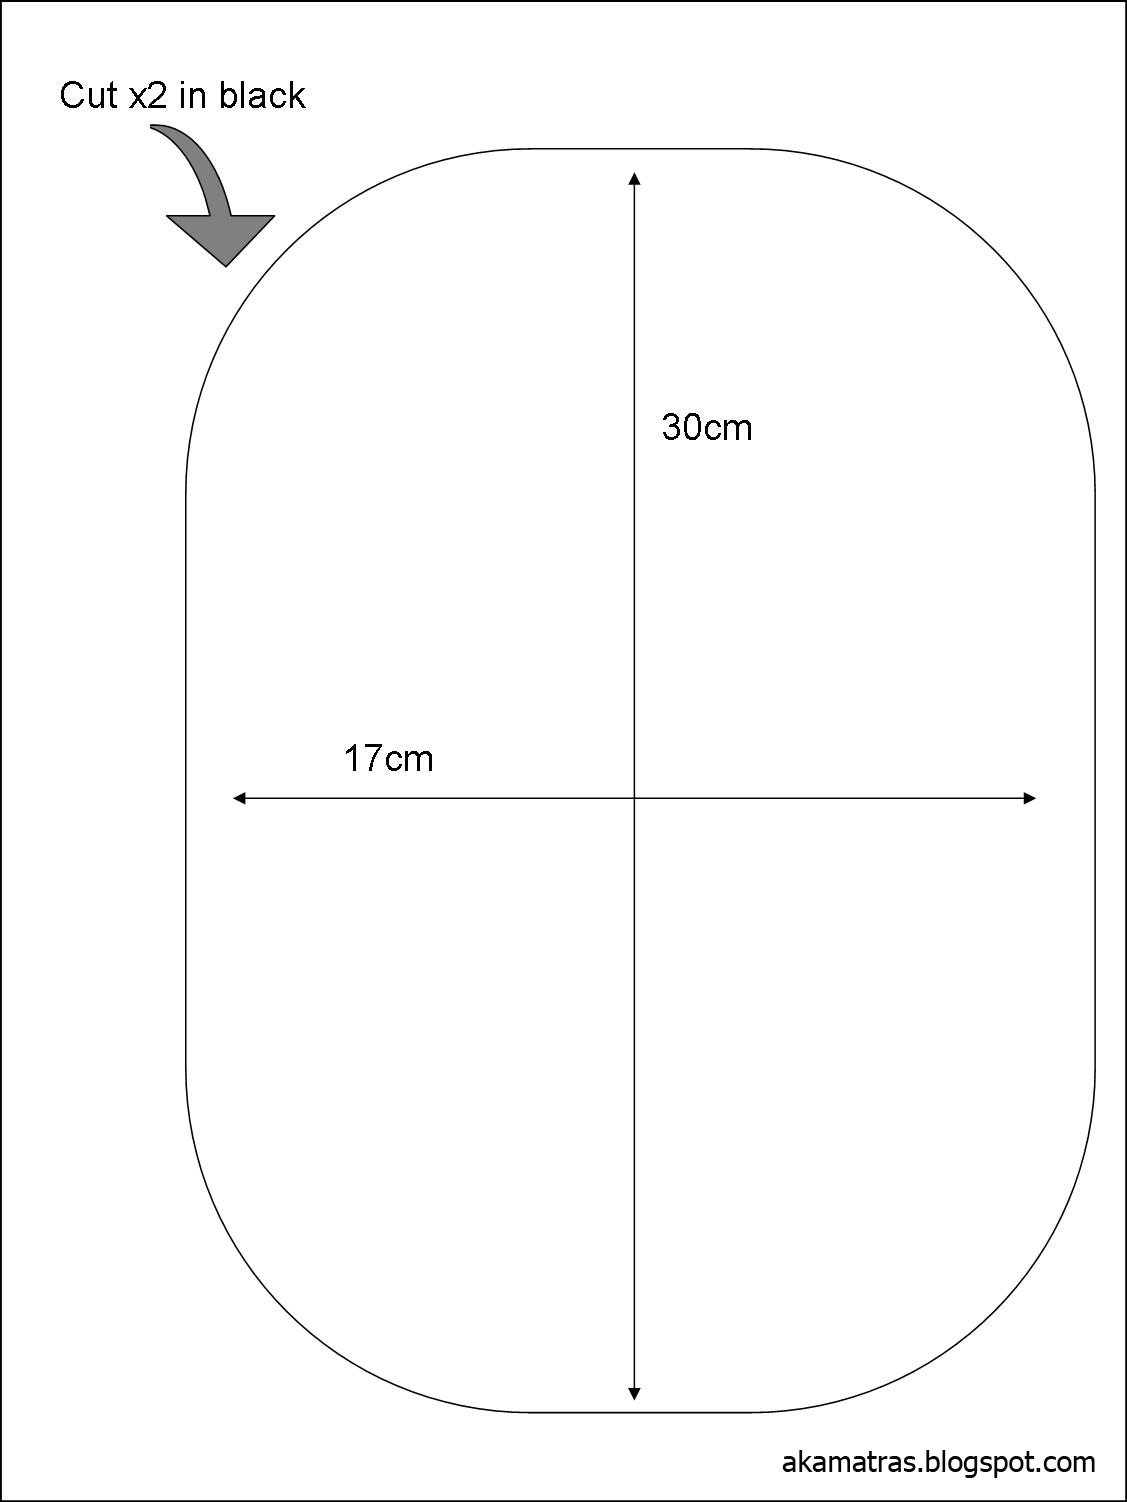
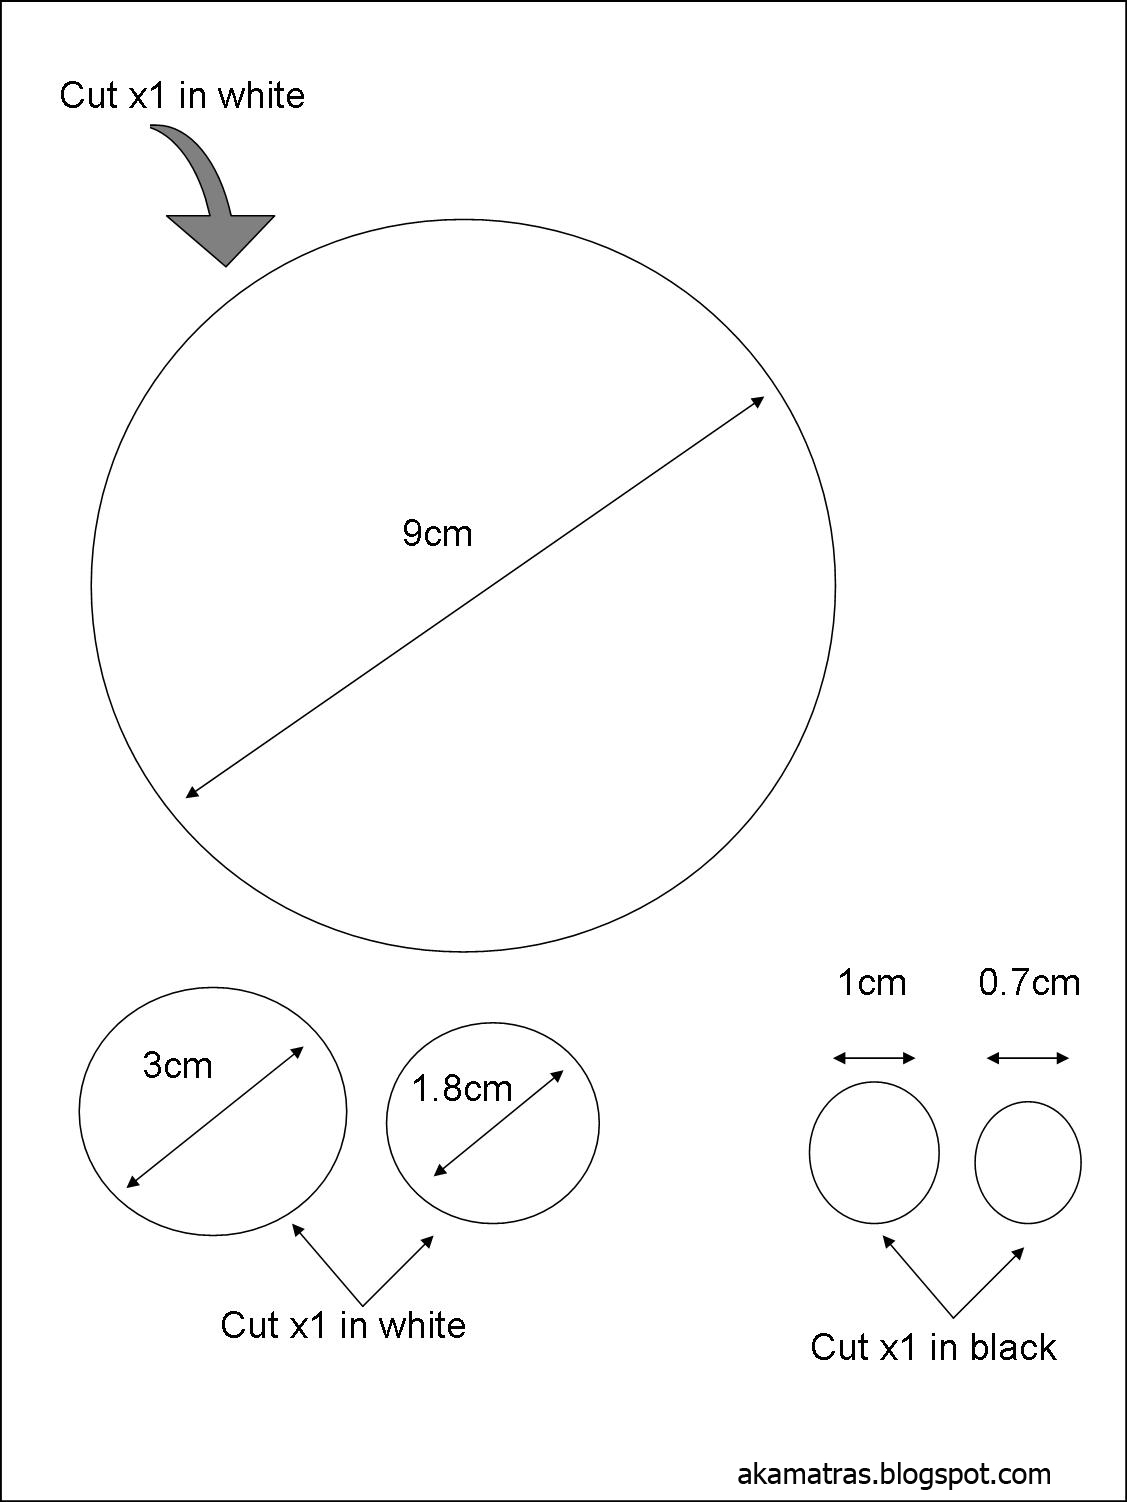
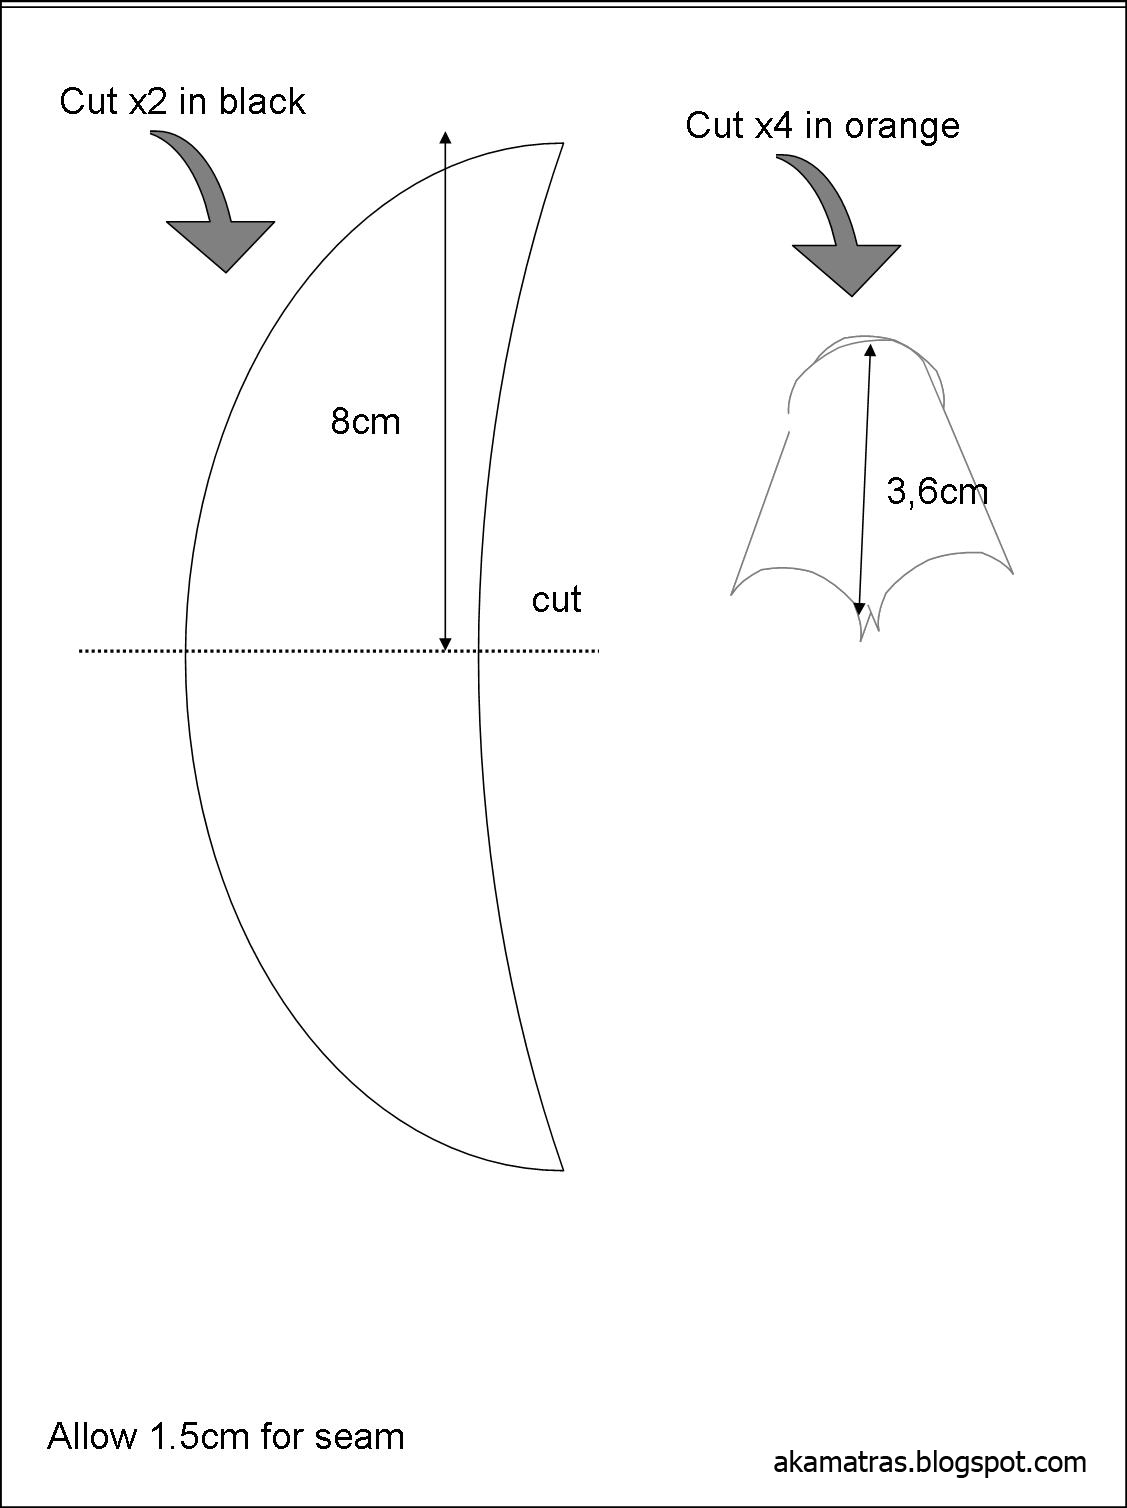
I never use a pattern when I made my stuffed animals but I did make one later on for the purposes of this tutorial. This is my first effort for a digitized pattern so please forgive any glitches! Please allow 1.5cm seam allowance where I mention it since the pattern does not include it.
You can download the pattern in a pdf form from here.
Cut your fabric according to the instructions on the pattern.
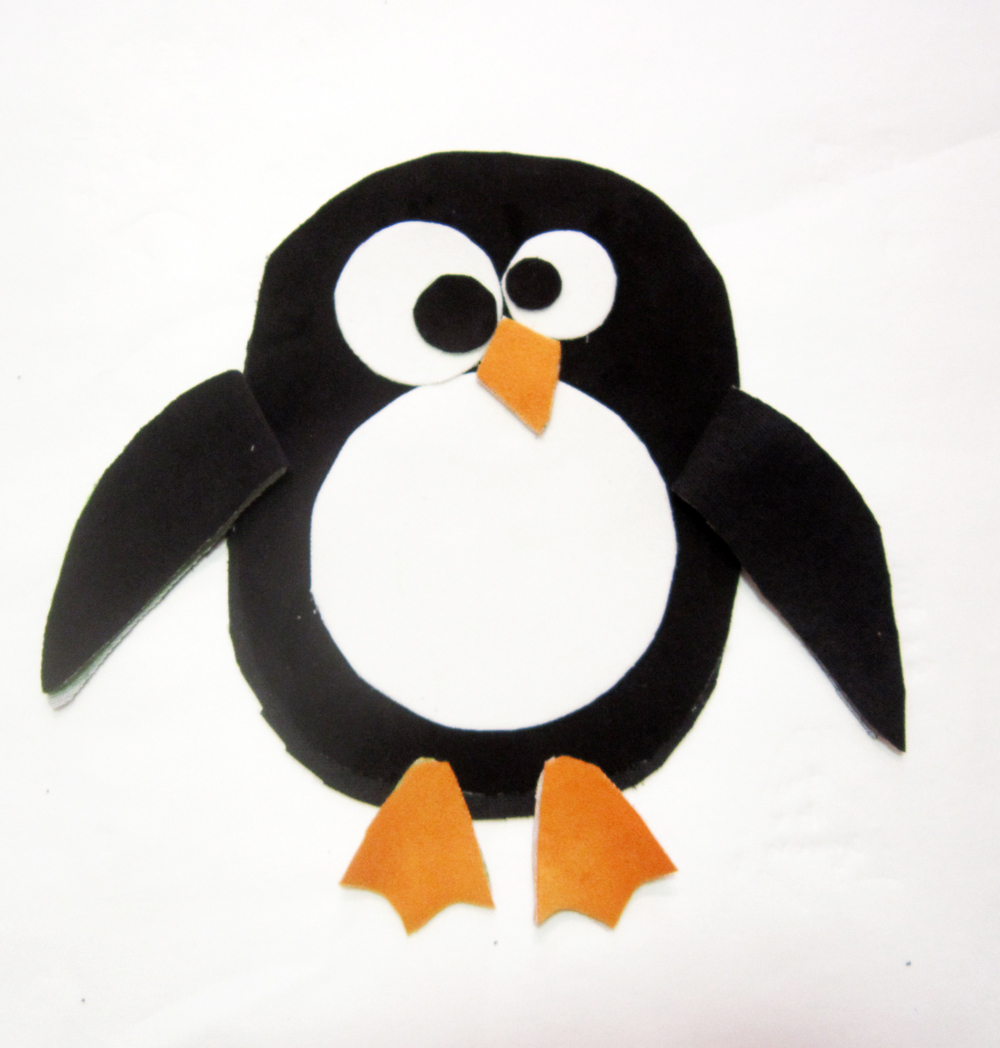
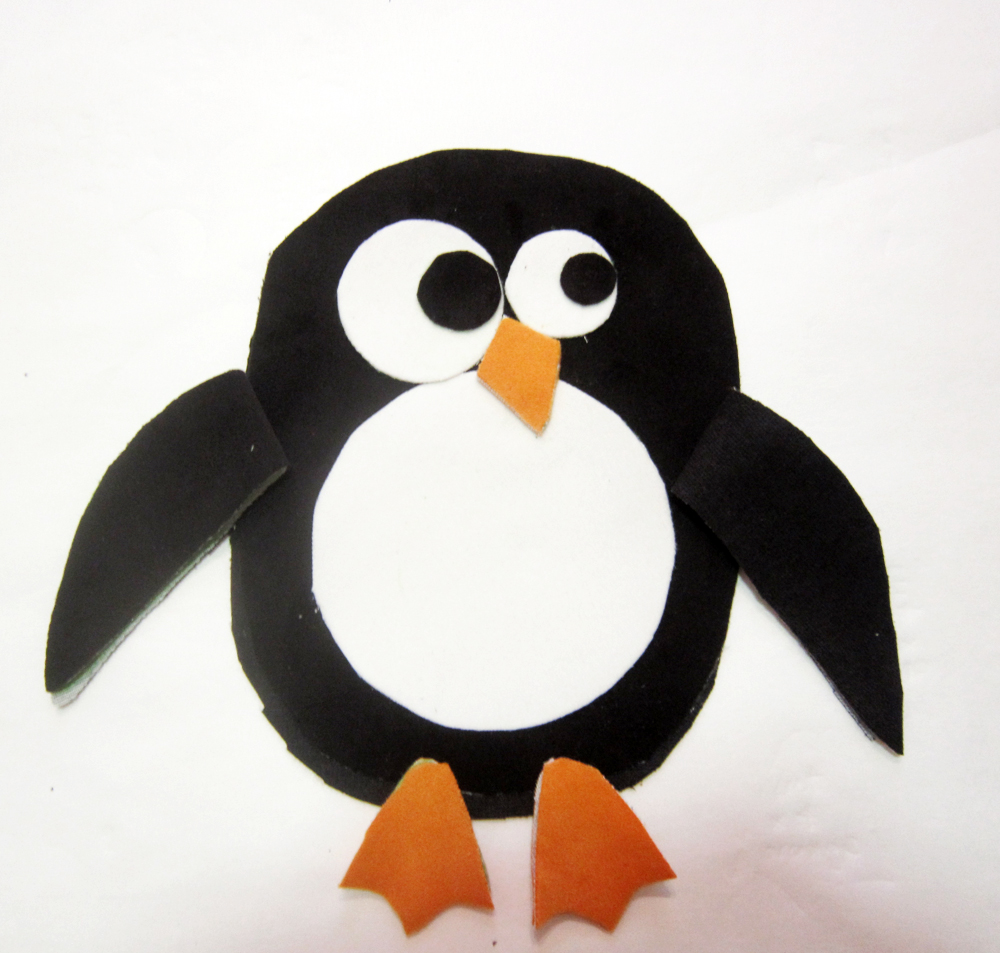
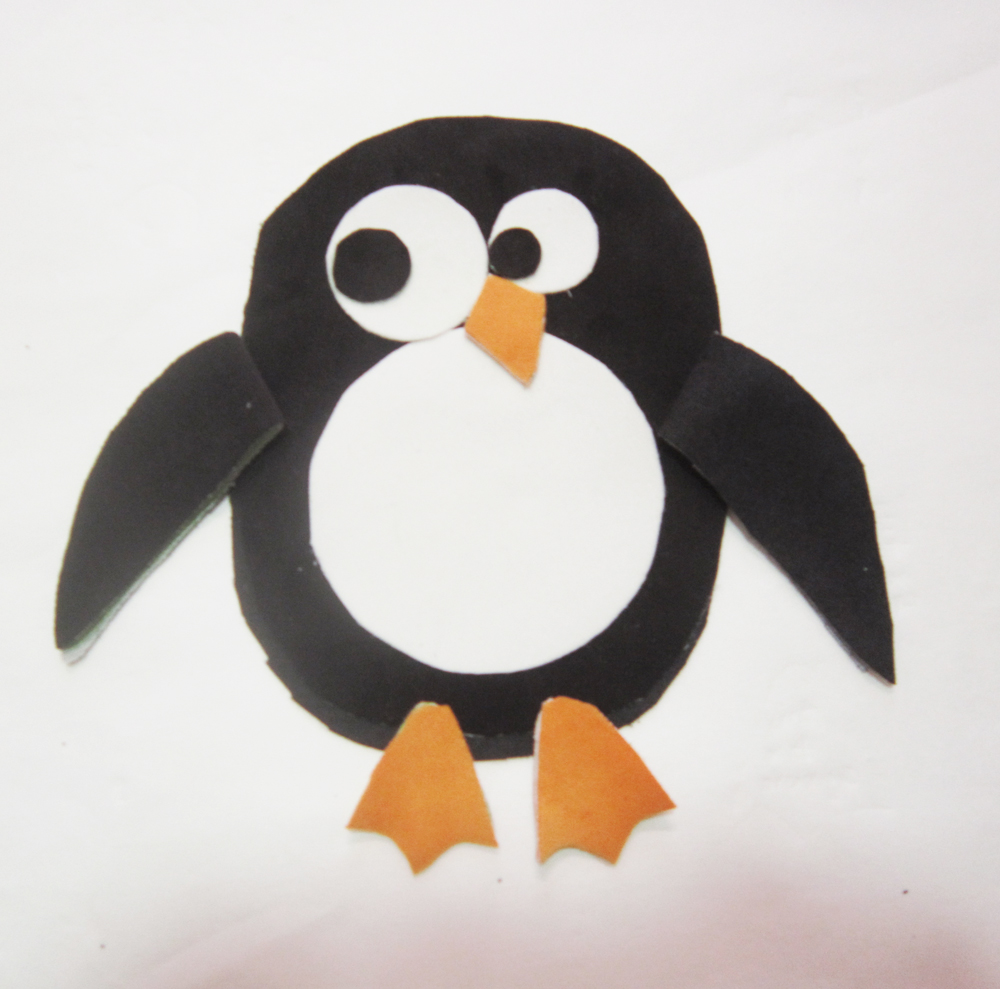
Lay your pieces and pin them appropriately. I actually played around a lot with Mr. Penguin’s eyes! I wanted to give him a goofy expression and I ended up liking his crossed eyes better, lol!
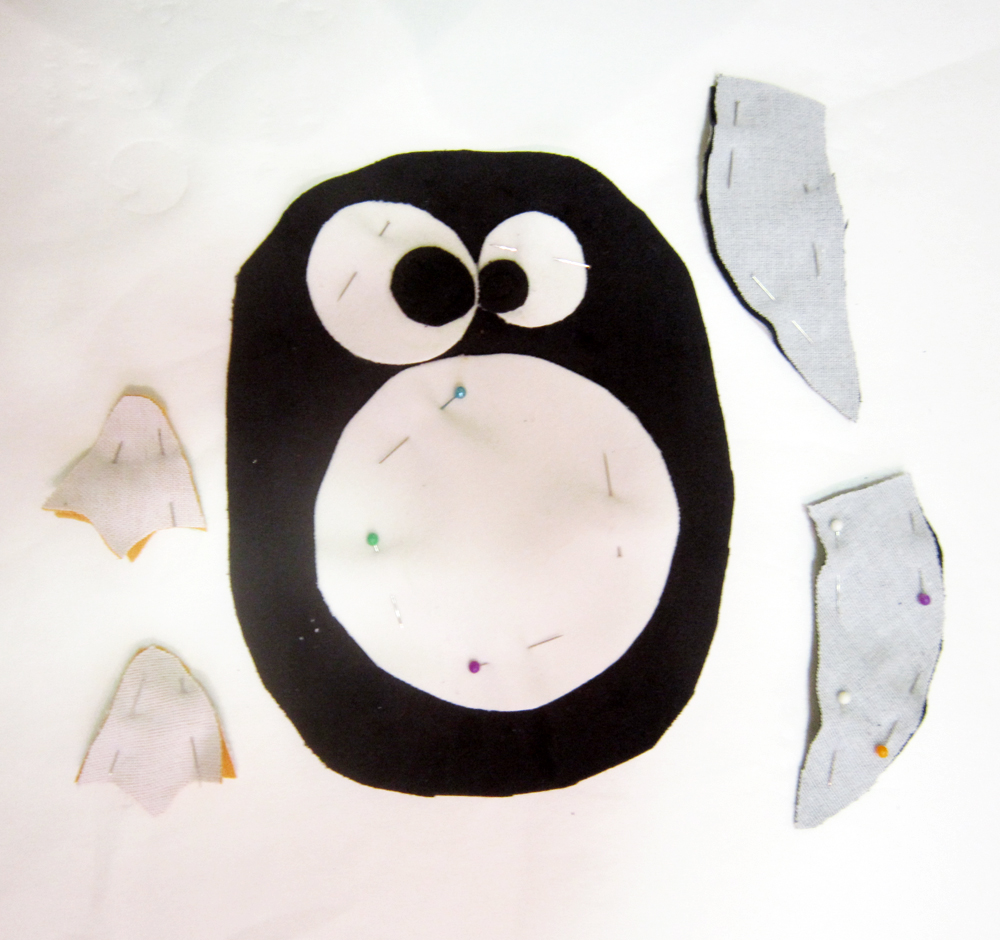
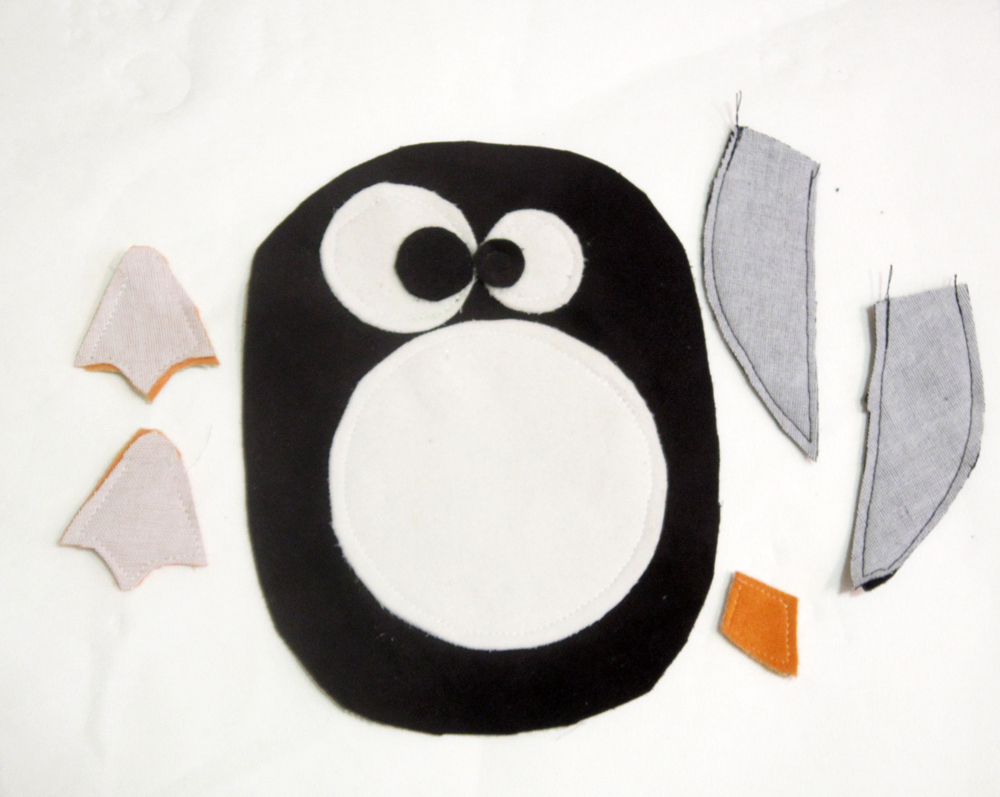
First take one of the large body pieces of black fabric and pin the white belly, the white round of the eye and then the black irises. Sew them in place with your sewing machine.
Then pair the nose and the feet pieces (back sides facing) and sew them with a 0.5cm seam. These pieces are too small to sew inside out and flip so make sure your seam is as good as you can.
Sew the nose in place.
Pair the hands (good sides facing) and sew them leaving enough of the back of the feet not sewn to turn them to their good side. Turn them inside out and fill them with filling material.
Now it’s time to sew the body.
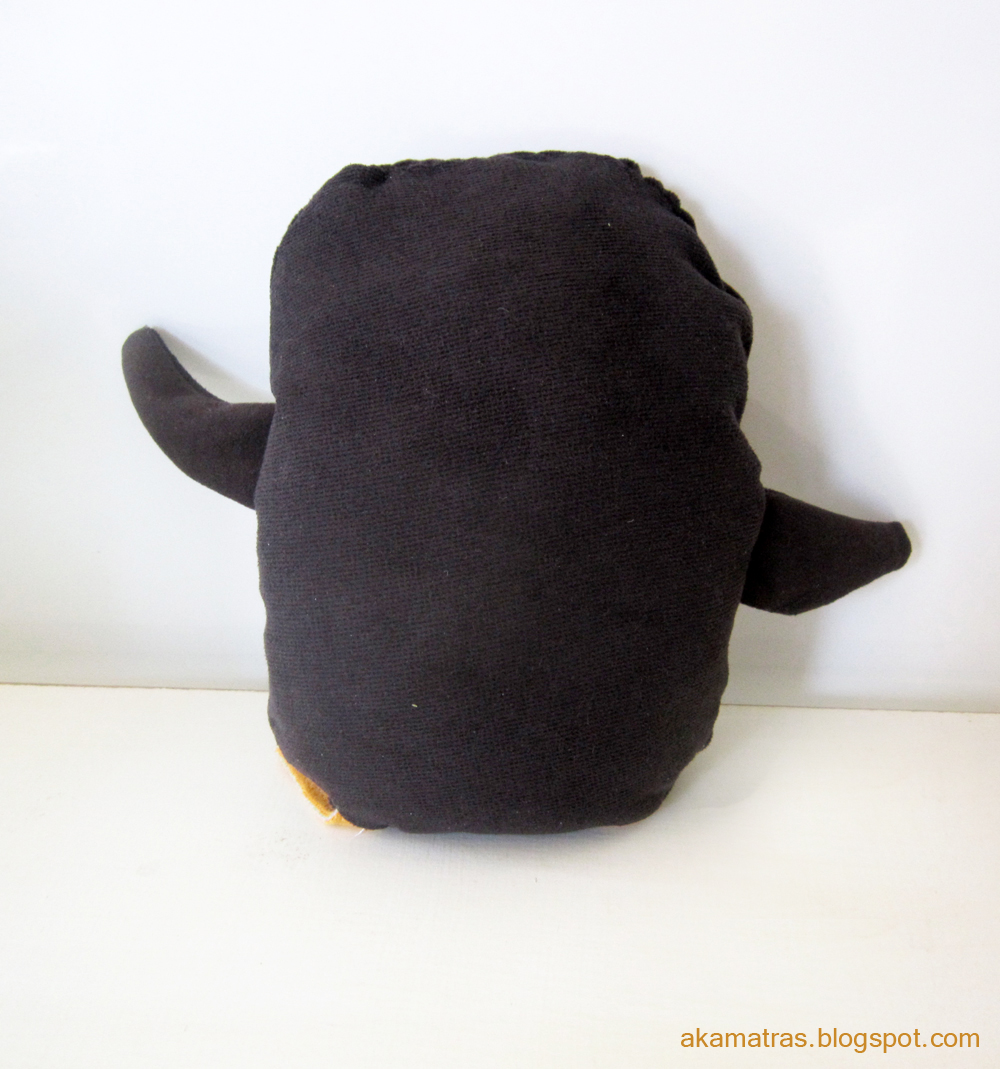
Take the black piece of the body that will become Mr. Penguin’s back (meaning the black piece of fabric that you didn’t sew the belly and the eyes) and lay with its wrong side facing you. Place the hands and pin them in place. Then place and pin the feet.
Take the front of Mr. Penguin and pair it with its back (good sides facing) and sew with your sewing machine.
You want to leave an opening between the feet in order to flip it inside out when you are done. I forgot about it until I reached the head that’s why I used that side to fill Mr. Penguin. Don’t do that, if you want your hand sewing not shown so much in your new friend’s head!
Flip it inside out and then fill it with your filling material.
Then sew the opening by hand.
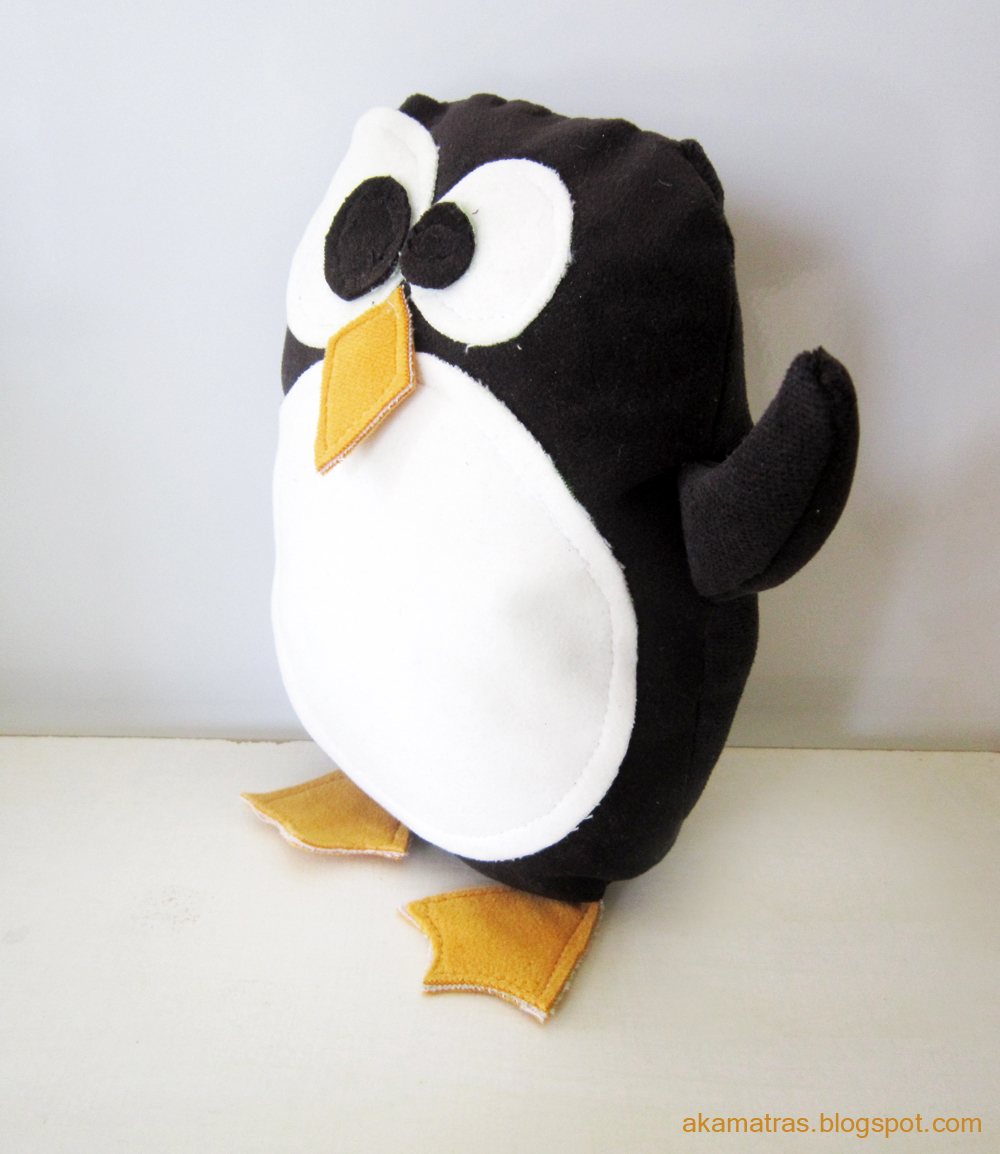
You are done!
Mr. Penguin is ready to dance!!!
I hope you’ll find this tutorial useful. Please note that the pattern given here is somewhat approximate. I would urge you to use it as a rough guide and make any adjustments you seem fit.
This pattern is free for every use you want (I actually hate it when I find a pattern online and there are so many restrictions on it it’s not even funny) so give it a try! Just don’t pass it on as your own please. It did take me the better part of a week to make this post, so please show a bit of respect ;)

