Hello sweeties
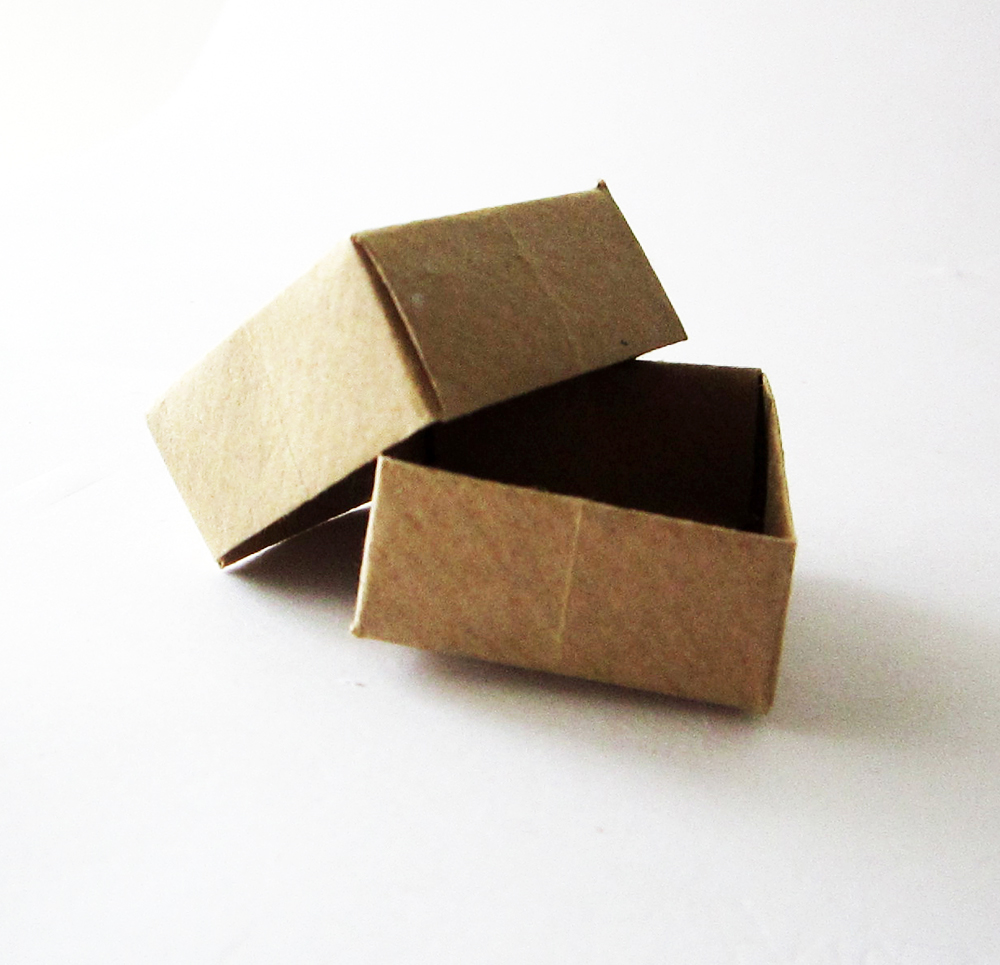
when I first started my etsy shop while researching about the wraping I stubled upon a tutorial for (almost) origamy boxes. I was fascinated and started making my handmade boxes for my shop.
They were quite a hit in the couple of craft fairs I participated and the off site sales I made but after sending out the first couple of them by mail I decided against them. I was making them from recycled light paper and they could not withstand the awful way the mail was treating them.
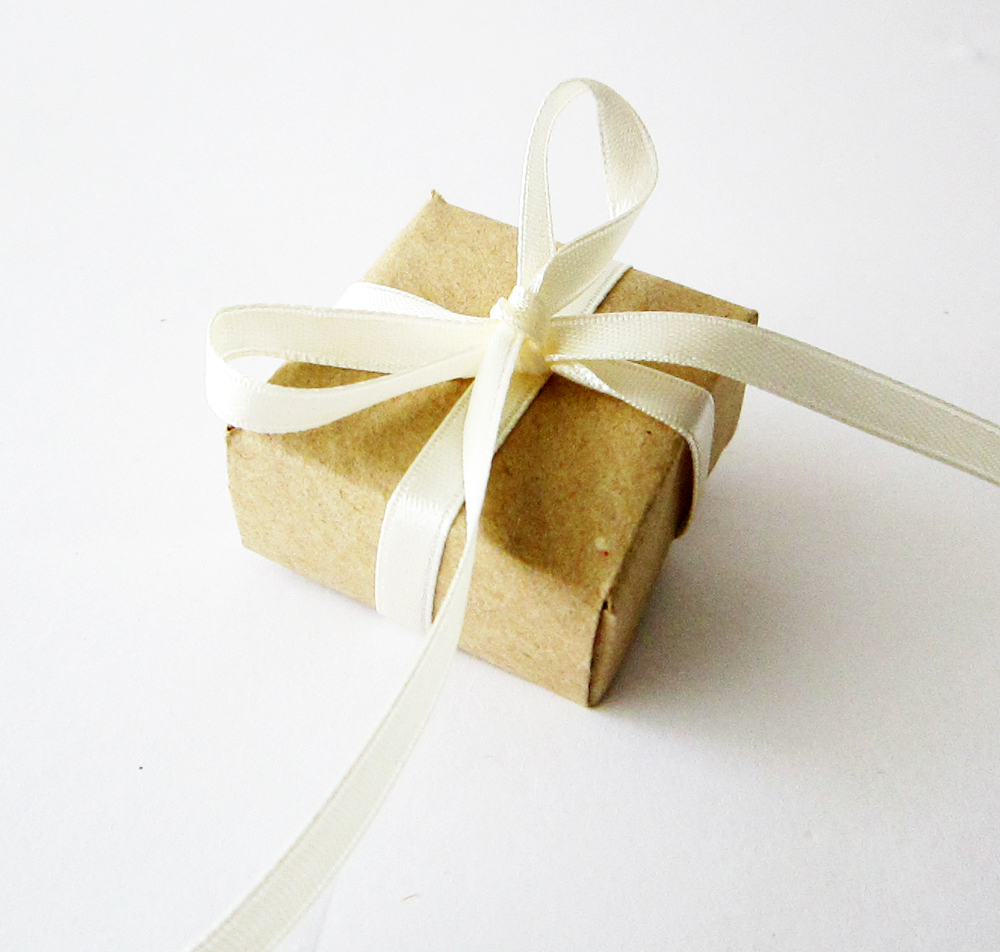
However I still make them for gifts I hand over since I absolutely love how they look and love making them too!
Here's an easy photo guide to help you make them yourself.
If you are familiar with origami these would be a breeze! Technically they are not origami since you have to make a few cuts but the concept is the same.
You will need two pieces of paper and a pair or scissors. You can use any kind of paper. Bear in mind that if the paper is not thick enough the box will not be sturdy. Depending on the thickness of your paper you’ll also need something to help you crease the paper, like a bone folder. 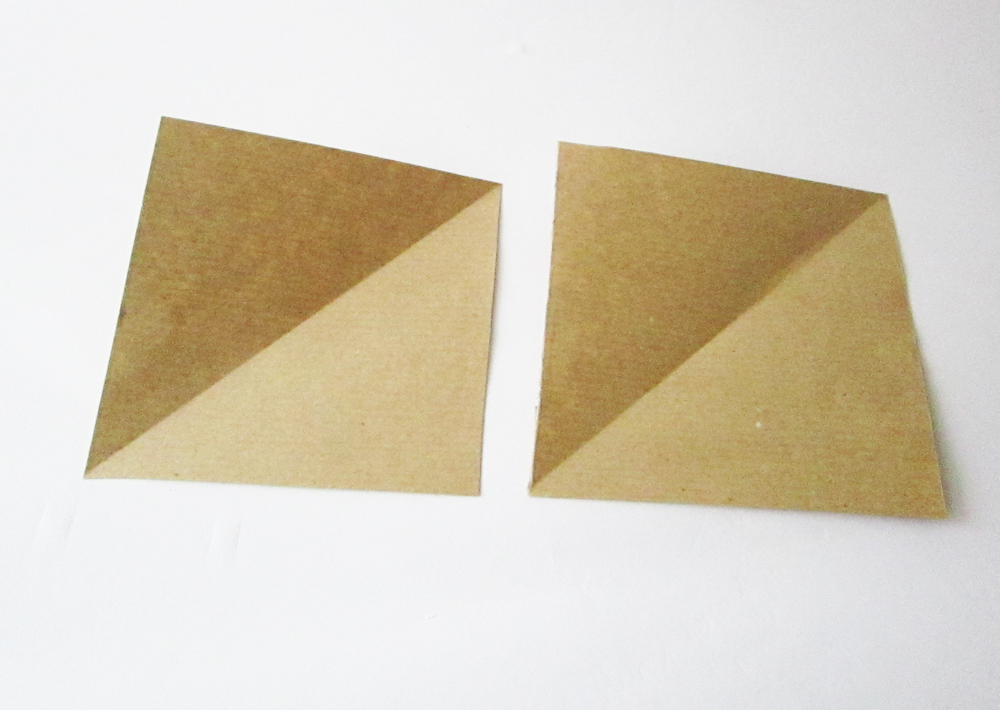
The size of the paper depends on the size of the box you need to make. For a small box, like the one I made for a ring you’ll need a square piece of paper of 12cm. Now the other piece of paper has to be 0.5cm smaller, meaning 11.5cm.
The procedure is exactly the same for both papers.
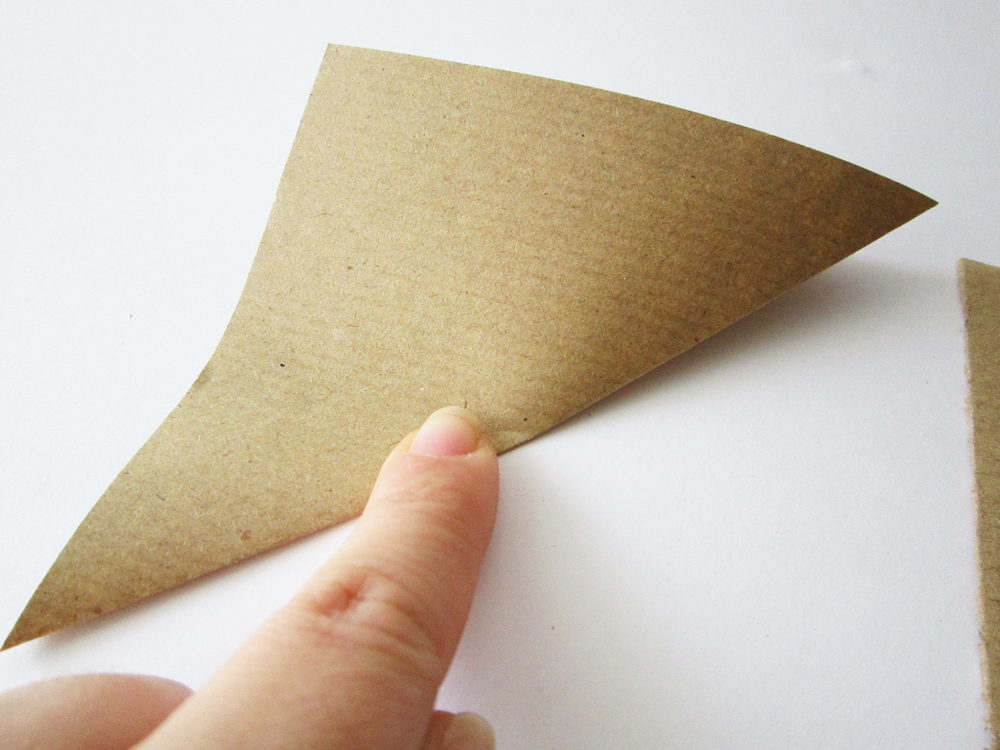
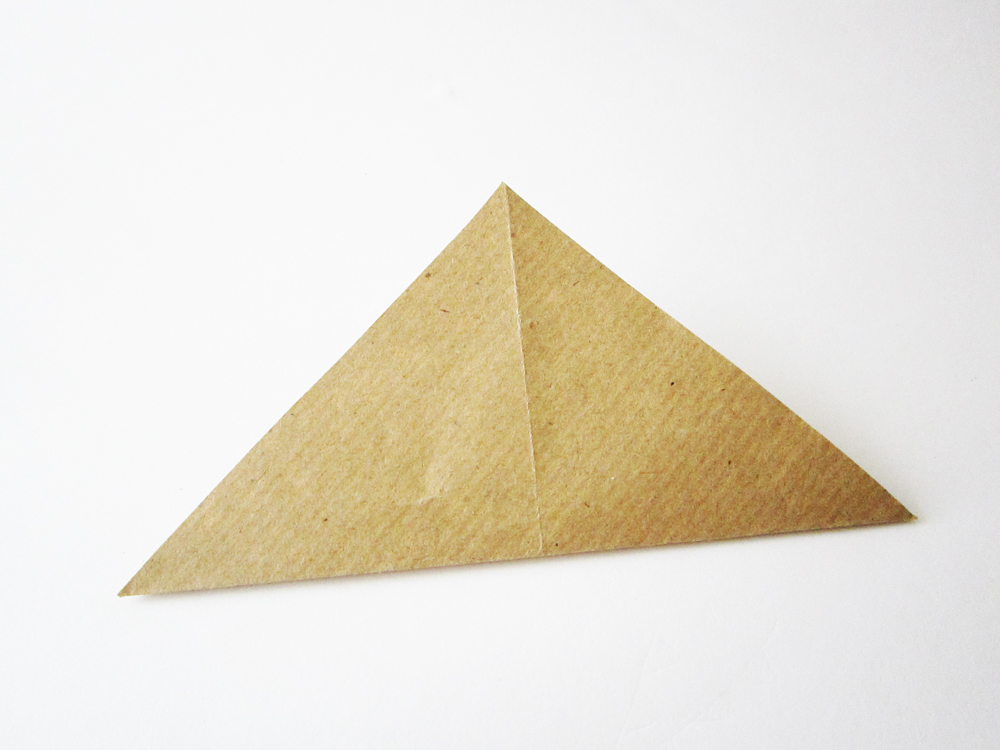
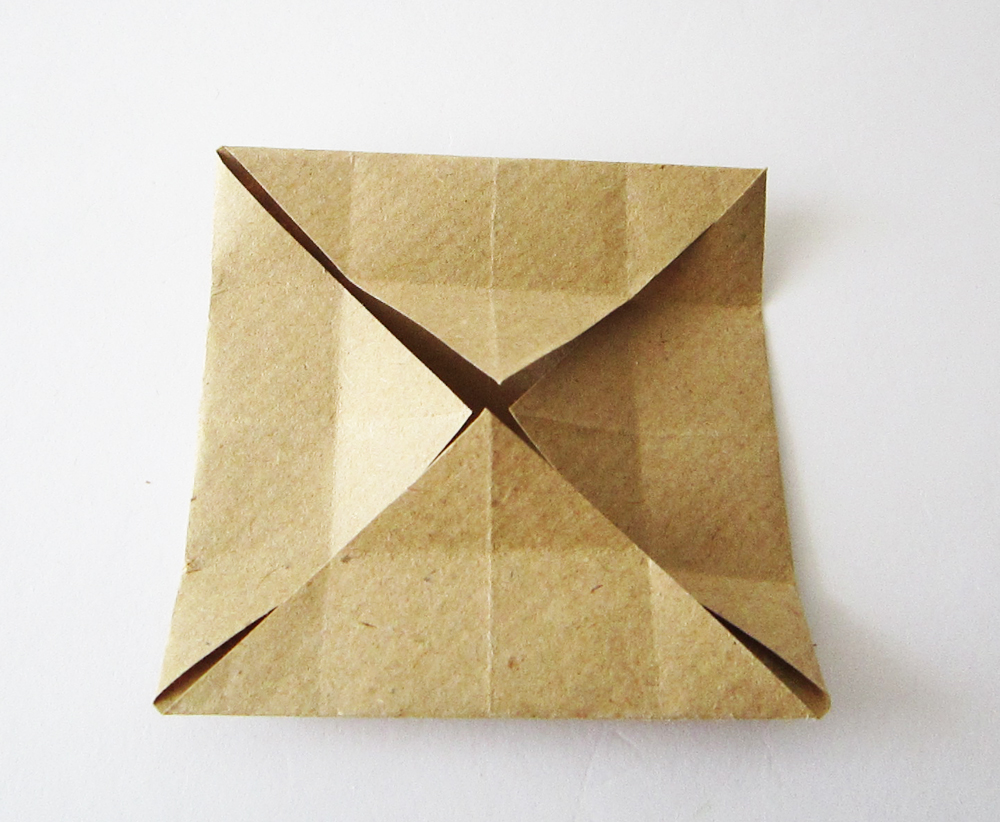
First fold the paper in half forming a triangle. Open it and fold it the other way, forming again a triangle. Open the paper. You will now see an “x” creased in the middle of the paper. The middle of the “x” is the center of your square. Take one of the four edges of your square and fold it to meet the center of it. Then, take the other three edges and do the same. You now have a square.
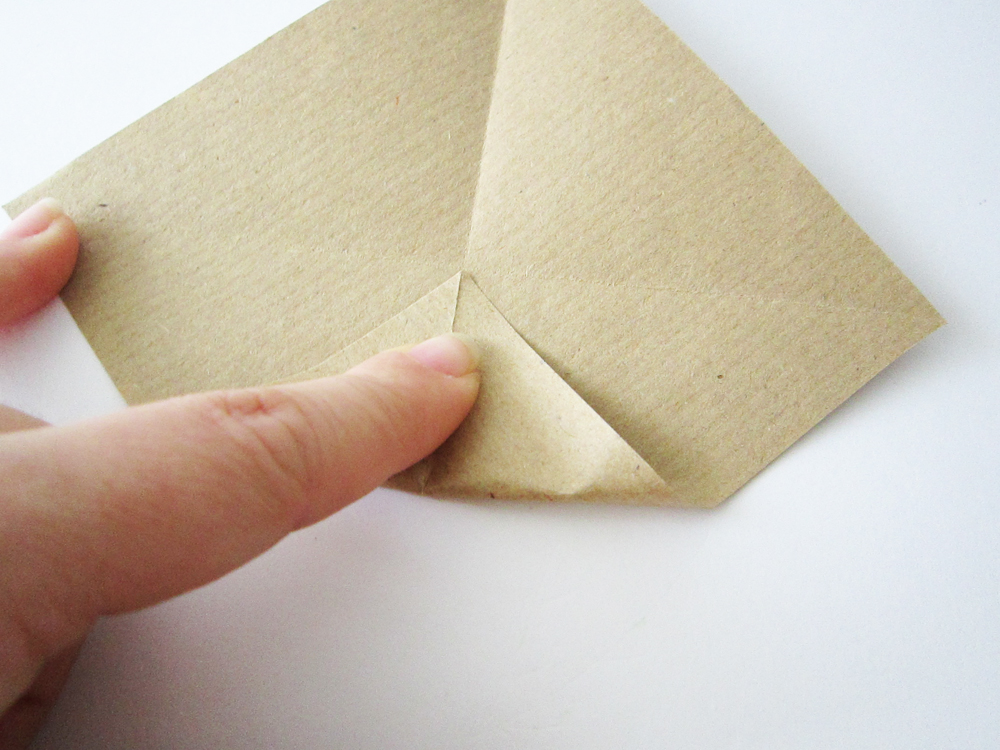
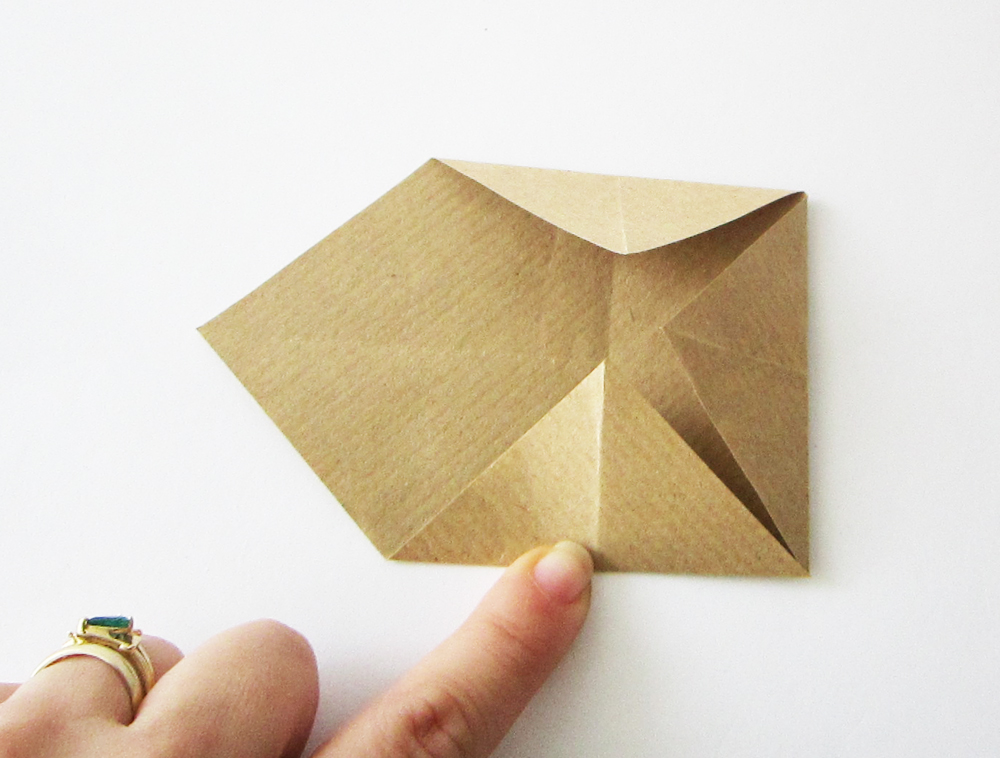
Take the one side of the square and fold it to meet the central line. Take the opposite side and do the same. Open them up and take the other two sides of the square and do the same. Open them up.
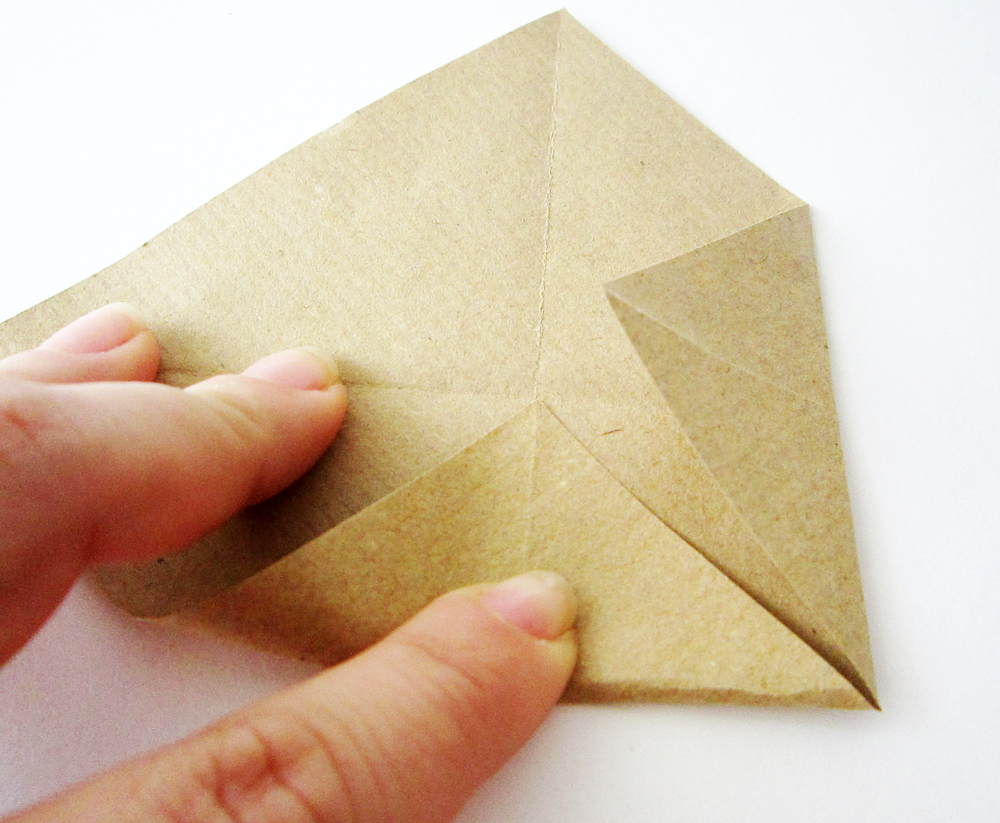
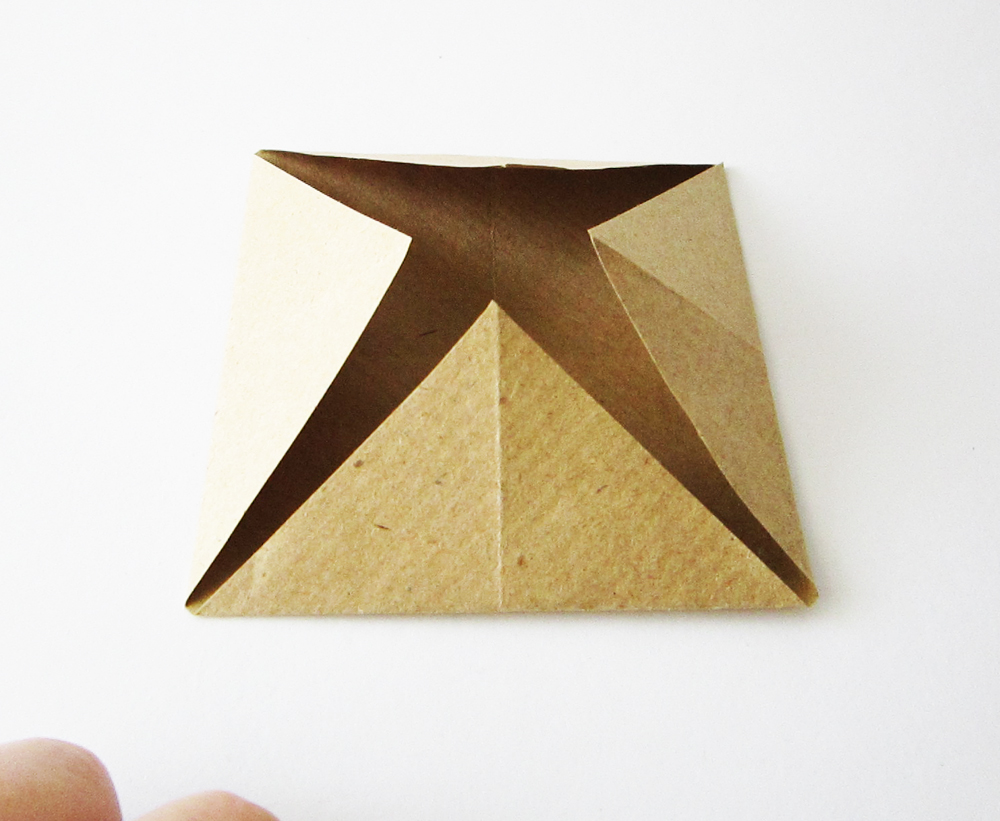
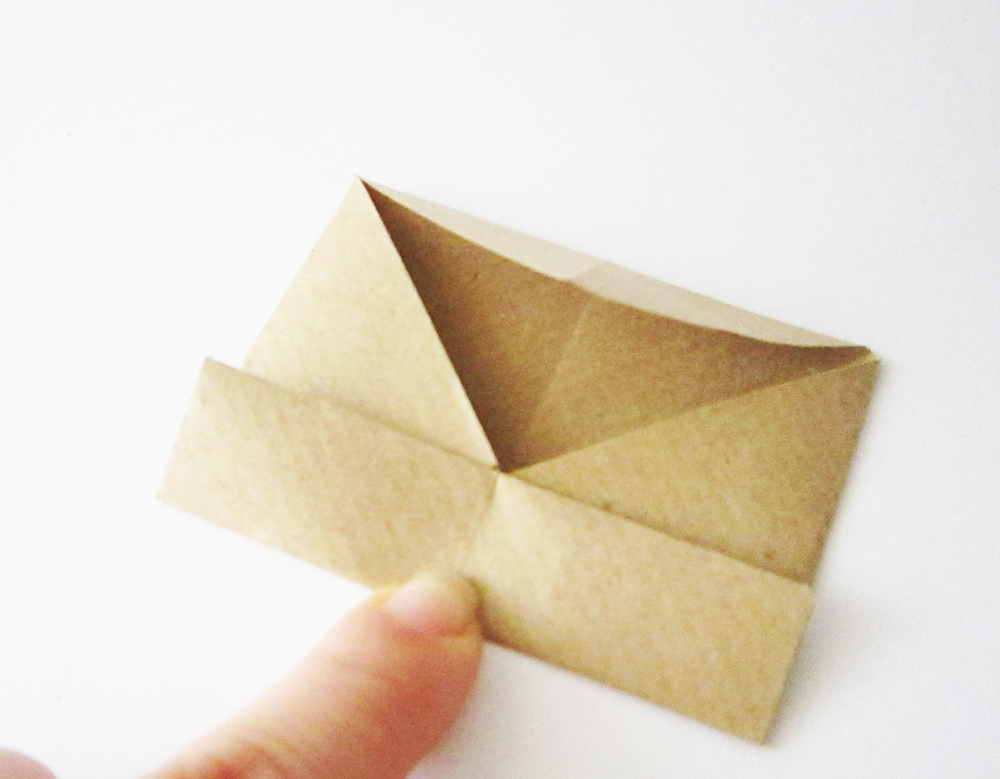
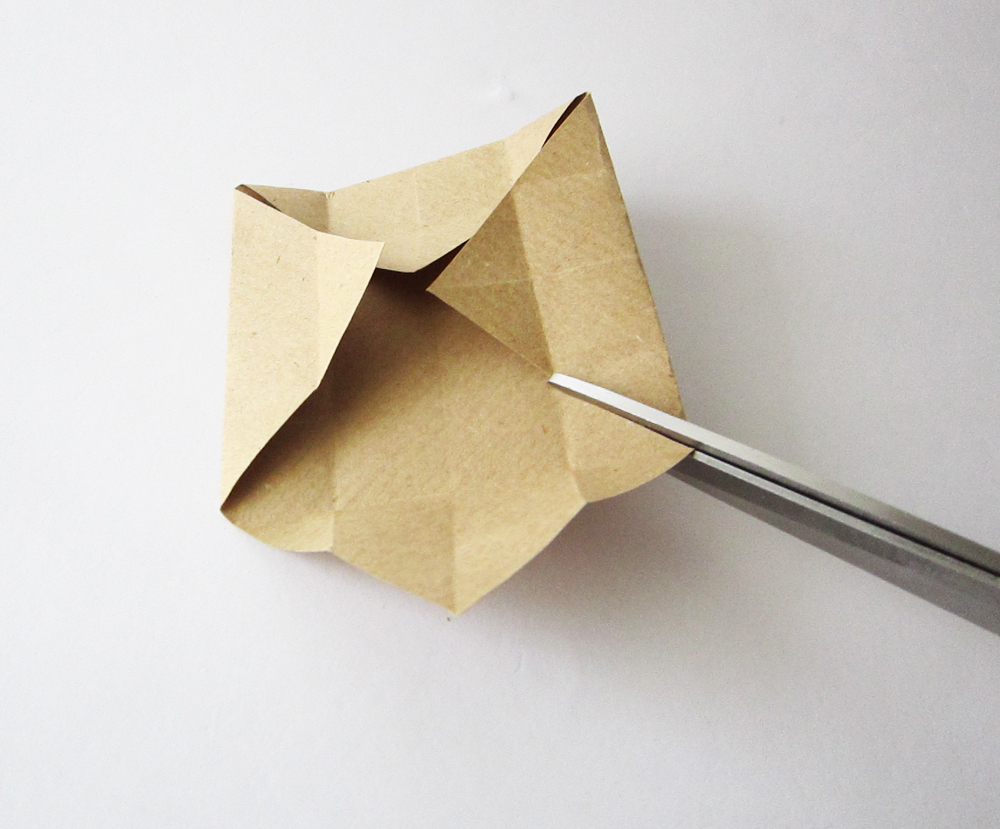
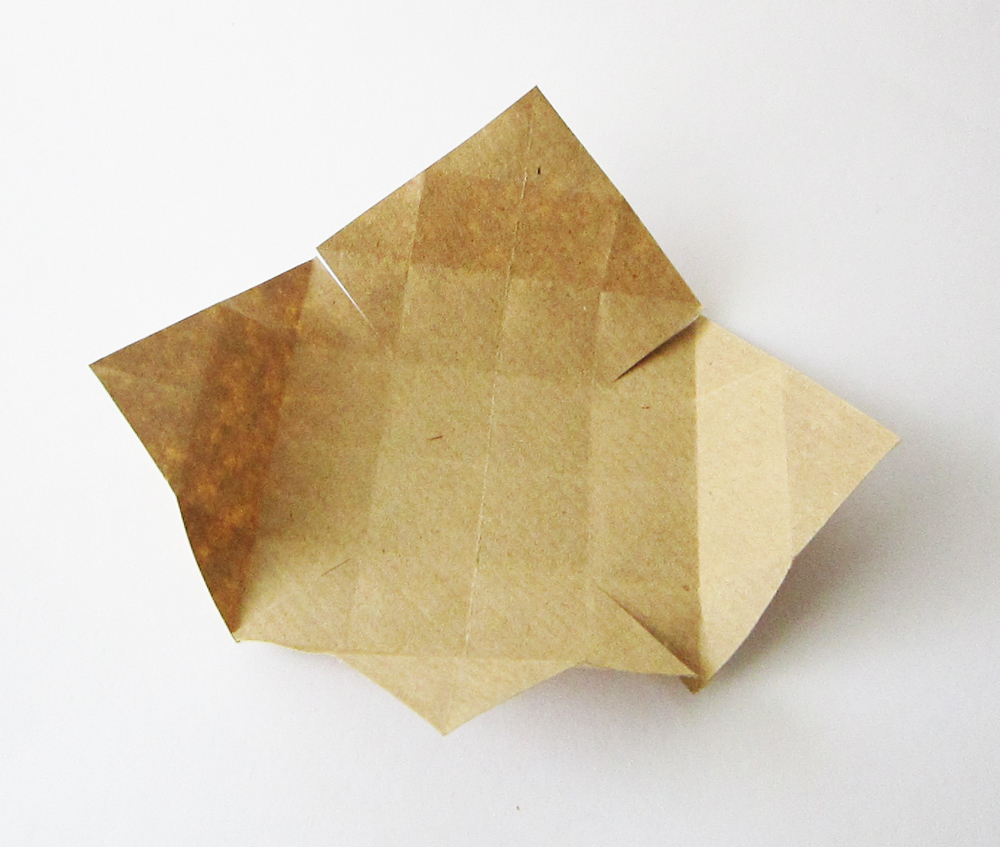
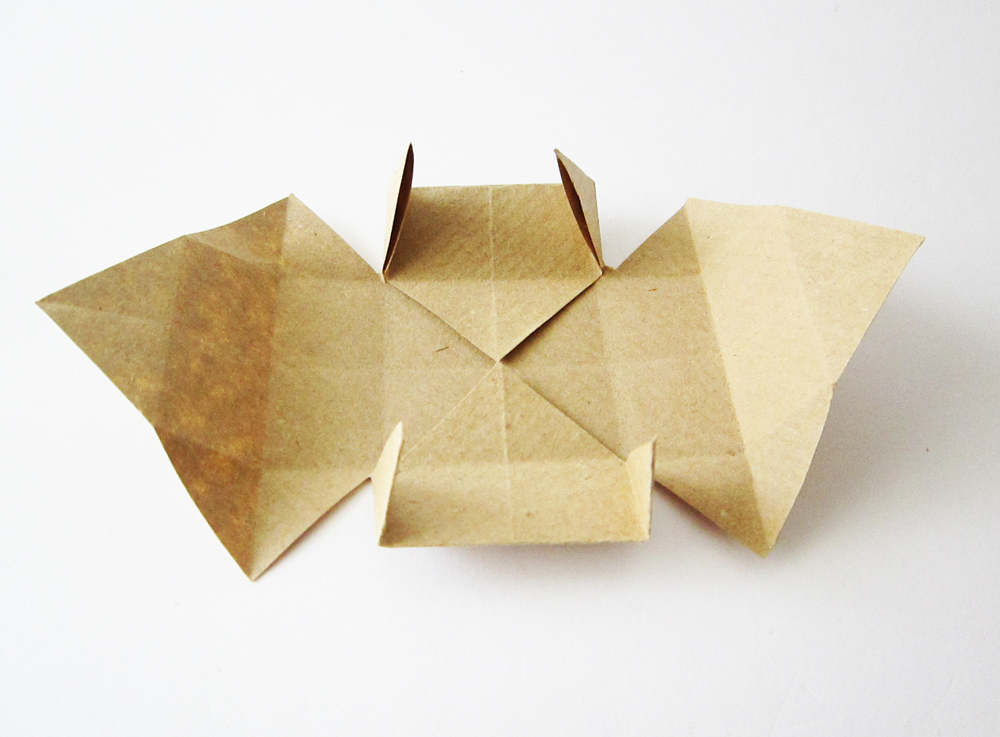
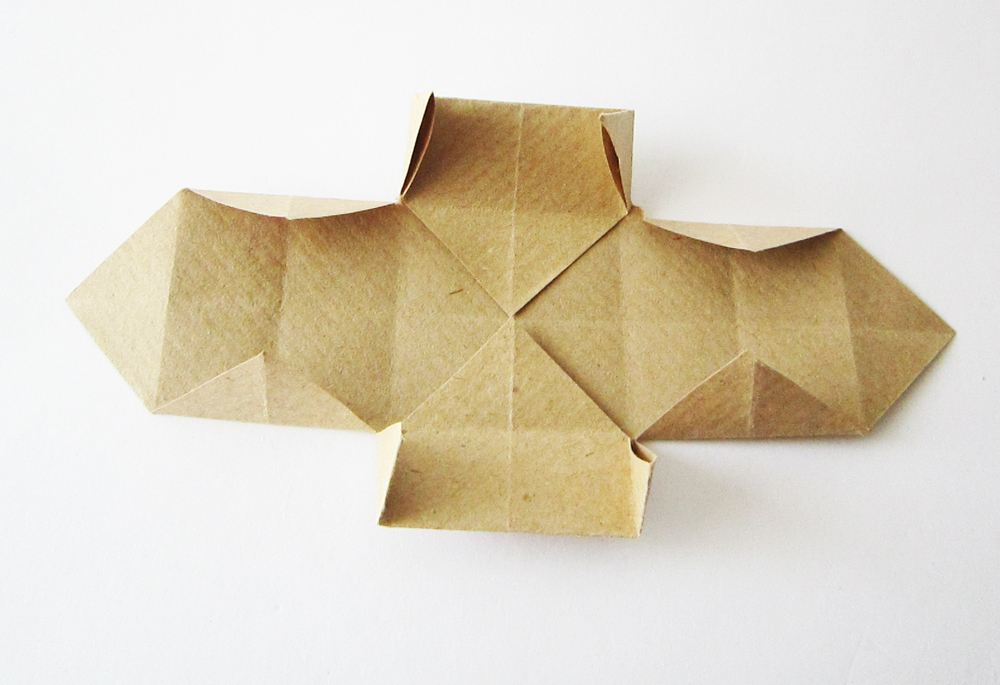
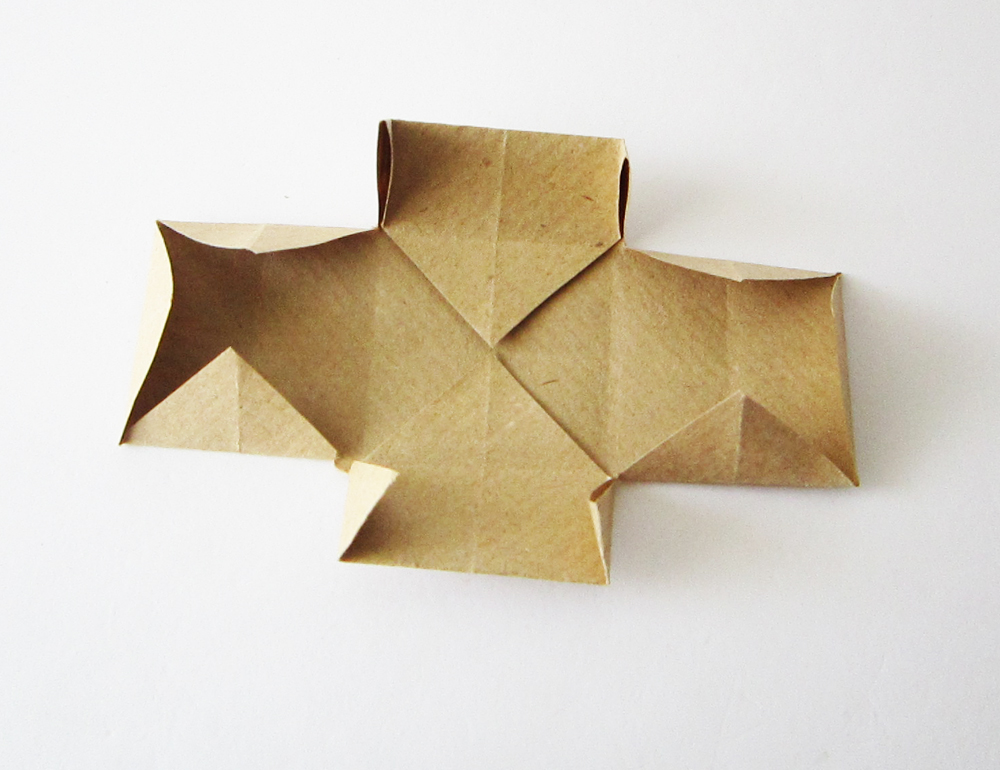
Take your scissors and cut the diagonal lines to meet the first crease. Cut the four edges and then open the two sides of the paper. Leave the two opposite sides closed and the other two open. Take one of the open sides and fold the three small triangles flanking the square. Do the same to the other side.
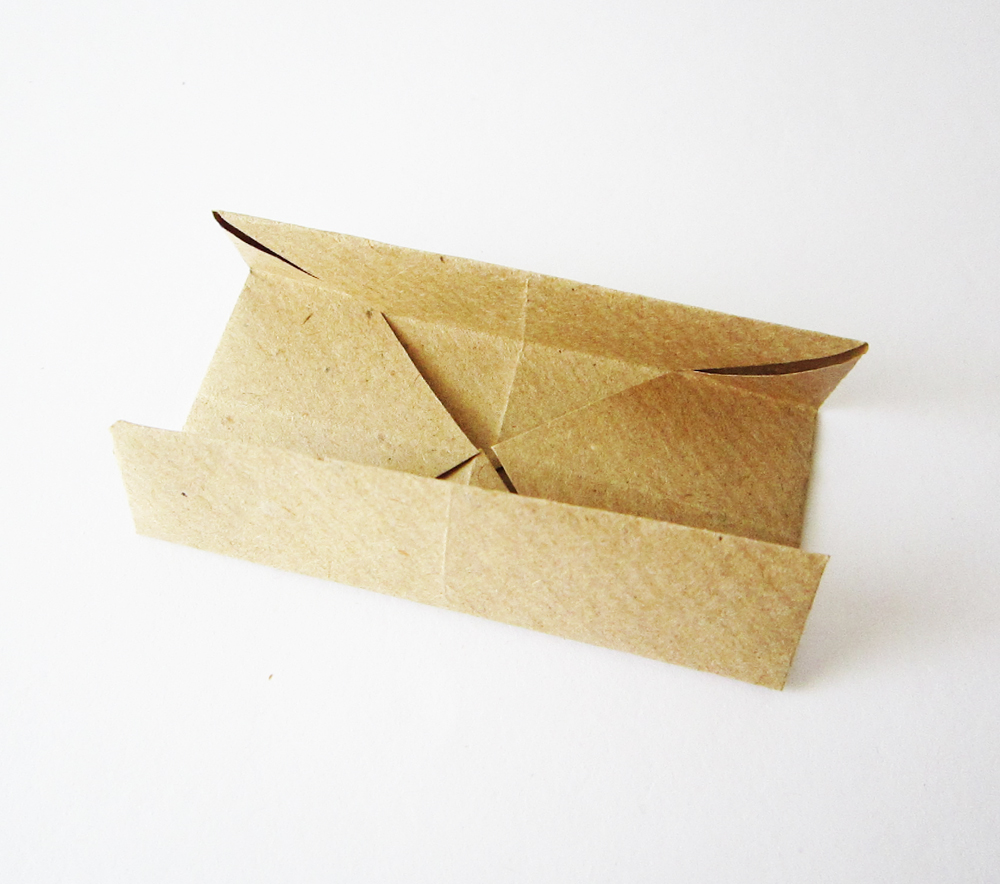
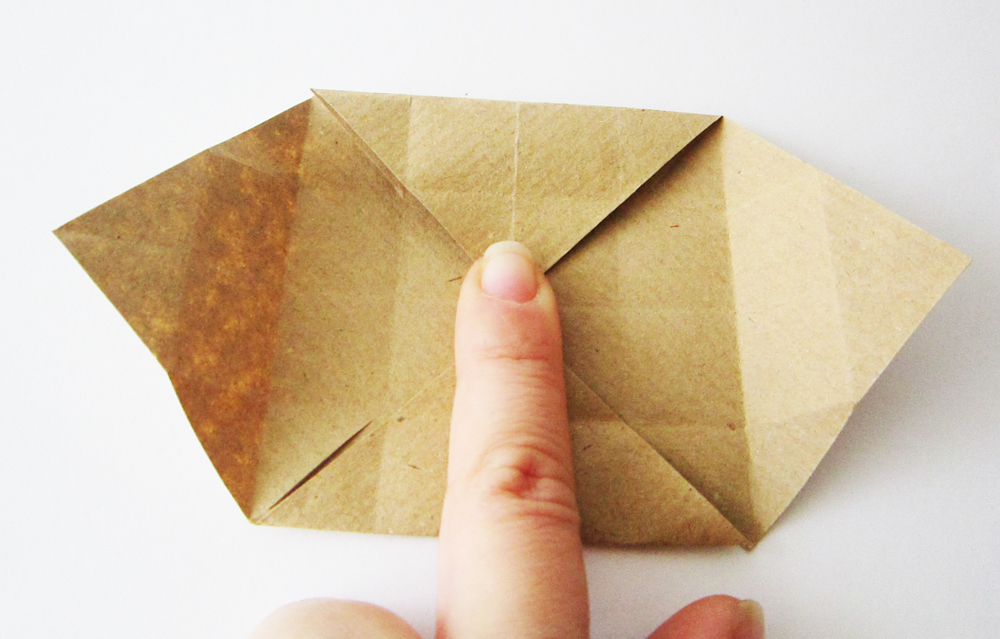
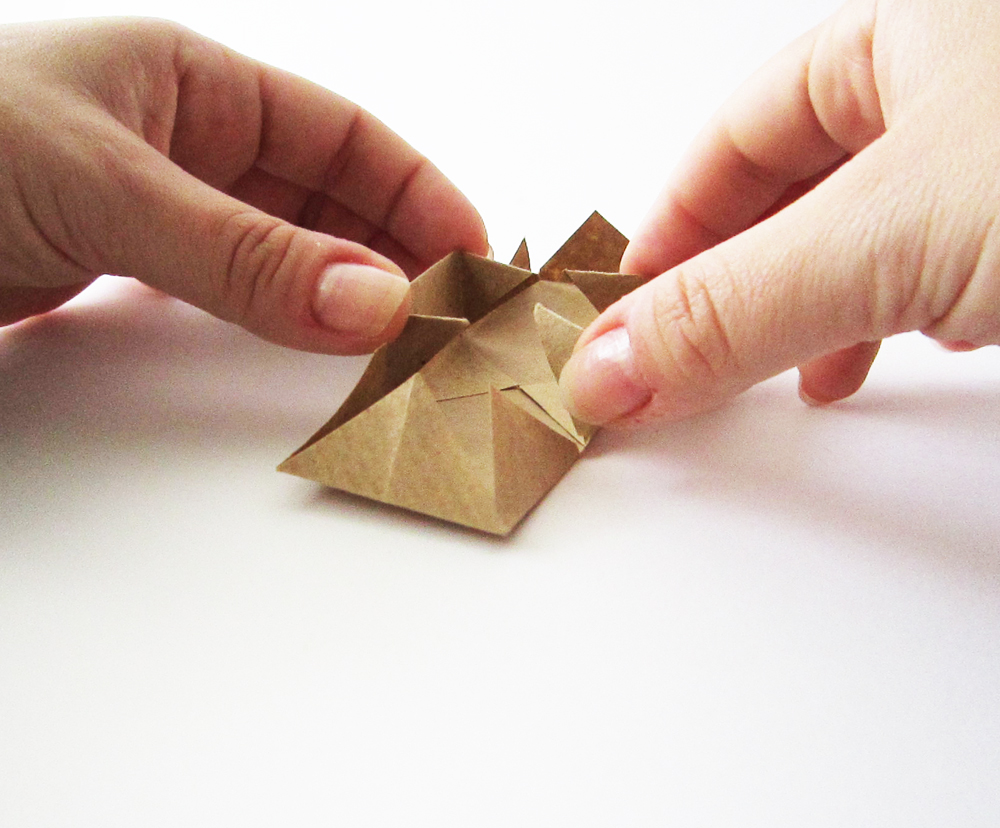
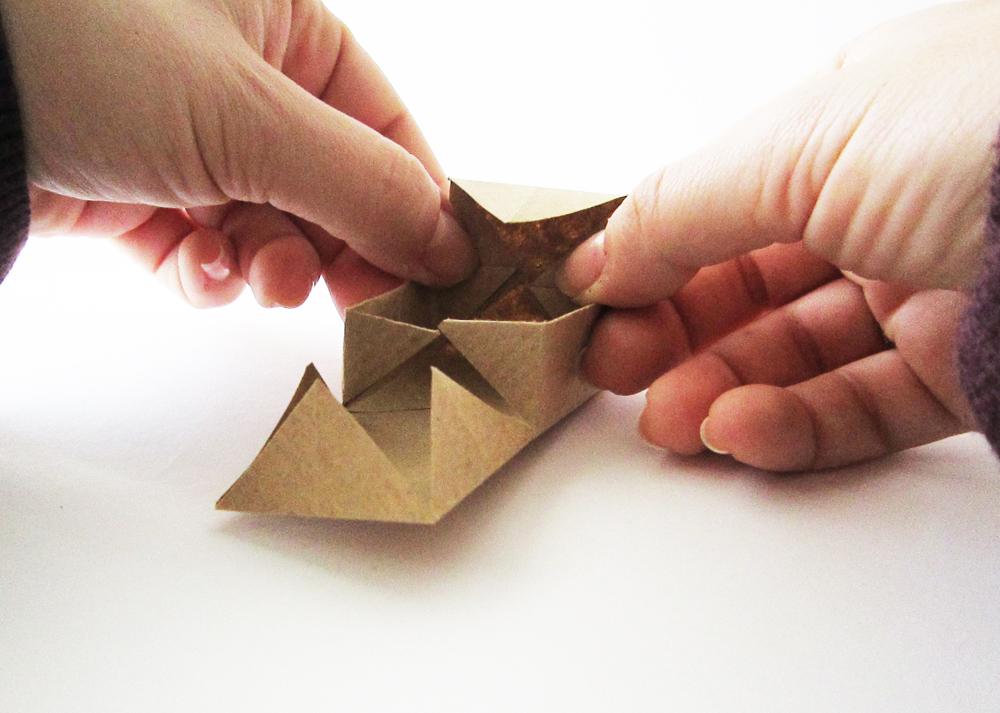
Now comes the tricky part. You have to use both hands for this to work. Take the two sides previously noted as closed and bend them towards each other. If your creases are done correctly they should stay somewhat in place when you remove your hands.
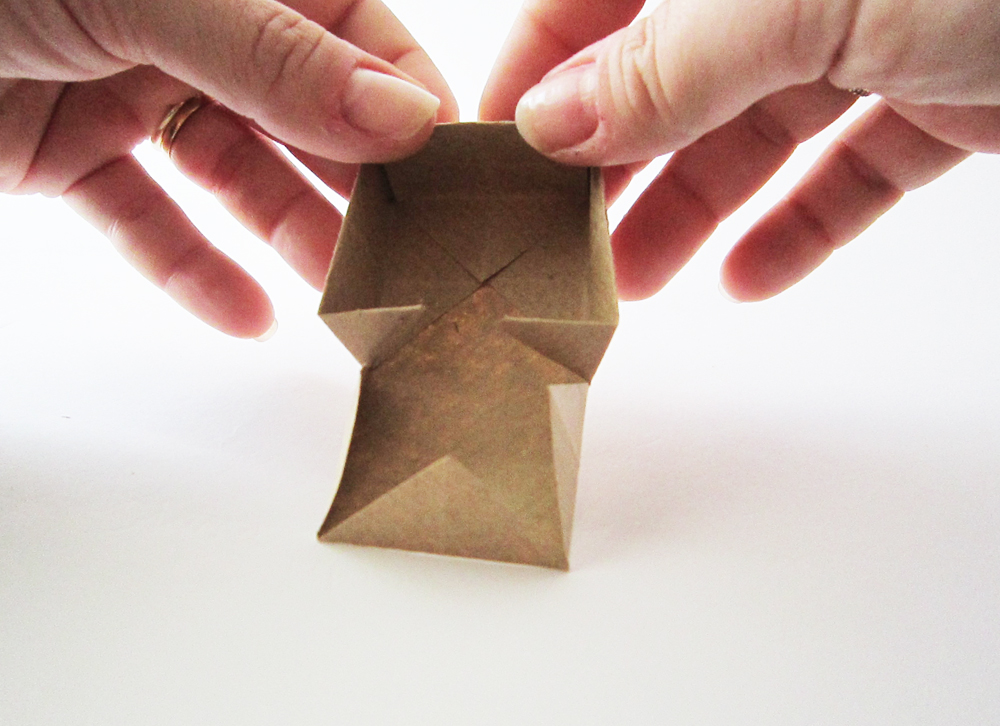
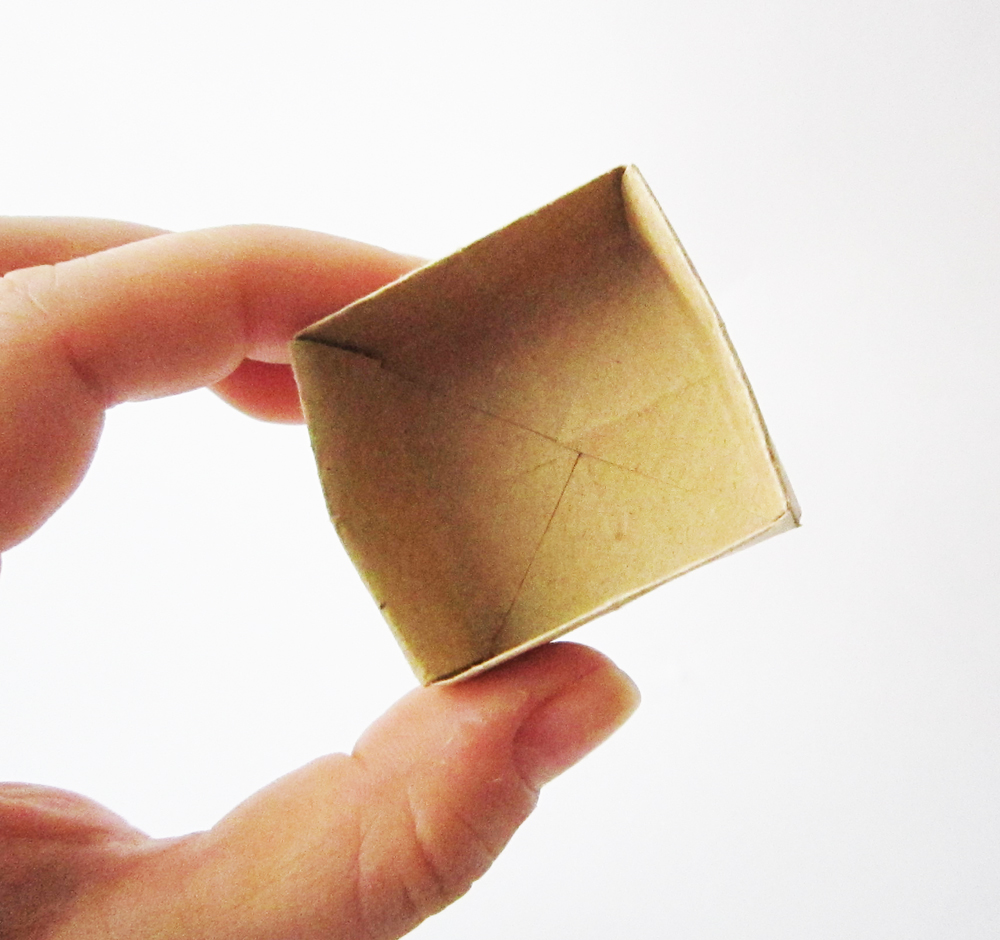
Take the other two sides and bend them towards each other. When they reach each other push them downwards to the center of the box. That’s it! You made it!!! You just made one half of your box!
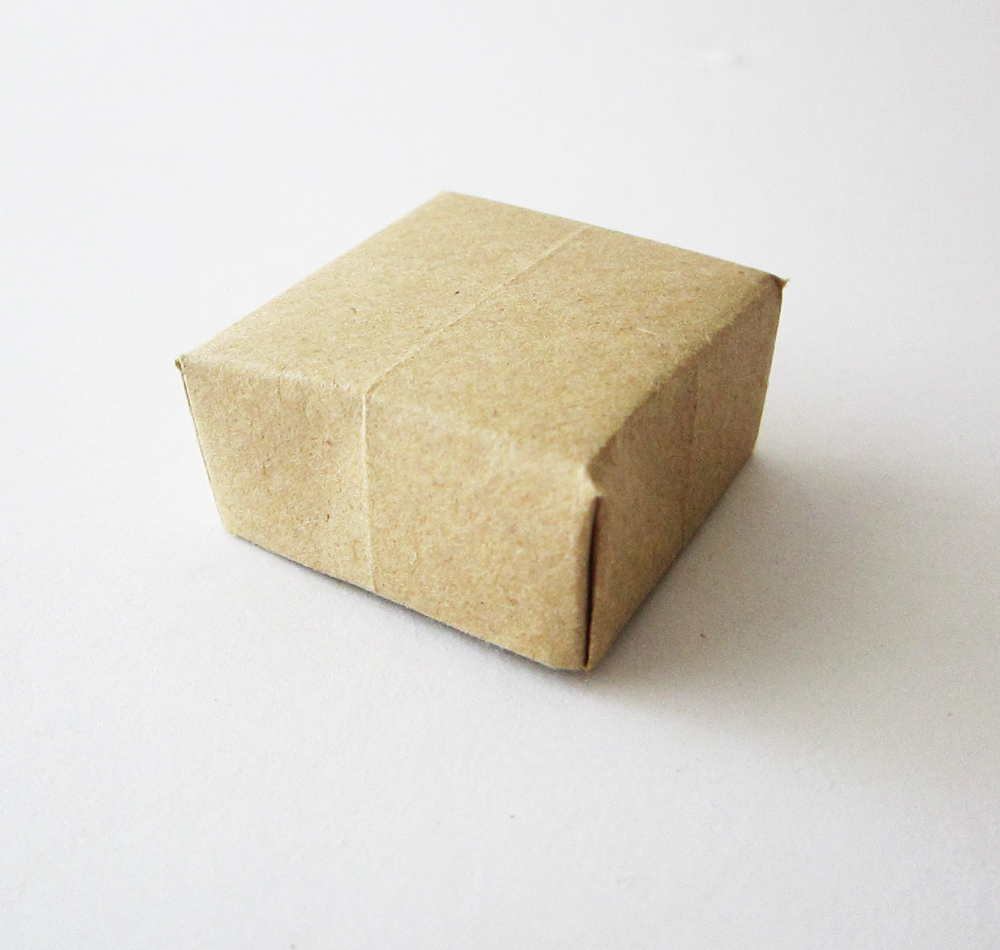
Do the same for the other paper which is a bit smaller and it will be the lower part of the box. Place the larger over the smaller and you are good to go!
Extra Tips: You can add a small square piece of carton to the bottom of each box for more stability, or you can use a sticker to hold the pieces together!
The possibilities are endless! The sizes too! You can experiment according to the items you want to put inside.
Hope you'll find these instructions usefull! Let me know if you need any help :)


