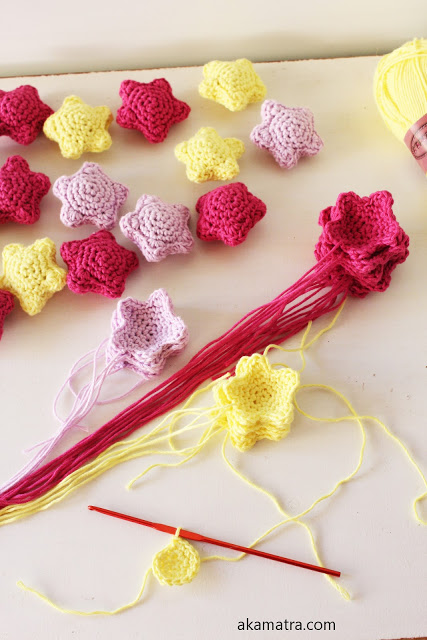
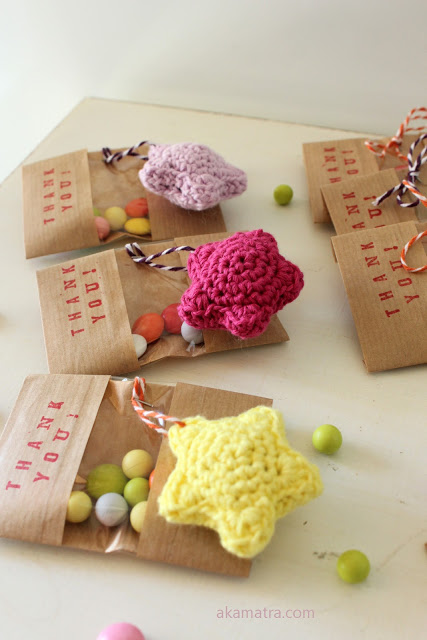
This is a funny story of how I got around to making my crochet amigurumi little stars! Read on for the free pattern!
I have a crazy friend whom I love very much but can be a pain in the behind, lol. She is very crafty herself (see what I did there, implying I am crafty too) and when she gave birth to her second child I helped her make "birth favors" for the hospital. I enjoyed making them and I was very glad she liked them and their recipients too.
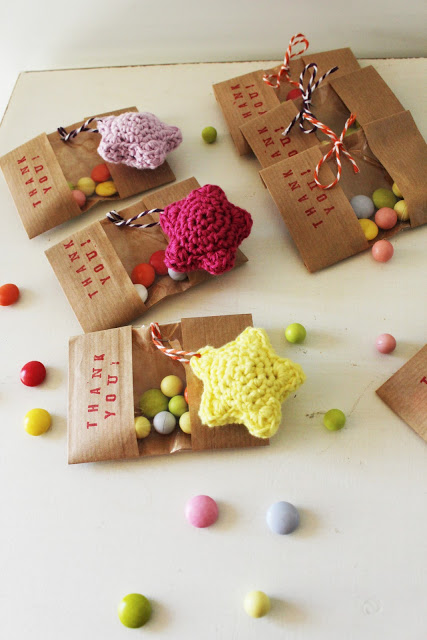
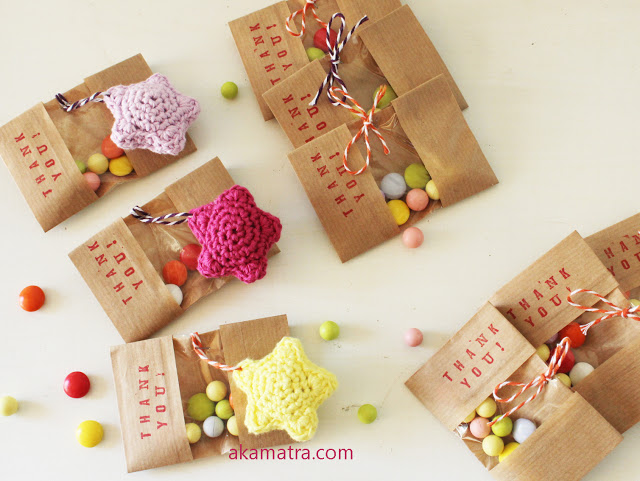
When I got pregnant with my little loaf of bread she was very supportive and helpful. When I was about 6 months pregnant she started asking me what I was making as "hospital favors". I said nothing! I wasn't making anything because I could barely stand from the non-stop puking throughout my pregnancy. So, I thought I just buy some sweets for the hospital as all sane people do. She kept nagging urging me, saying she will help me make them and I am so crafty I should definitely make something. Well, I finally succumb to her constant nagging urging and decided to make crochet amigurumi little stars for our little star to be born. I also made small packs and filled them with chocolate dragees to complete the favors.
Here's the pattern if you also have an urging nagging friend that wont leave you alone!
3.0mm *crochet hook
Scissors
Filling
ABBREVIATIONS
In US terms.
MC= magic circle
SC= single crochet
SL=slip
ST=stitch
CH= chain
HDC=half double crochet
DC= double crochet
The pattern is worked in continuous rounds, no need to join at the end of each round.
Make a MC
R1 = 5sc in MC (5)
R2 = 2sc in each st from previous round (10)
R3 = 1sc in next st, 2sc in next st - repeat to the end of the round (15)
R4 = 1sc in next 2sts, 2sc in next st - repeat to the end of the round (20)
R5= in the same st as the last one from the previous round make hdc, dc, hdc, sc. Then *sl st in the next three sts and make sc, hdc, dc, hdc, sc* in the next. Repeat from * to * three times more. Leave a long tail and cut.
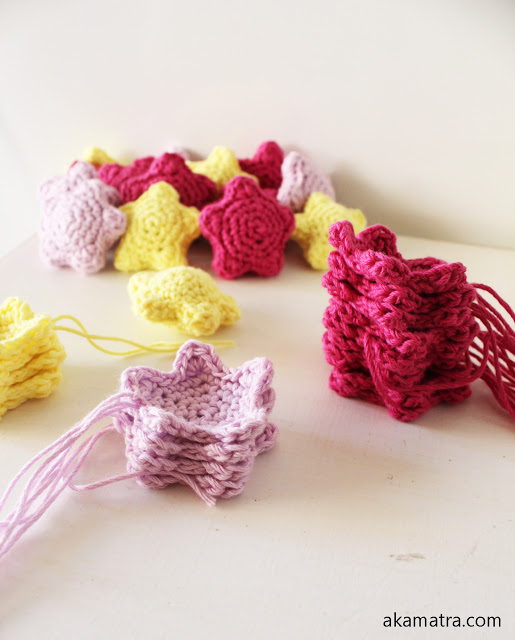
Make another star and stitch them together with your yarn needle. Stuff with the filling before closing and securing the yarn.
If you want to turn them into favors or even holiday's ornaments, just thread a little bakers twine in one of the tops.
What do you think? Easy right? Well, before little loaf of bread I had a lot of time on my hands and made almost 50 favors in a week or so. Now, I am making her baptism favors and it's taken me about two months, lol!!! I've also been thinking of making some custom patches to combine a business promotion idea with a small gift for my customers.
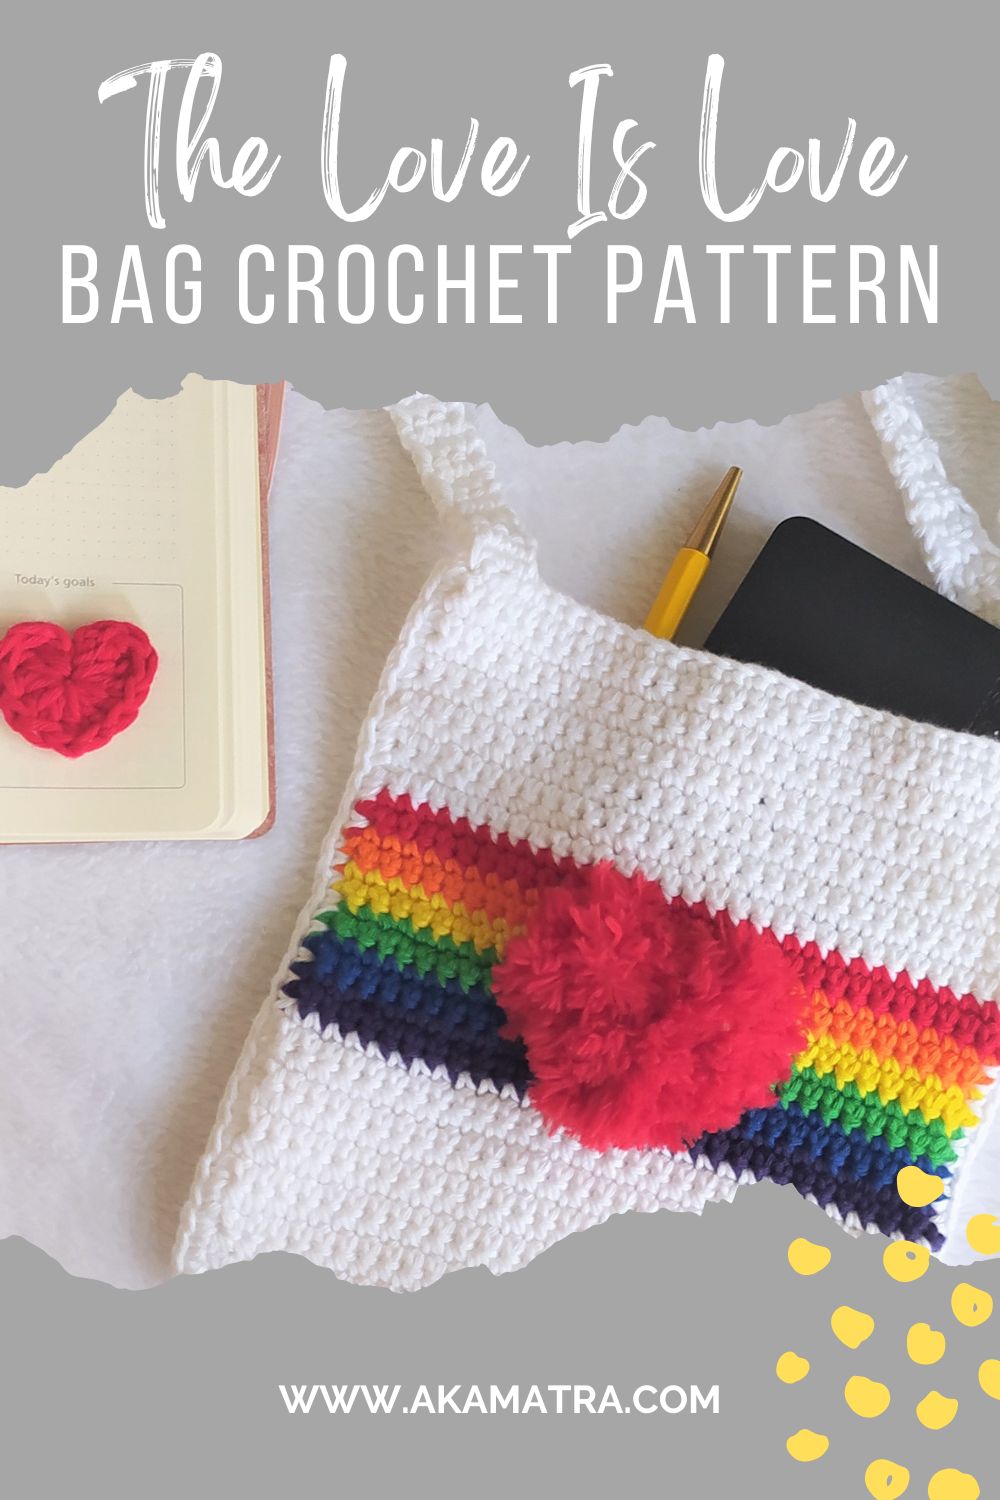
Check out my new Love is Love pattern in Ravelry here or click the image to get it on Etsy
What have you been up to lately?


