Hello darlings!
Embroidery is a beautiful craft that allows you to create works of art with nothing more than a needle, thread and some cloth. Gorgeous designs can be made with even the simplest of embroidery stitches and techniques, but once you have the basics down, you may be looking for a way to challenge yourself even further.
As summer rolls in, you might find yourself with a little more time to dedicate to your hobbies. Take your embroidery travel kit with you and try to improve the embroidery skills you’ve got with a few new challenges in technique. Check out these four new embroidery techniques to try this summer below.
1. The Split Stitch
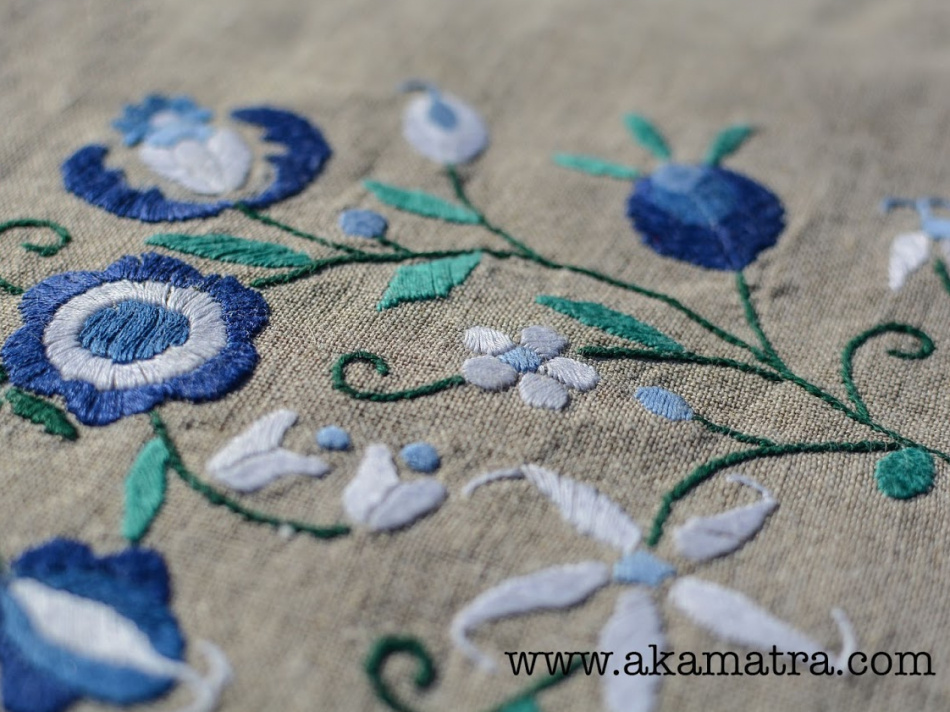
Many embroiderers learn a few essential stitches when they start embroidering and use them for everything in their creations. Try challenging yourself by learning a new stitch. A great one to start with is the split stitch. This stitch is a variation of the very commonly known backstitch or running stitch and can be used for all kinds of things – lettering, filling in shapes and more.
To create a split stitch, simply create one straight stitch. Then, bring your needle up through the center of that stitch from the backside of the fabric. Then, bring your needle back down through the fabric, leaving another straight stitch that’s the same length as the first. Repeat until you’ve reached your desired length. This creates a braided effect that can add a lot of interest to your design.
2. Hand Lettering with the Stem Stitch
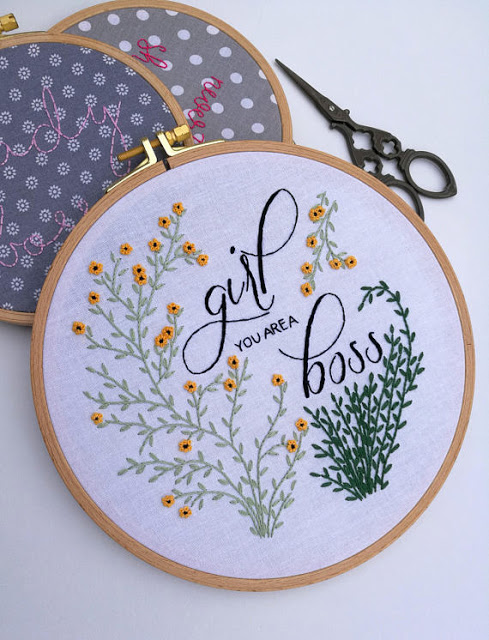
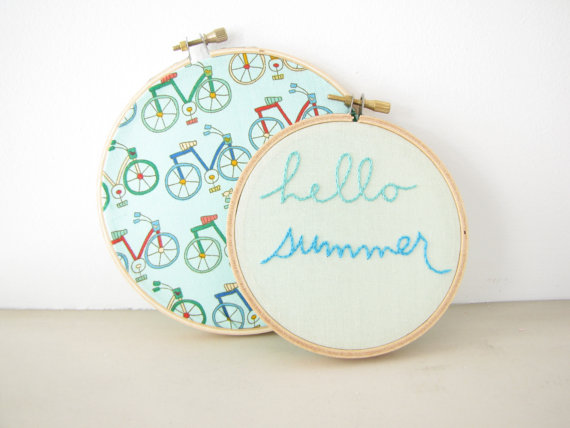
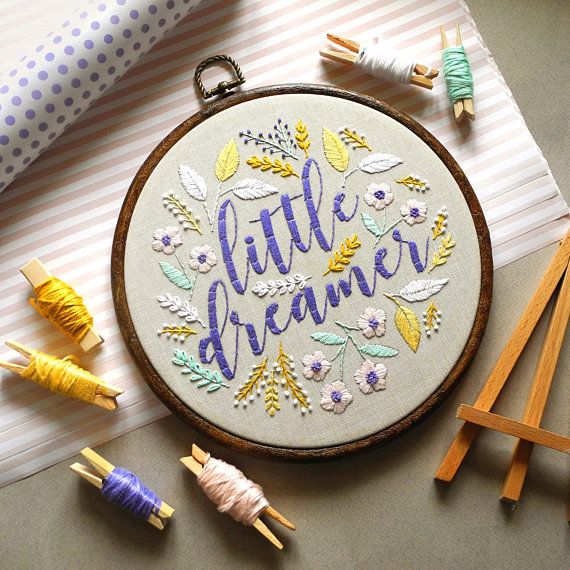
Hand lettering in embroidery can be a beautiful way to capture favorite sayings, quotes, dates and other text in your hoop, but it can be challenging to learn how to stitch the letters in a way that looks just right. An easy way to create the right effect on text is by embroidering your letters in a stem stitch.
The stem stitch got its name from how it’s most commonly used: to embroider stems on flowers and leaves. The stem stitch is created similarly to the split stitch, but instead of bringing your needle through the direct center of your initial straight stitch, you make your second stitch right beside your first stitch. The end result is a beautiful, twisted rope effect that can easily curve around the shapes of letters.
3. Create Freestanding Lace
If you have an embroidery machine, or a sewing machine with an embroidery function, take some time to figure out all the different ways this tool can allow you to be creative. If you’re interested in finding an embroidery machine, check out embroiderywithstyle.com.
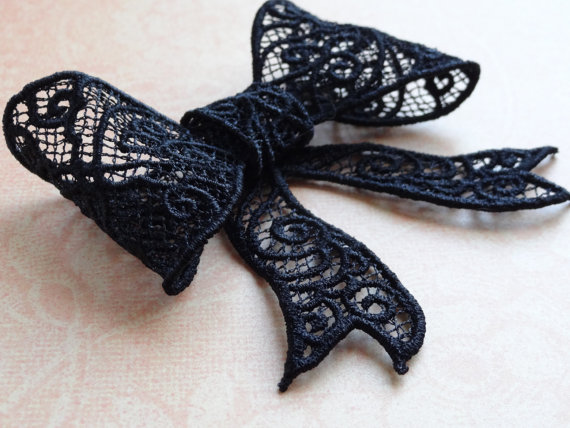
One of the most incredible functions on an embroidery machine is the ability to create freestanding lace patterns. Every machine has its own process, but the overall steps to creating freestanding lace are choosing your thread and fabric, creating a lace pattern or finding one online, loading the pattern into the machine and allowing it to go to work.
You’re left with a beautiful applique that you can use on anything, from pillows to clothing and everything in between.
4. Embroider a New Fabric
Once you become familiarized with embroidery, it can be easy to fall into a rut about what you want to create. Take this summer to really experiment with different materials and fabrics to place your embroidered creations on. For example, if you often find yourself framing the pieces you create, try embroidering clothing, or hats or pillowcases. Remember, this may require thicker or thinner threads, bigger or smaller needles and some patience until you discover what looks best. You may even end up with some new favorite creations!
Once we get the basics down in any hobby or skillset, we may feel like experts. However, by challenging yourself with new and interesting techniques, you’re not only growing as an embroiderer, but also as a creative artist overall. Don’t be afraid to push yourself this summer with different and exciting projects like the four we listed above!
Lots of love

