After writing the 6 types of creative Easter gifts for kids and mentioning them to my father, he expressed his desire to make my daughter a flower press as an Easter gift. I was all in with the idea and that’s how this DIY Montessori flower press post came to be!
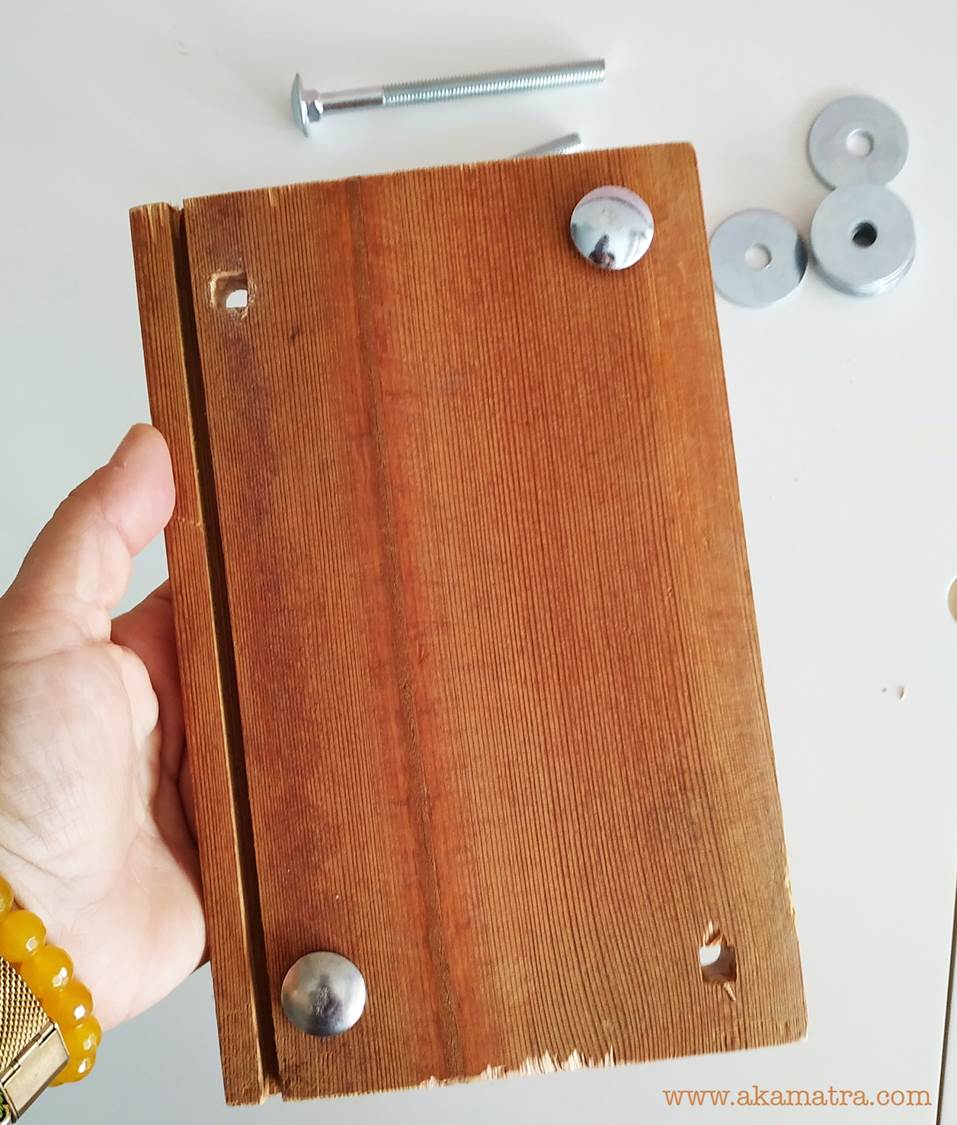
Side note: My dad is a 74 year old retired headman with a true love for woodworking. He’s also blind from one eye and only has a 4/10 sight in his good eye. He’s endlessly creative (got the gene to prove it!) and we love to find ways to make him feel needed in his handcraft of woodworking. Everything he’s made for us over the years is part of his legacy and I want my daughter to have and cherish such handmade pieces from her granddad. I am telling you this because as you’ll notice from the flower press he lovingly made, some lines are off and the drilled holes are rough. We don’t mind this kind of things and I don’t have them sanded or “fixed” because I want them exactly as he made them. Plus, we are really big on recycling in our family and the wood used for this project used to be the steps of the stair we had in our home when I was a kid. The stair was removed when we renovated the house where me and my family now live but my dad kept all the wood because it was in great condition and he knew we'd need it later on for stuff like this we keep asking of him!
You on the other hand are advised to sand the wood and the drilled holes for a more “professional” looking end result if that’s what you are after!
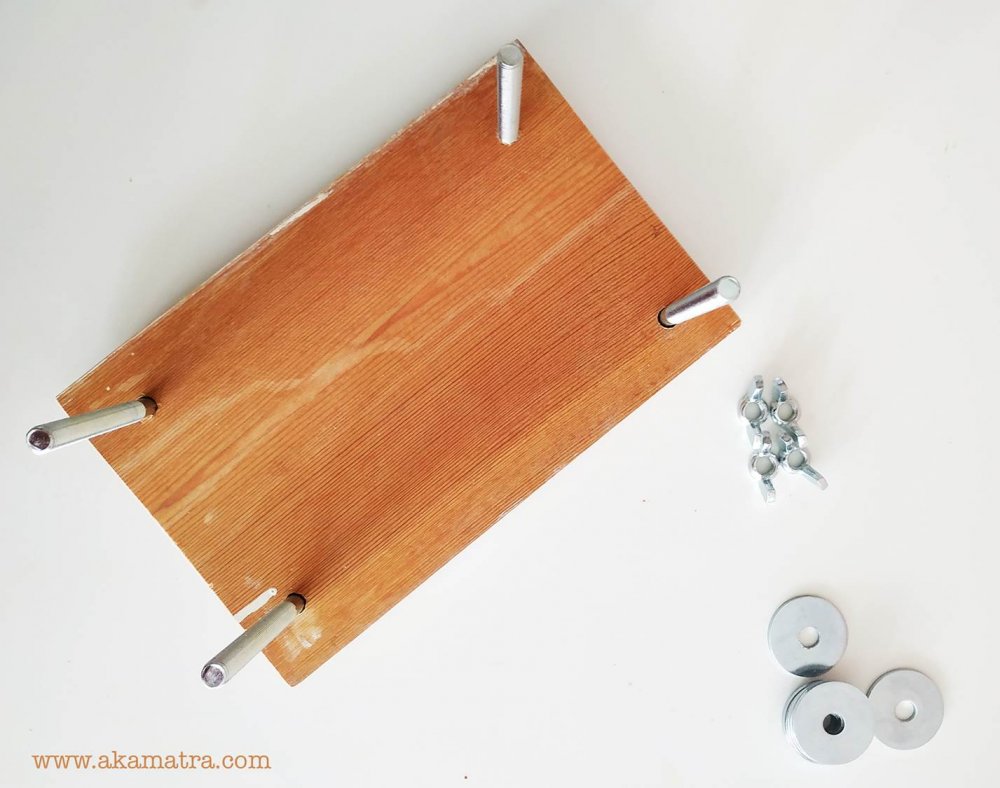
For this DIY Montessori flower press you will need:
Two rectangular pieces of solid wood roughly 25cm x 15cm

Four thrust screws of 10cm
Four wind bolts
Eight ring washers
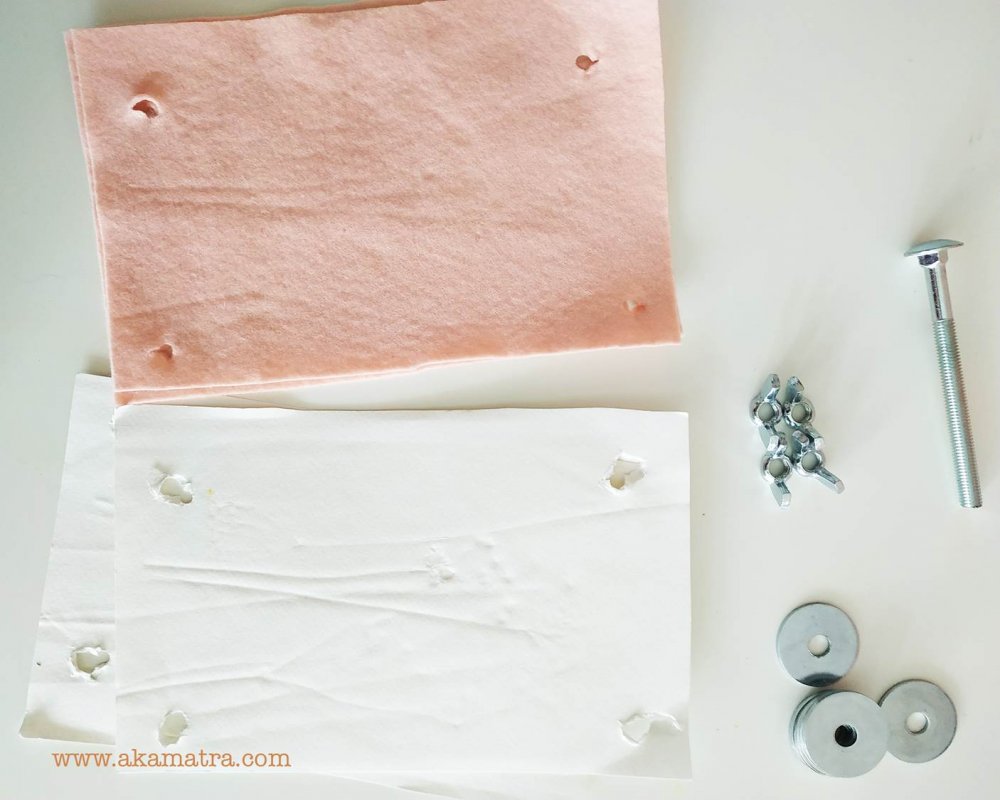
2 pieces of felt in the same dimensions as your wood pieces
2 pieces of cardboard
2 pieces of absorbent paper towels for every time you press flowers
Drilling power tool (used with protective gear)
Hole puncher
How to DIY Montessori flower press
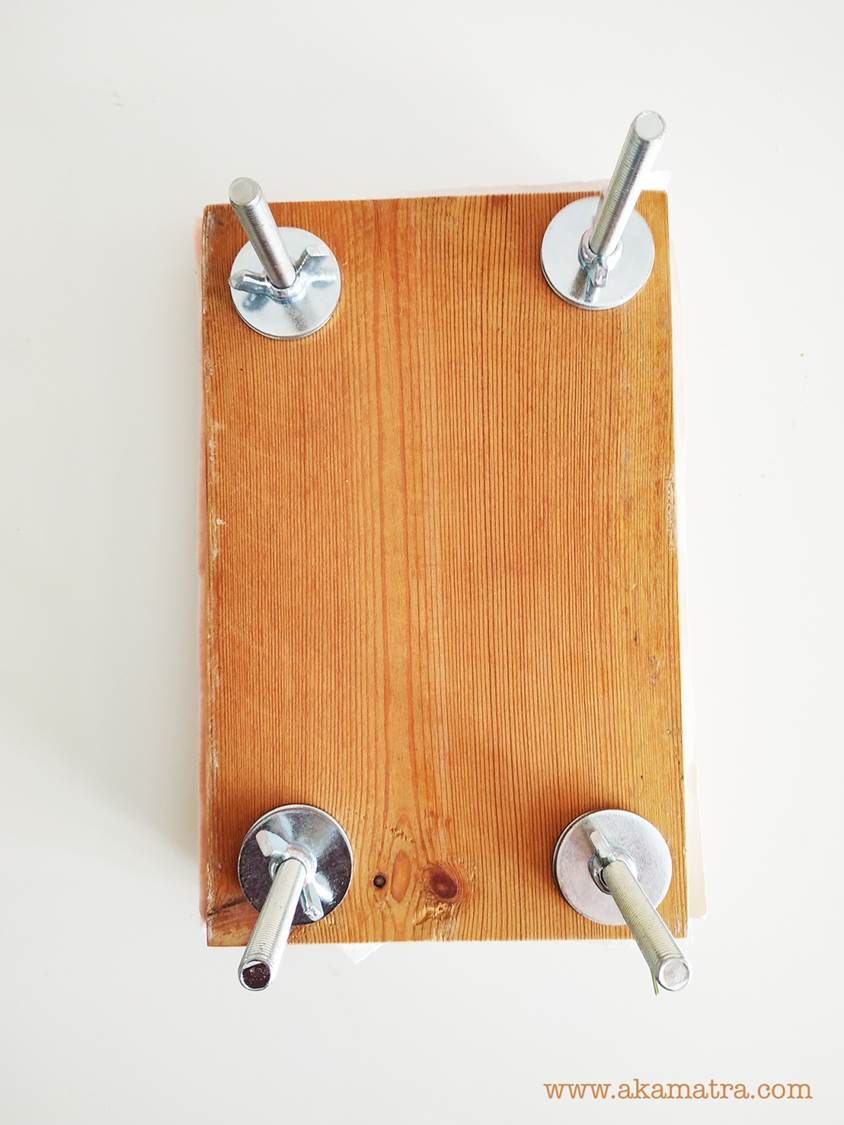
This is a pretty straightforward DIY and the only thing you will need to make this happen is to drill 4 holes on your two pieces of wood. If you don’t have a power drill or you are not comfortable using one, ask for help from a friend or go to one of those big DIY shops. They can cut wood in any dimension and they can drill holes too for really cheap.
Take your ruler and mark the places for the holes on the wood. Place them around 2cms from the top and side of the wood.
Mark your cardboard and felt pieces the exact same way and make the holes with the hole puncher.
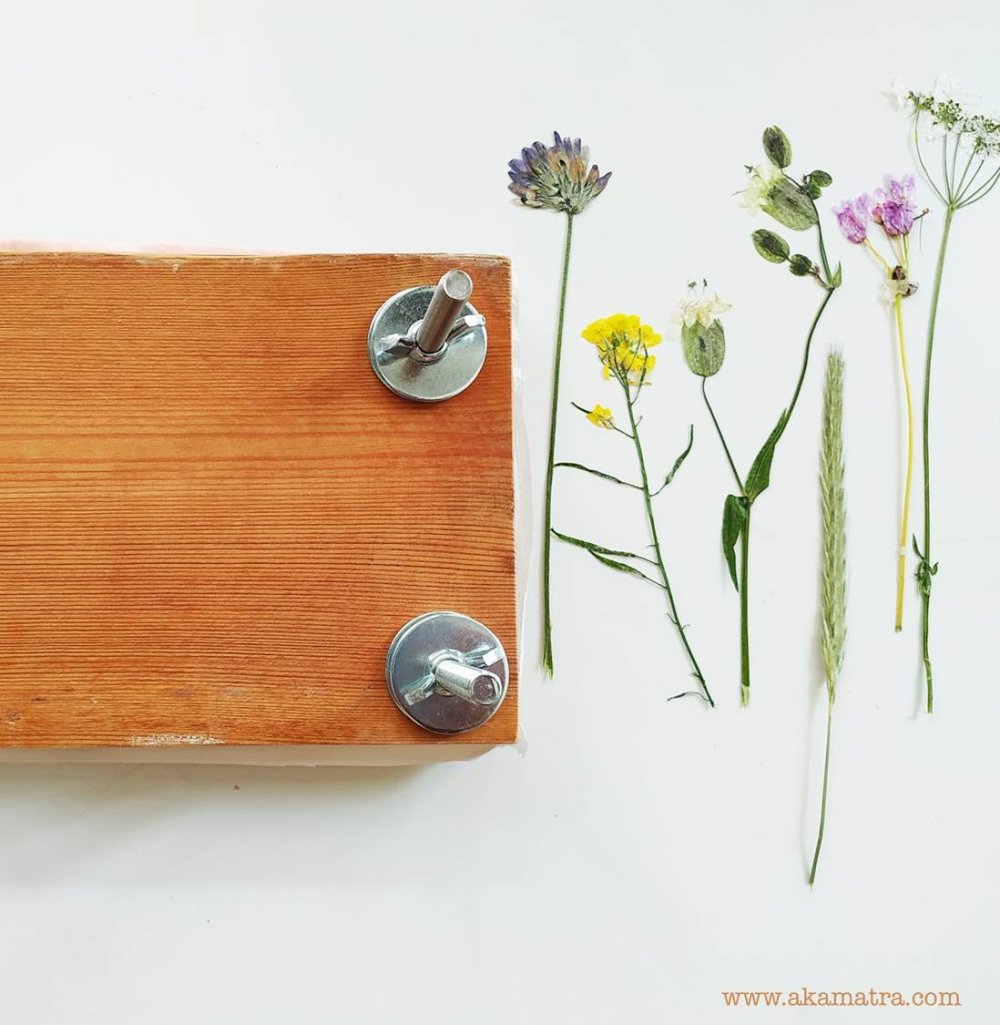
After the holes are made is just a matter of putting things together!
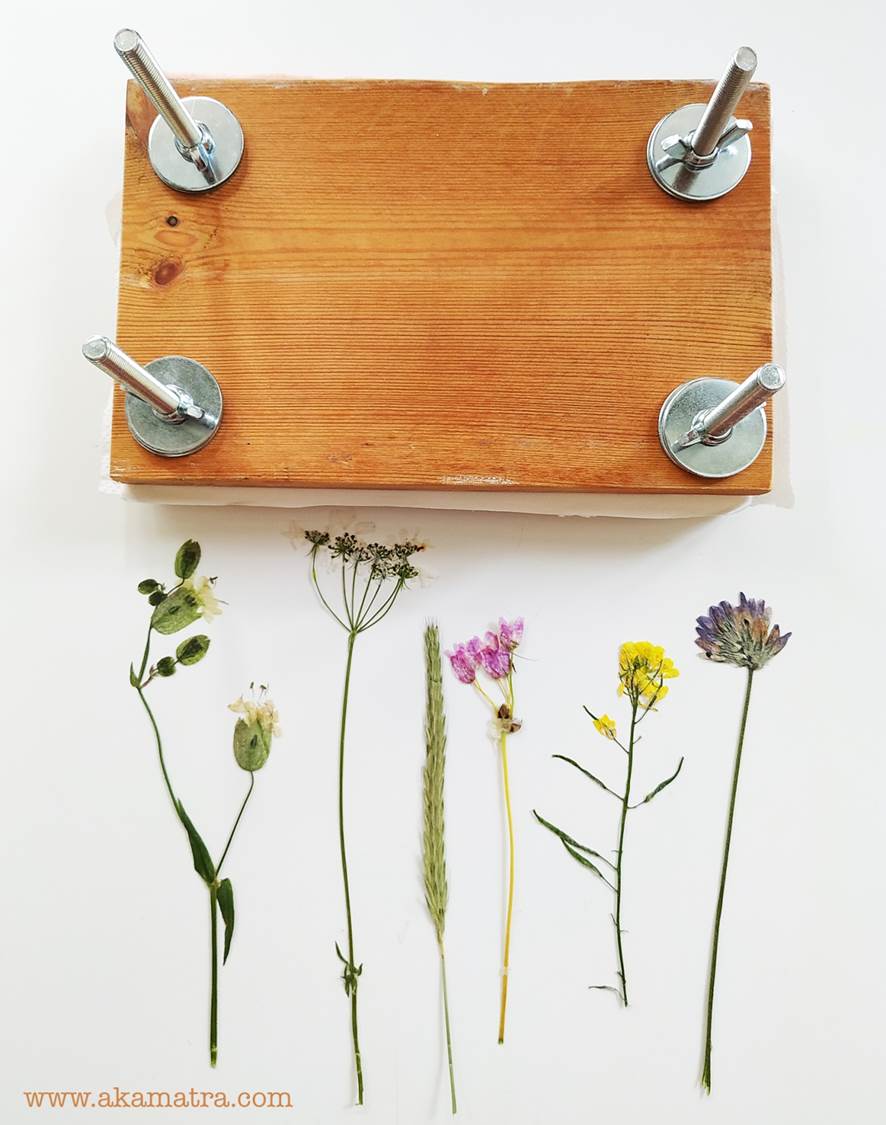
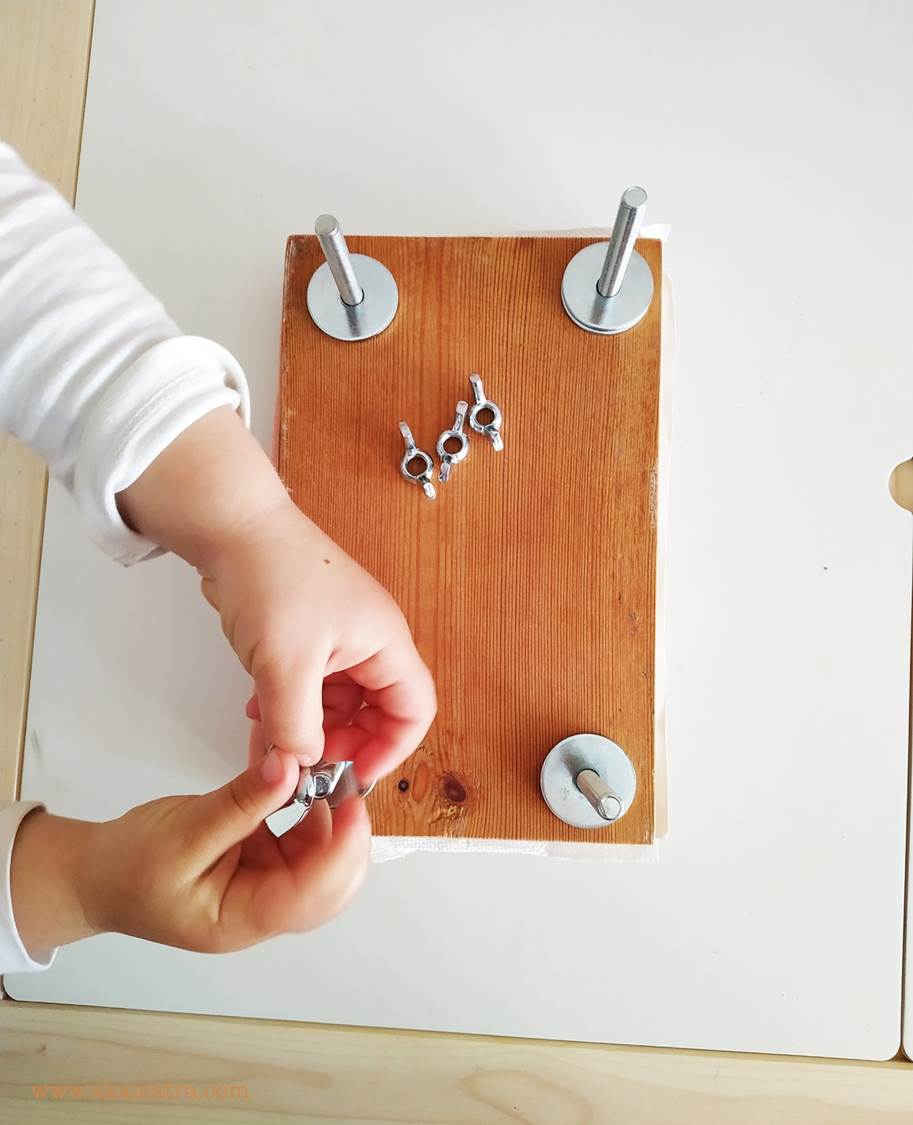
Take one of the wood pieces and place the thrust screws through the holes. Lay the piece on a flat surface and then place one piece of felt, one piece of cardboard, two pieces of paper towels (those don’t need holes you can just press them down over the bolts or lightly tear them for the bolts to pass through), the second piece of cardboard and then the second piece of felt. Then place the second piece of wood. Put two washers through each bolt and lightly screw the wind bolts in place.
DIY Montessori flower press
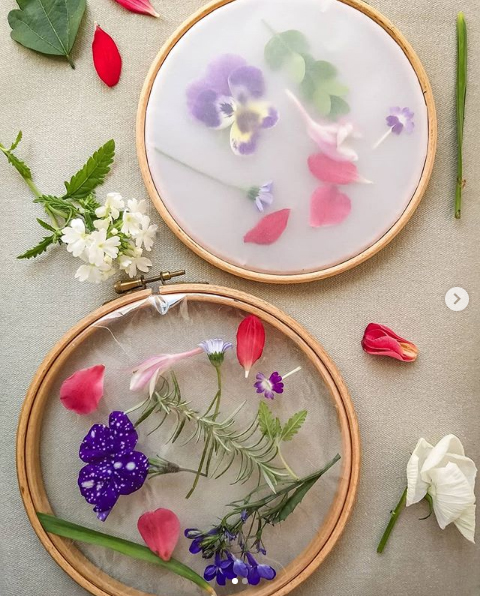
Your flowers presser is ready to use! All you need to do is pull everything up from the second piece of paper towel, place the flowers in the arrangement you want them and then place everything above them. Once you are ready, tightly screw the wind bolts to hold everything in place.
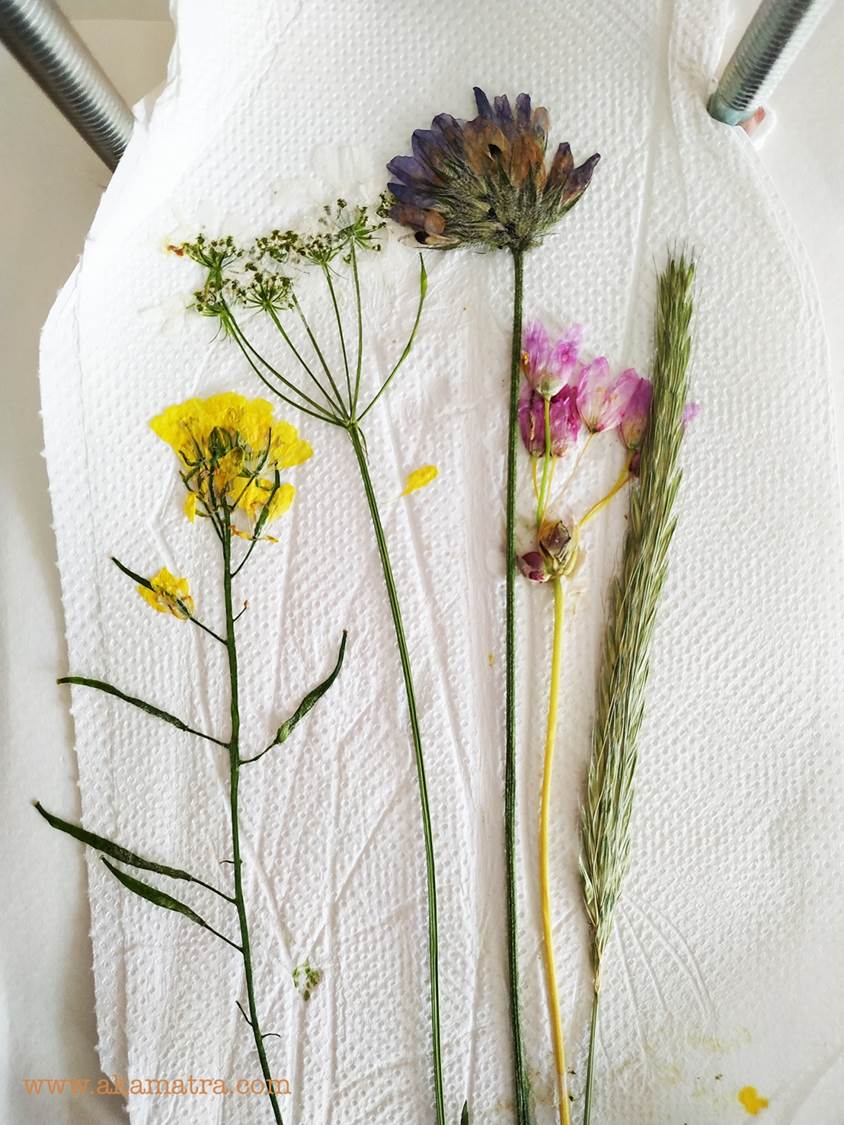
After a week or so – depending on the thickness of your flowers – you can open the presser and remove your flowers.
You can put more than one layer of flowers to be pressed by making the sandwich with more paper towels instead, so that in between the flowers there will always be a piece or two of paper to absorb the moisture.
DIY Montessori flower press
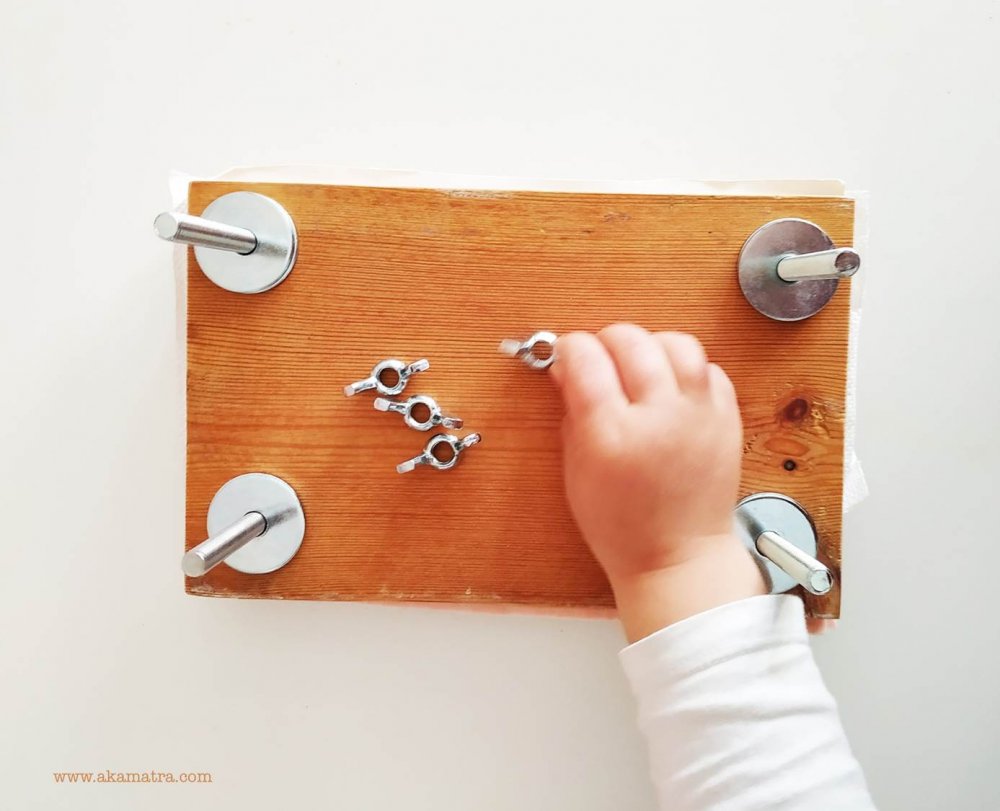
The wind bolts are great for little hands and toddlers really enjoy this activity since it’s practically something they can do from start to finish all by themselves. I love activities like that where you get to see their excitement from picking up the wild flowers, to setting up the flower presser, to the time of the reveal and lastly the use of the pressed flowers to make cards or add them to our herbarium.
The first flowers we use are those we picked up from my mom’s country house when we spent a day during Easter there.
We try to teach her gentle hands that don’t cut leaves and flowers but I have a hard time doing so with wildflowers to be honest. So I decided to let her cut some just for the use in the herbarium and help her plant more in order to learn to appreciate living things and respect nature.
If you want more inspiration about flower crafts check out my friends' @mammyfesto on instagram. They have a nice challenge for the month of May that you can get inspired by.
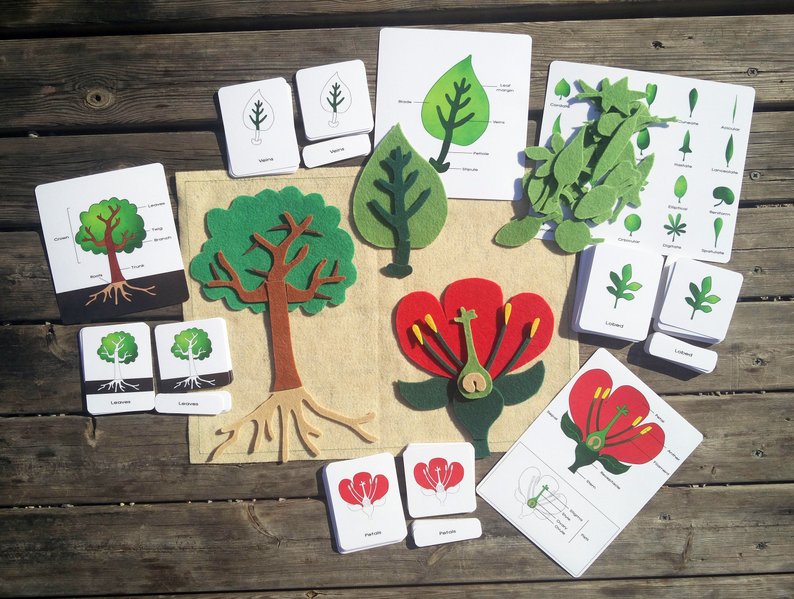
Also, if you are into Montessori check out Geodessee on etsy for some amazing stuff like this botany felt playmat with parts of the plants and the flowers.
DIY Montessori flower press
Did you have a herbarium as a kid?