
A while ago I showed you a photo on my instagram stories with my new keychain since I got bored with my infinity symbol learher lanyard and wanted something cuter! It was a small cute rainbow macrame and you guys went wild over it! So here is the promised DIY Macrame rainbow wall hanging tutorial to help you make your own!
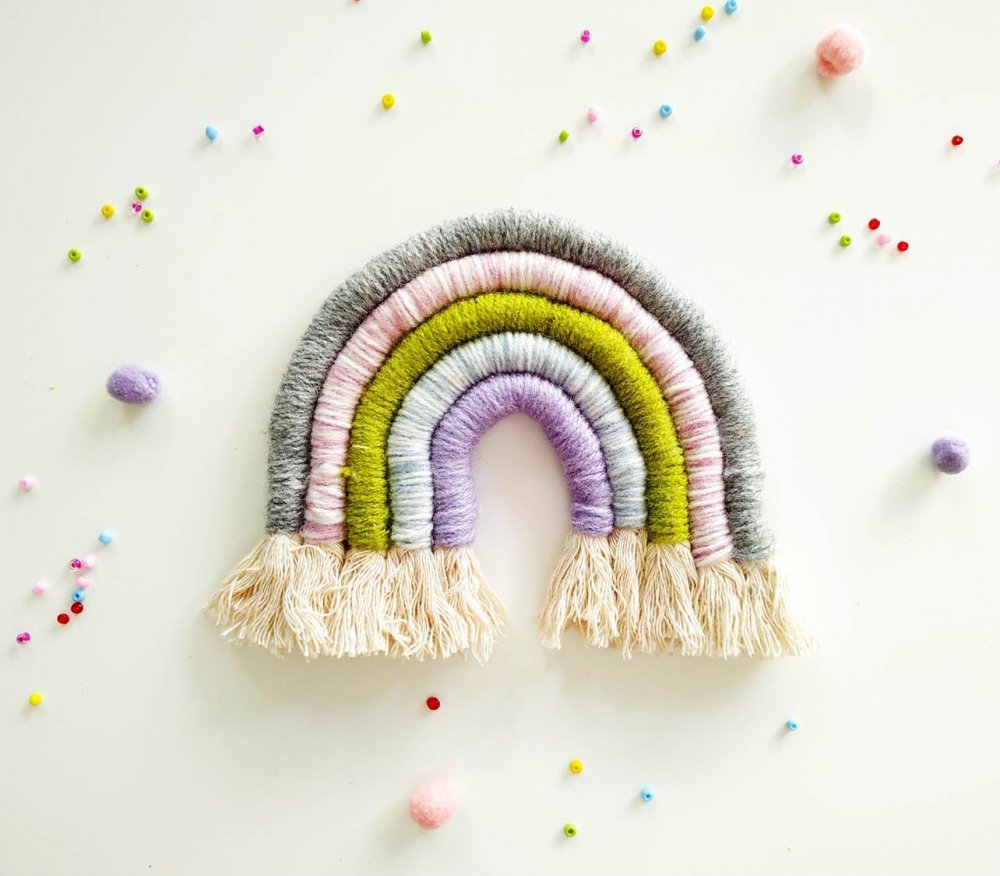
DIY Macrame rainbow wall hanging
Supplies needed
Yarn in any of your fave color combos
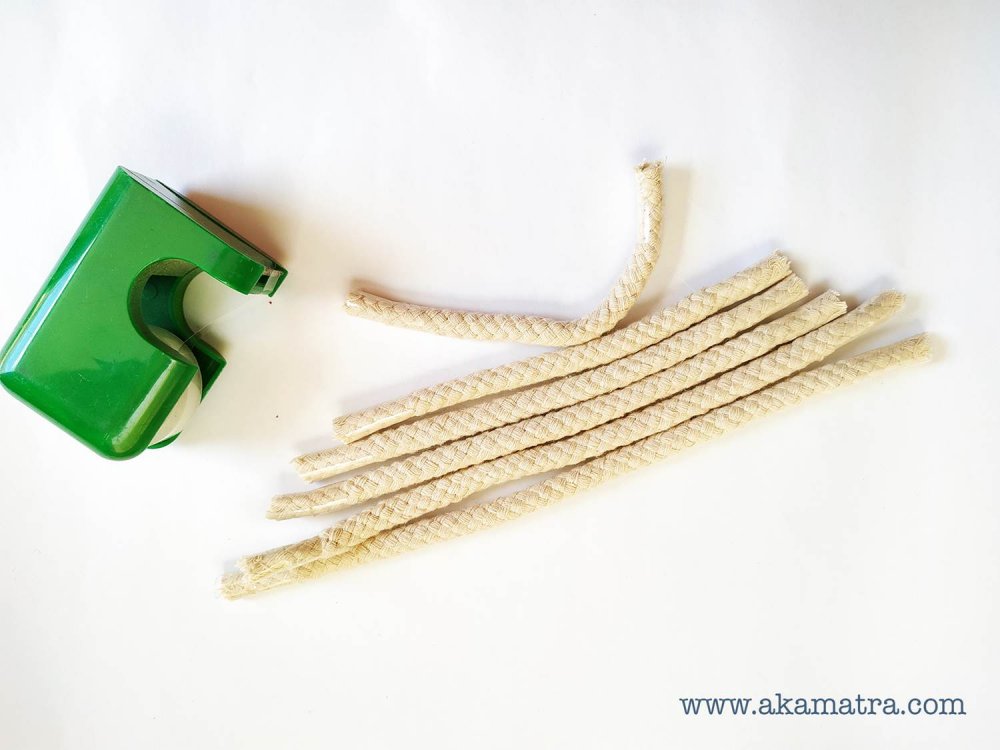
Thick cotton rope
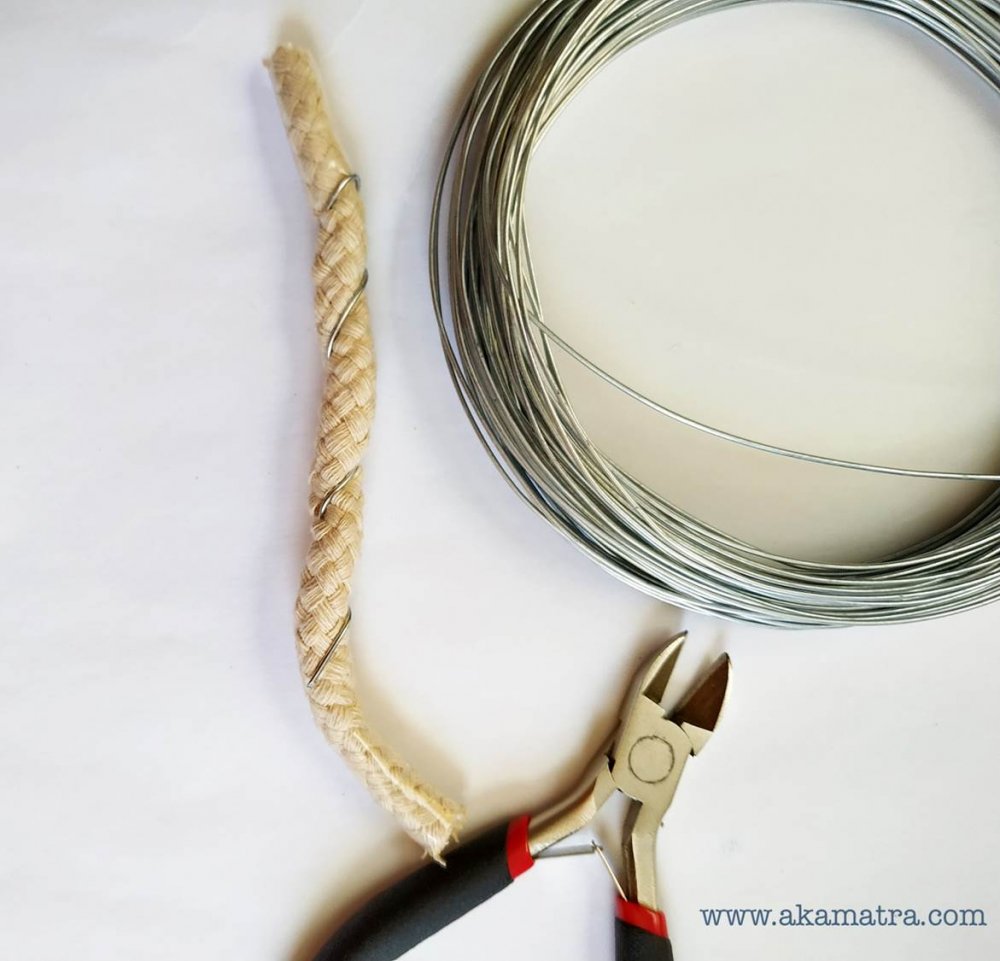
Thin wire and wire cutters
Large needle
Thread
Tape
X-acto knife or sharp scissors
Old hair brush

How to DIY macrame rainbow
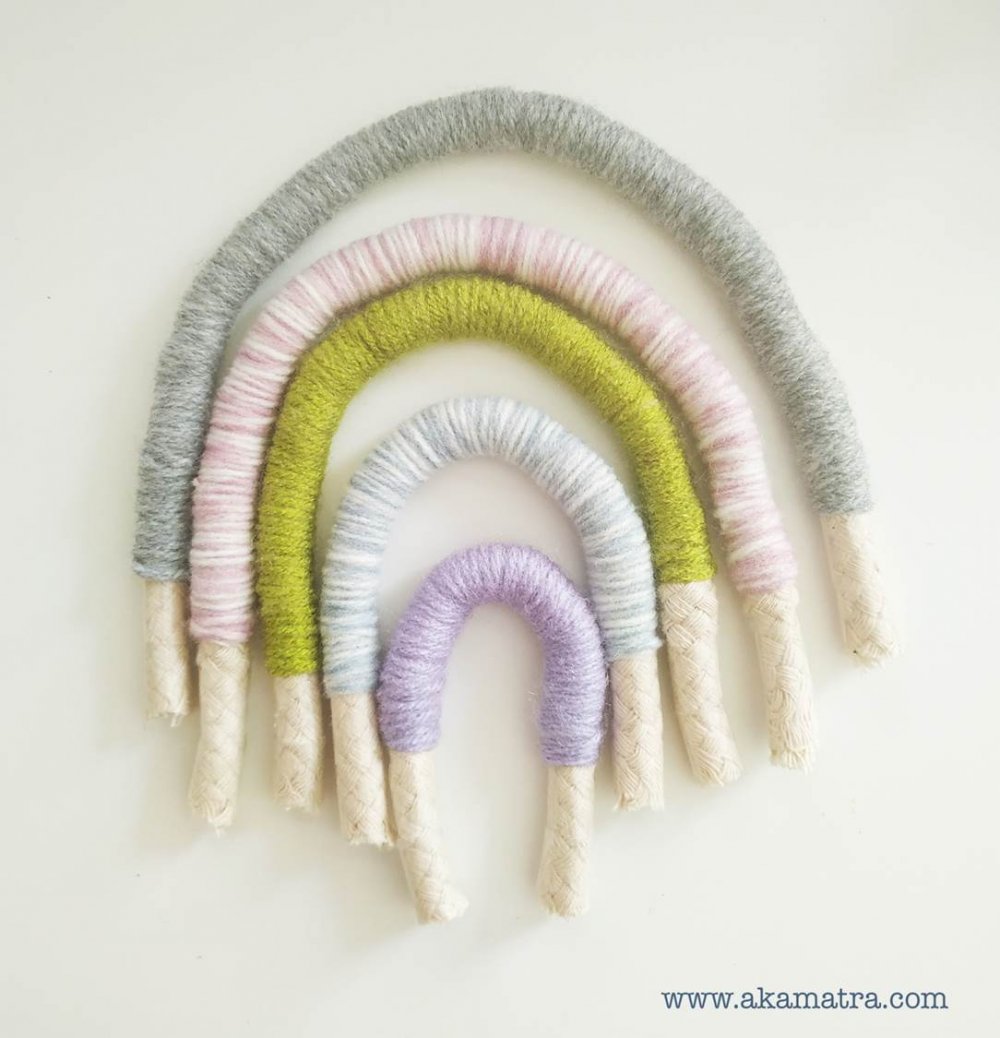
First off decide on the size of the rainbow wall hanging you want to make. That means how long should the strands of the macrame rainbow be and how many strands in total. I made mine with five strands and the end size of the rainbow is approximately 14cm x 10cm.
Once you decide on the size cut the strands of the cotton rope accordingly. I cut five strands with lenghts ranging from 25 to 17 cm. The difference in the length was about 2cm from one strand to the next.
Note: You don't have to be exact in the measurements at this point. In fact it's better if you aren't and just cut the extra rope at the end.
Put some tape at the ends of the strands to avoid fraying. The tape also serves as a guide on where to start your wrapping.
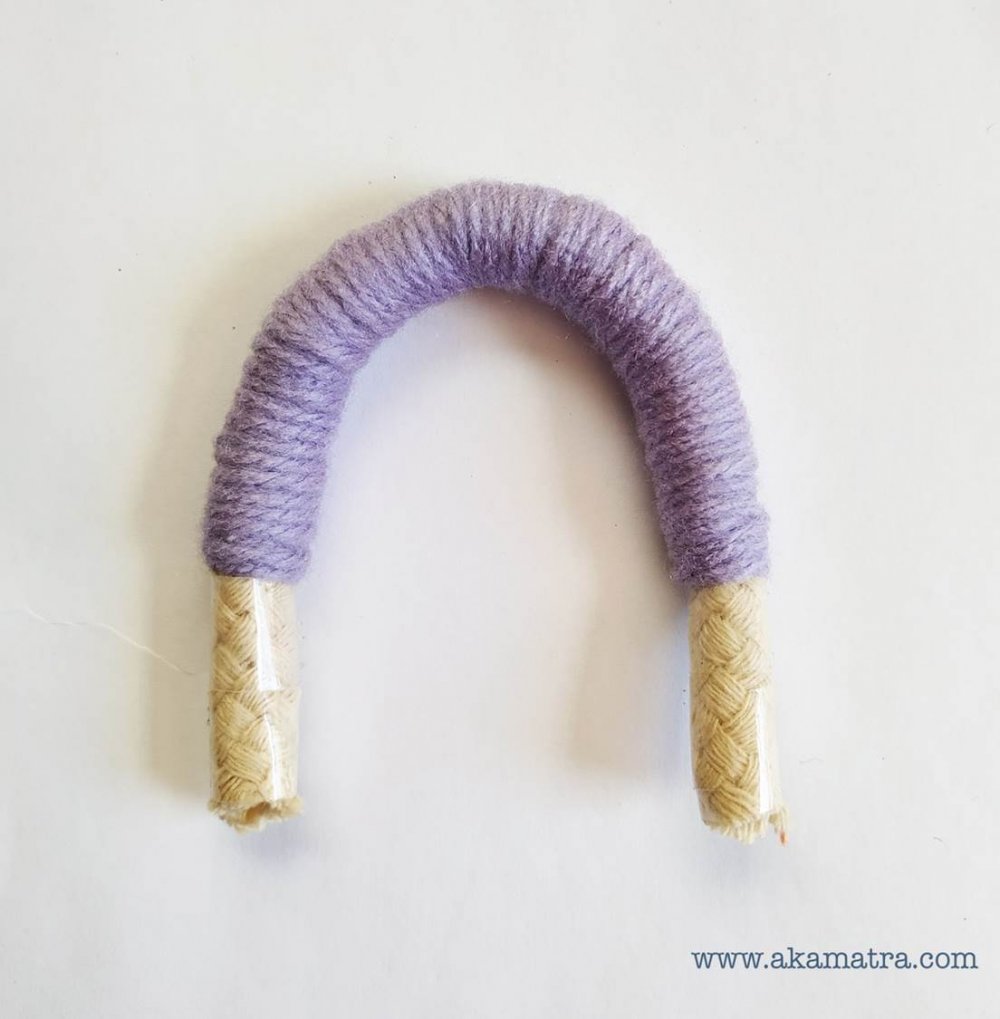
Cut a piece of wire and wrap it around the strand. Secure the ends towards the center of the rope.
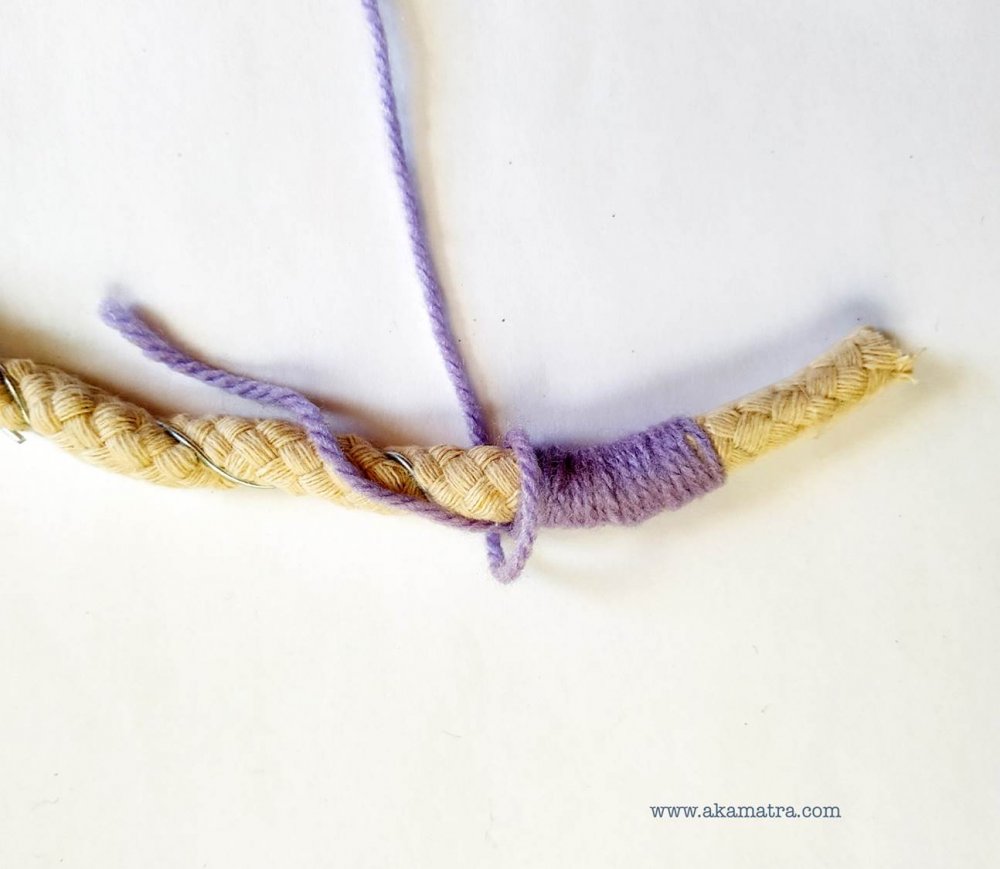
Now's the time for the fun part! Decide on your colors and order and start wrapping your yarn around the strands. Make an overhead knot and cover it with yarn. One important thing to note if you want your rainbow to be smooth looking is to only pass the yarn one time over each part of the rope. If you want a chubbier version you can wrap it twice or three times but don't do in one passing. Rather cover the strand with one wrapping of yarn from start to finish and then turn around and cover it a second time. This will create a much smoother macrame rainbow for your wall!
At the end of the strand (where your tape is) secure the yarn with the yarn needle pointing in the center of the rope.

Cut close. Your first strand is ready!
DIY Macrame rainbow wall hanging
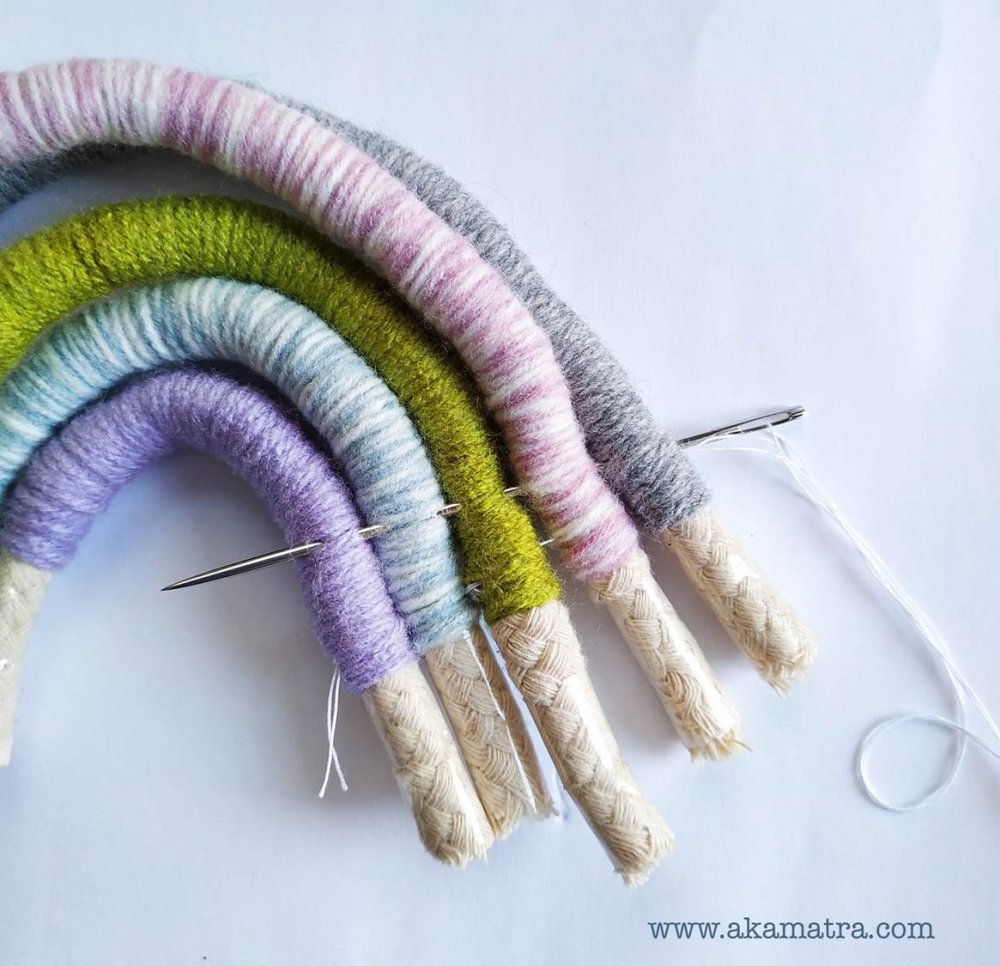
Repeat the process above with all your strands. Lay them flat on top of the other.
Using a neutral color thread and a long needle sew the strands together tightly.
Once that's done, take your x-acto knife or sharp scissors and cut the tape and remove it.
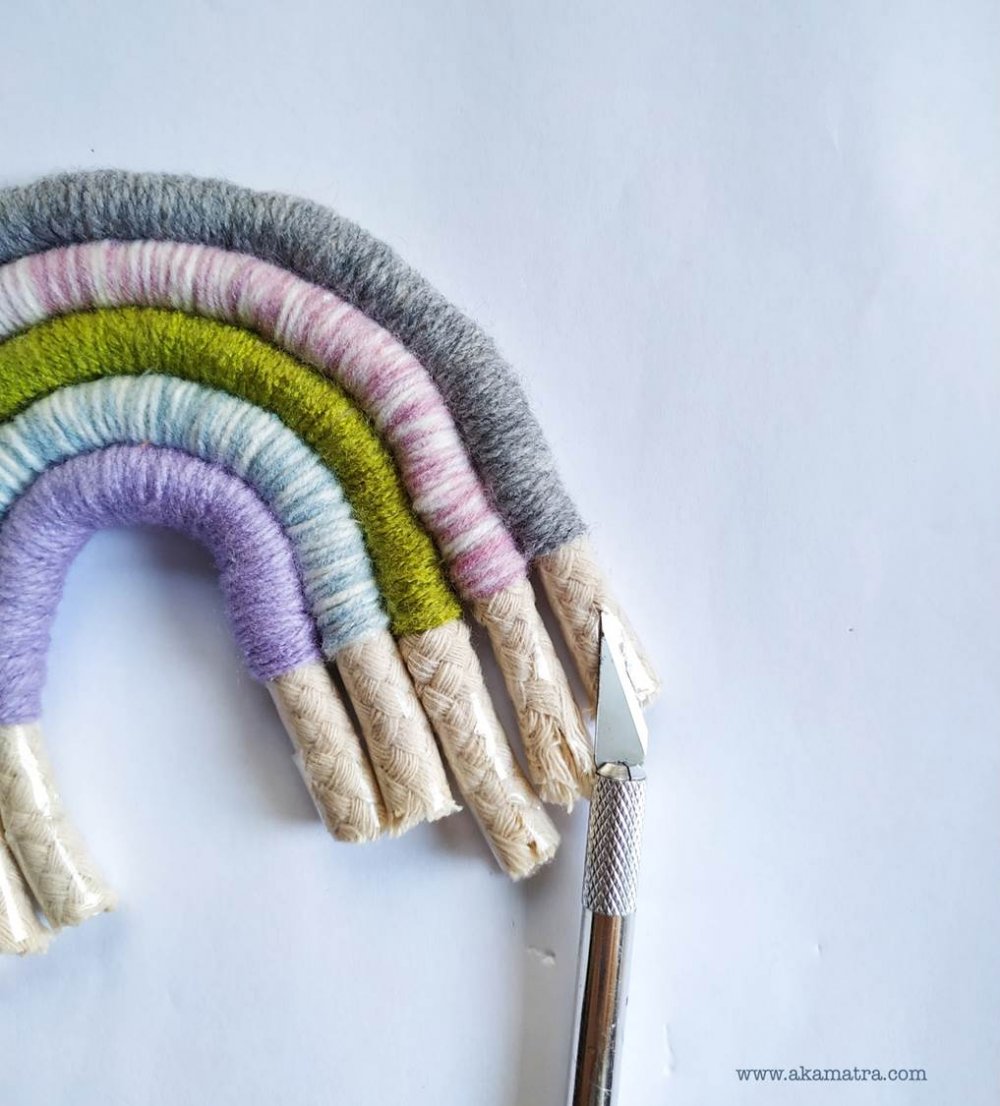
Using your fingers try to unravel the rope ends. Then take your old brush and brush those ends untill they are totally unraveled and smooth.
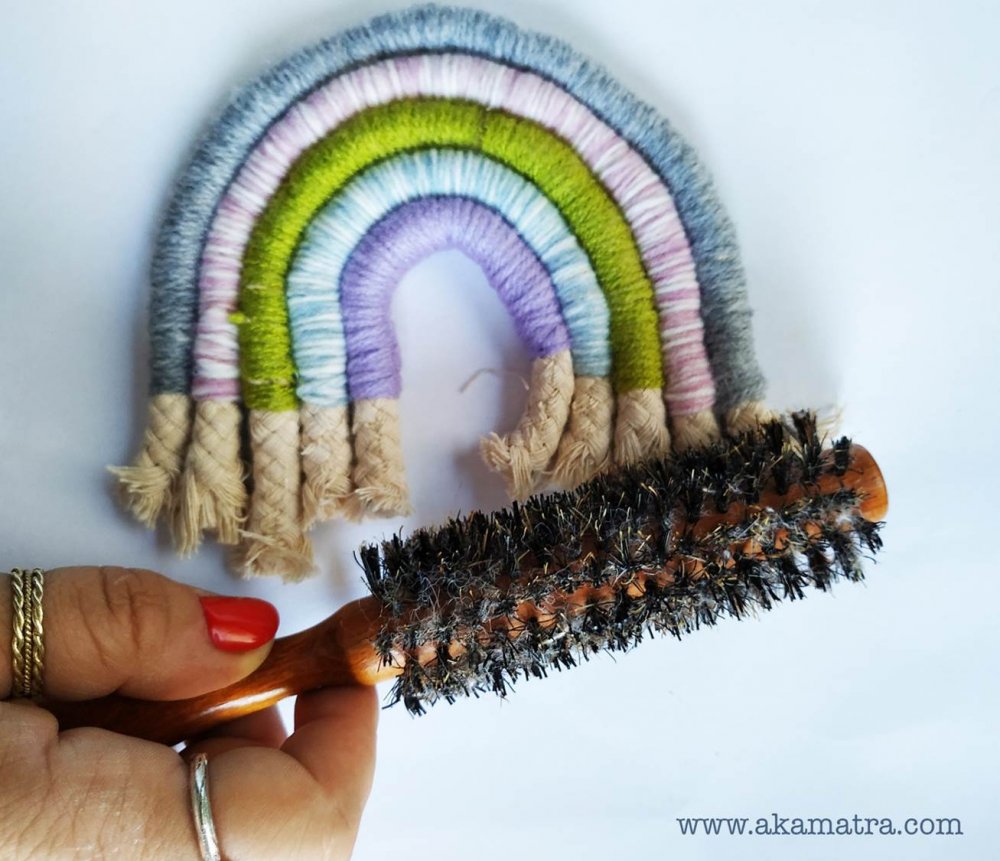
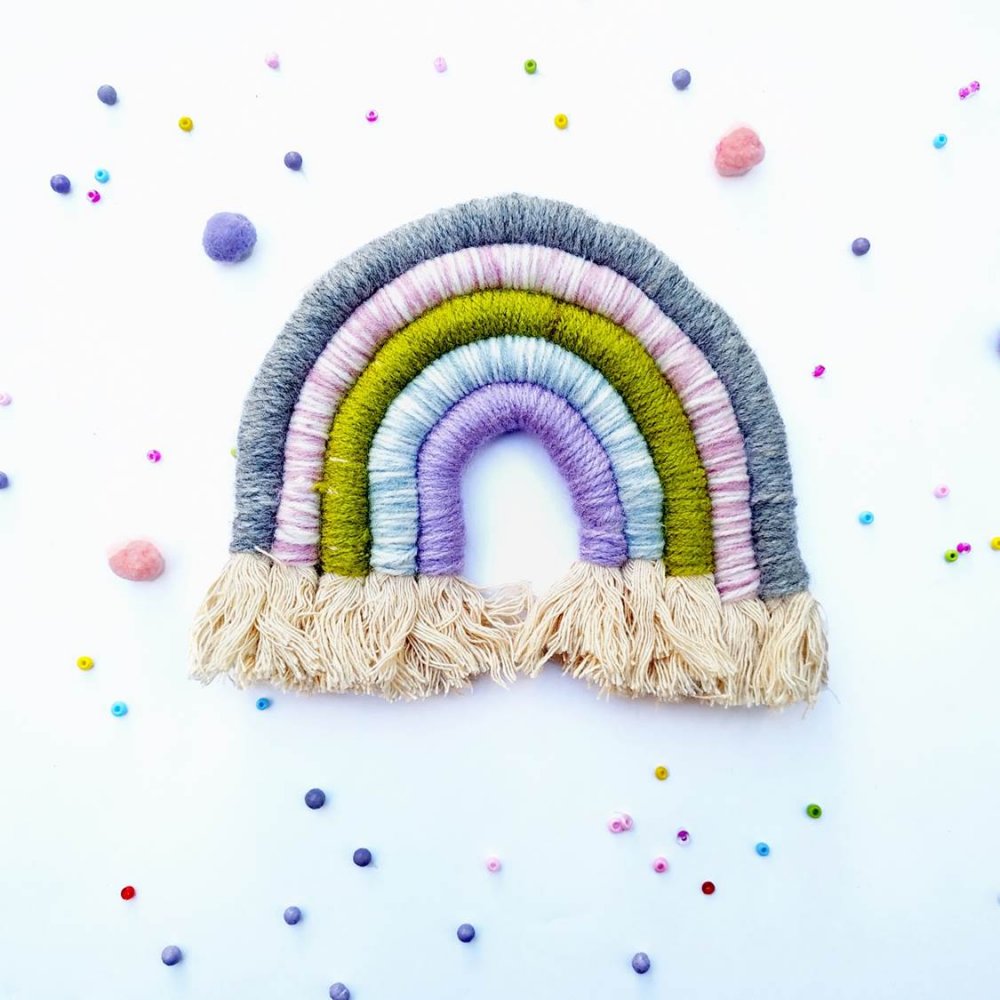
Trim of the ends of the rope at the same length. Ta-dah! Your very own macrame rainbow wall hanging is ready to decorate your walls! You can either hang it by a thread or just as is on a nail (classy right?).
DIY Macrame rainbow wall hanging

DIY Macrame rainbow wall hanging
Let your imagination run wild and make these fun rainbows in lots of colors and sizes! The one I use for my keys has only three strands and can be made in 30 minutes! Cool right? It's also a project that would be fun to make with older kids!
What colors would you use for your macrame rainbow?