Hello there my darlings! This is a post I wanted to write for quite some time and now it's finally time! It's all about French knitting projects you'll actually want to make and even sell! If you are not familiar with French knitting, relax. It's not as complicated as it sounds! It's actually so easy, even little kids can do it! It's even a great rainy day activity for toddlers if you have some toilet paper roll and a couple of wooden sticks.
French knitting is also called spool knitting, loom knitting, corking or tomboy knitting and can be done using different versions of the same tool (sometimes called knitting Nancy) to produce a type of cord or i-cord as some people call it.
You can make your own French knitting tool with a toilet paper roll, some lollipop sticks and some washi tape. Instructions can be found here. You can also make a Knitting Nancy with a wooden spool and some nails as instructed here. However, after personally trying both methods above, I found that it took me an enormous amount of time to make a couple of meters of cord and I really don't have so much free time these days.
That is why I was overjoyed when I got my hands on this automated spool knitter. I was finally able to make all the cord my heart desired, in a minimum amount of time and, the best part? I could read my book while knitting! It just doesn't get much better than that!

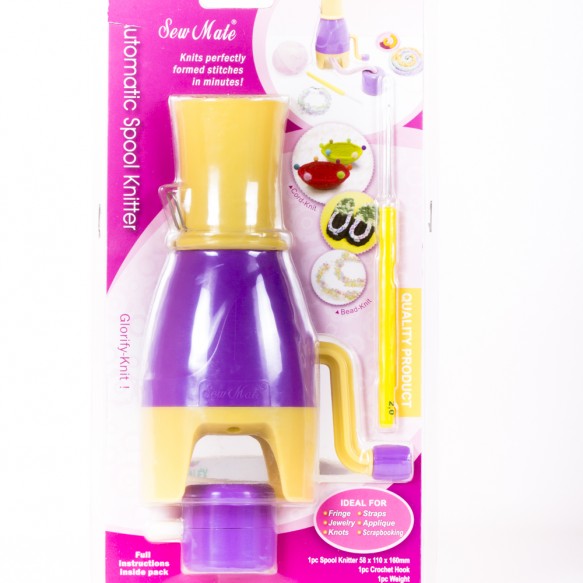
This little thing has detailed instructions and once you get it going it doesn't stop!!! I mean it, you can make cord out of one skein of 100g yarn in less than an hour! It does have a small learning curve but I promise it's really easy to get to the bottom of it. You need to remember a couple of things though:
- Don't use it with anything thicker than sport size yarn. It will not work and you'll get frustrated.
- Don't have any kind of tension on your incoming yarn. Even if your yarn is loosely spoon in the skein you might have to unravel some of the yarn. It needs to be completely relaxed for the knitter to work properly.
- As you make your cord, the hanging weight will make your cord twist. Make sure to keep your loading yarn away from the twisting cord. Once they get twisted together you'll have a hard time untangling them and nobody got time for that!
So let's now move on the part of the post you really want to read, shall we? The French knitting projects you'll actually want to make as promised!
What can you make with lengths and lengths of i-cord? Tons of things! I am going to show you some of what I made.
Wreaths
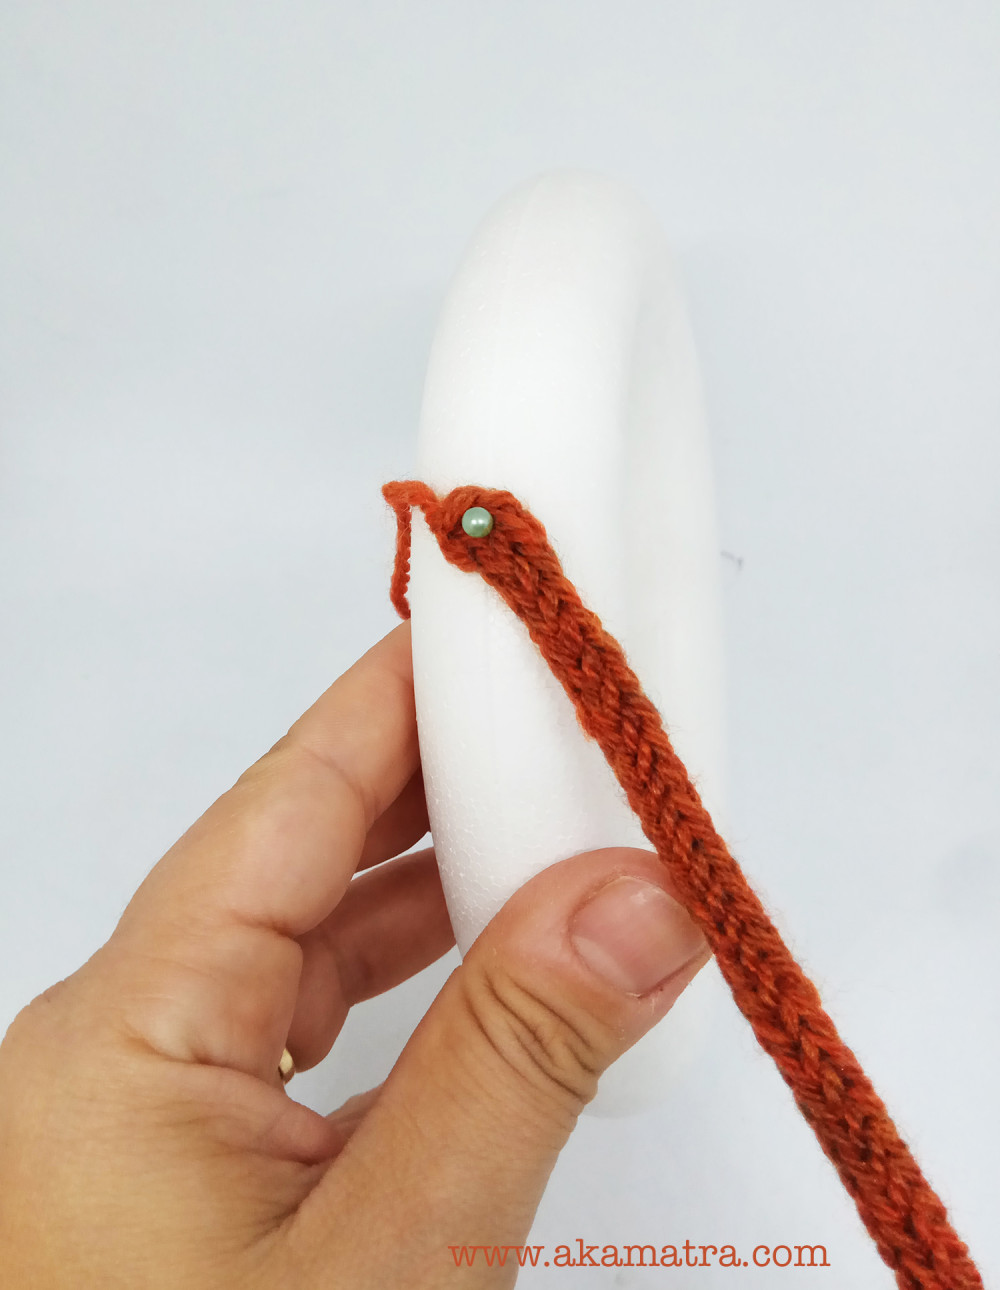
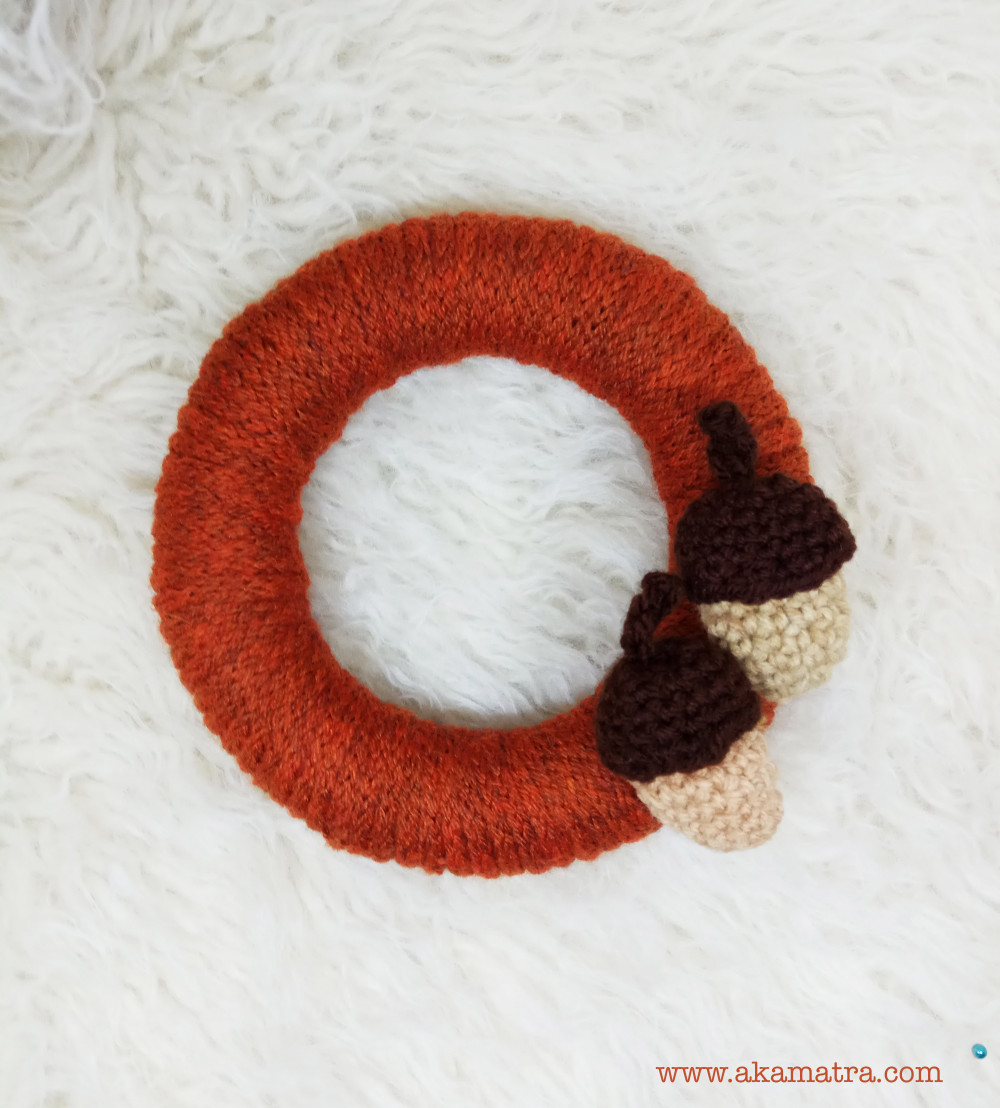
I used my cord to cover up a styrofoam ring. There are actually two ways to do that. The first one is shown below and it's to actually wrap the cord around the ring.
You start by securing the end of the cord with a pin on the ring.
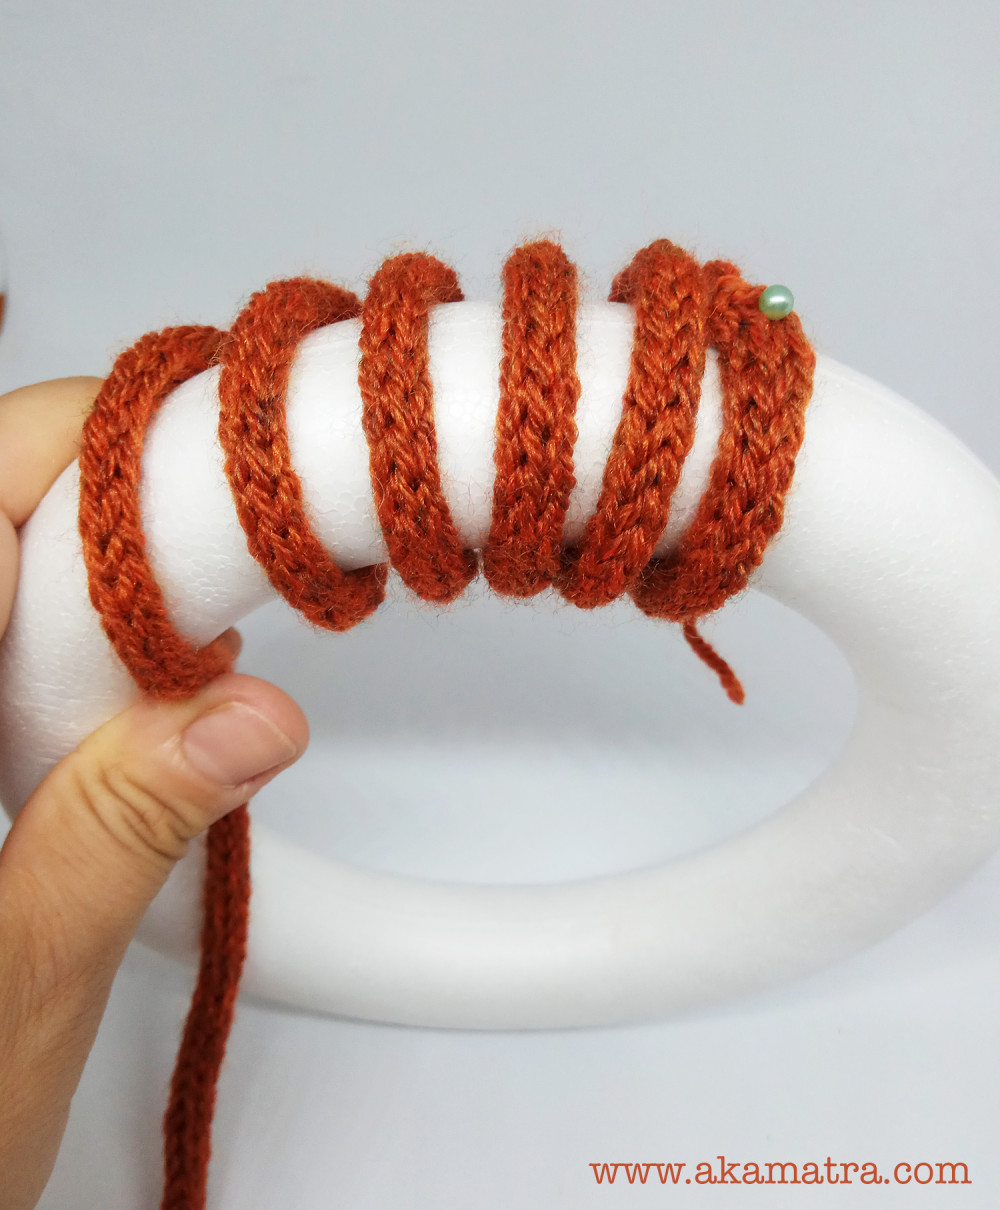
And then slowing and evenly covering it up by wrapping the cord around it.

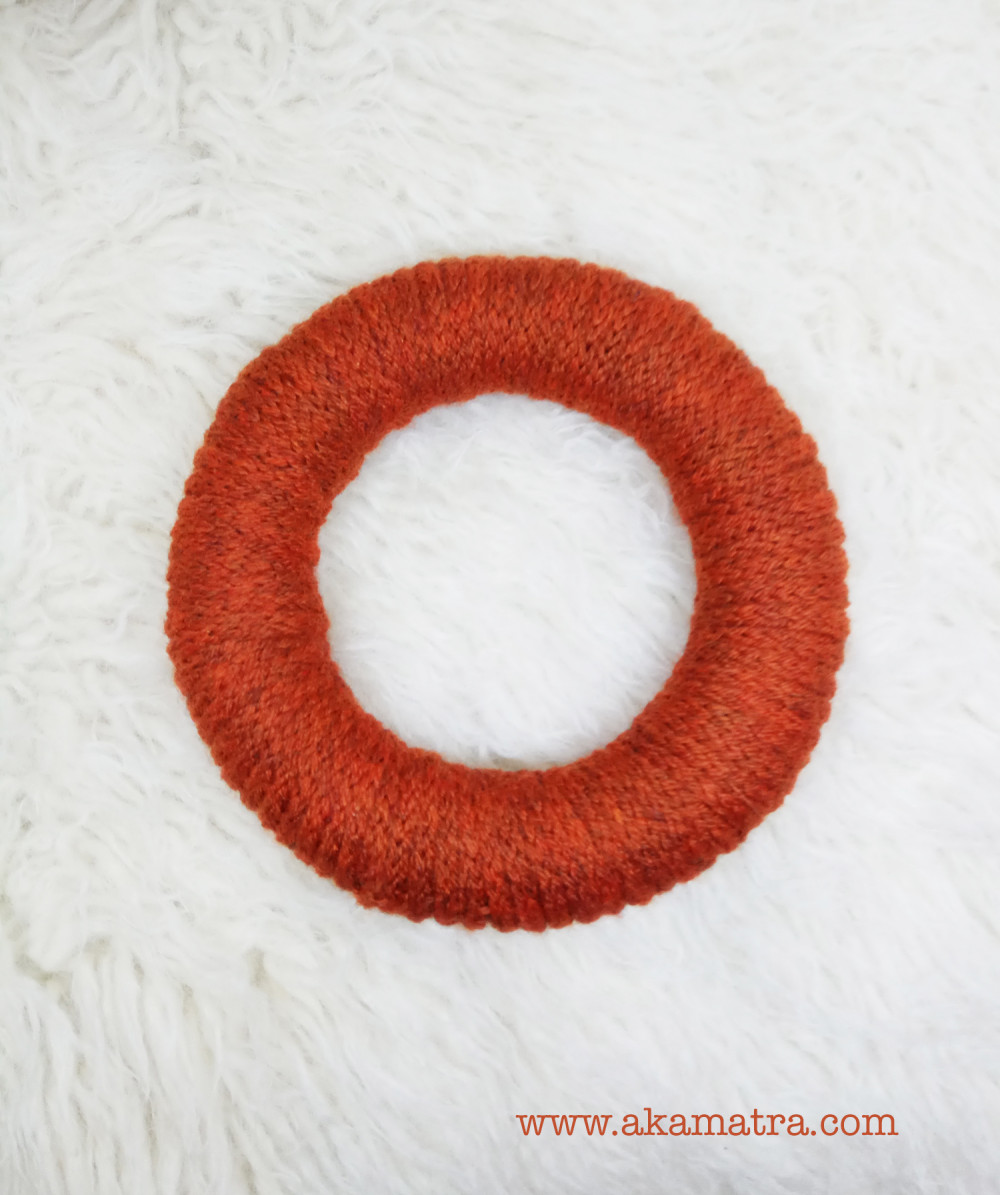
At the end you have a nicely covered and cozy knit ring to use as the base of your wreath.
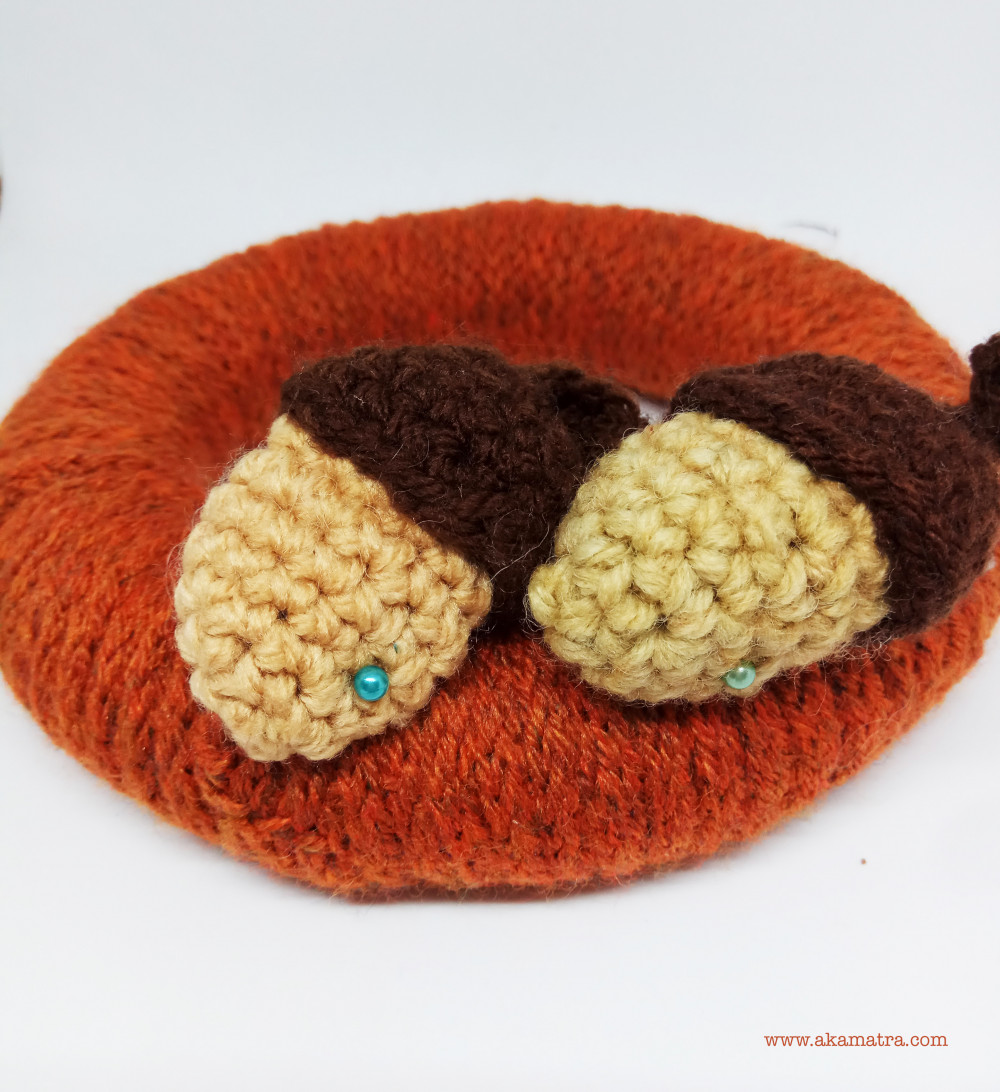
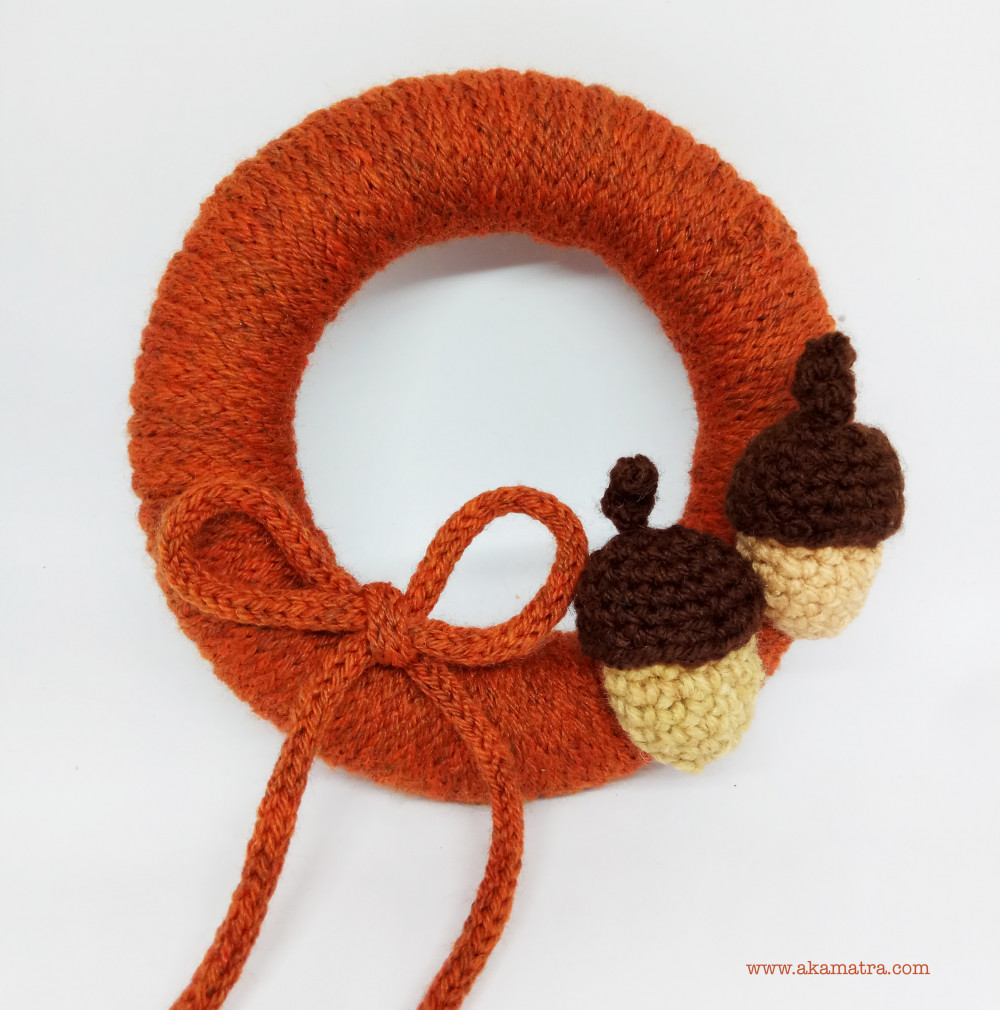
You can make some acorns with my easy amigurumi pattern, some leaves or even some pumpkins and decorate your wreath. A little bow is always a good idea! Use pins to place them around the ring and once you decide on their final placement, sew them in place. You can also use glue but I didn't want to because I want to be able to change it from time to time.
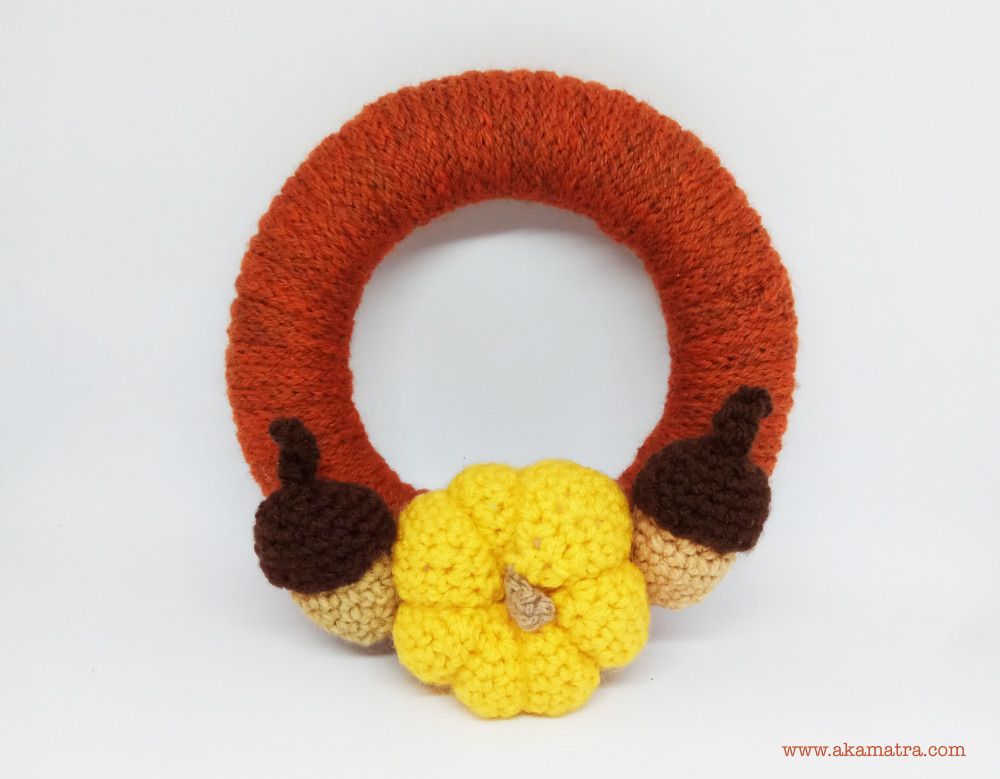
The other way to make your wreath is to crochet the cord around the ring. You will need a very large crochet hook. I used my 10.00mm for this task. You just do single crochet stitches into the ring (as if you would do in a magic ring) until you cover the whole thing. It gives a large wreath and a very cozy and warm feeling!

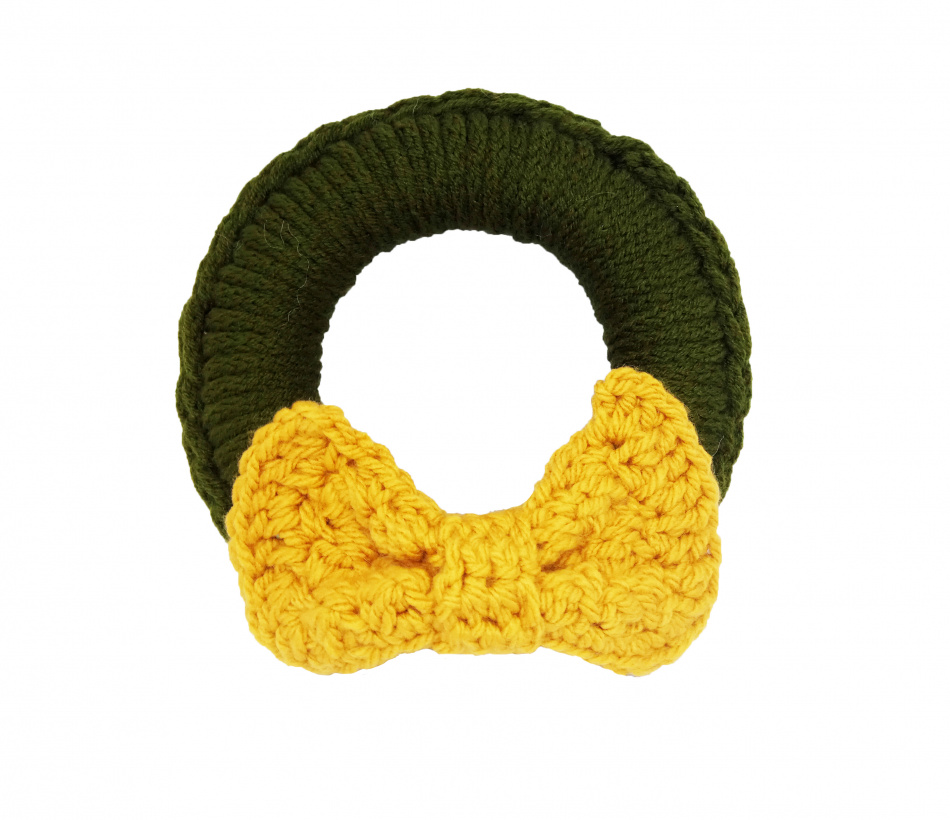
I used one of my butterscotch hair bows to adorn this wreath. You can find them in the shop here or you can wait until the next issue of our C2 magazine is out and you can make your own with my free pattern!
Decorative letters
Another one of the French knitting projects you'll actually want to make is the calligraphy letters.
They are super nice to use as a personalized gift. I made the name of my sponsors brand as a gift for them and they loved it.
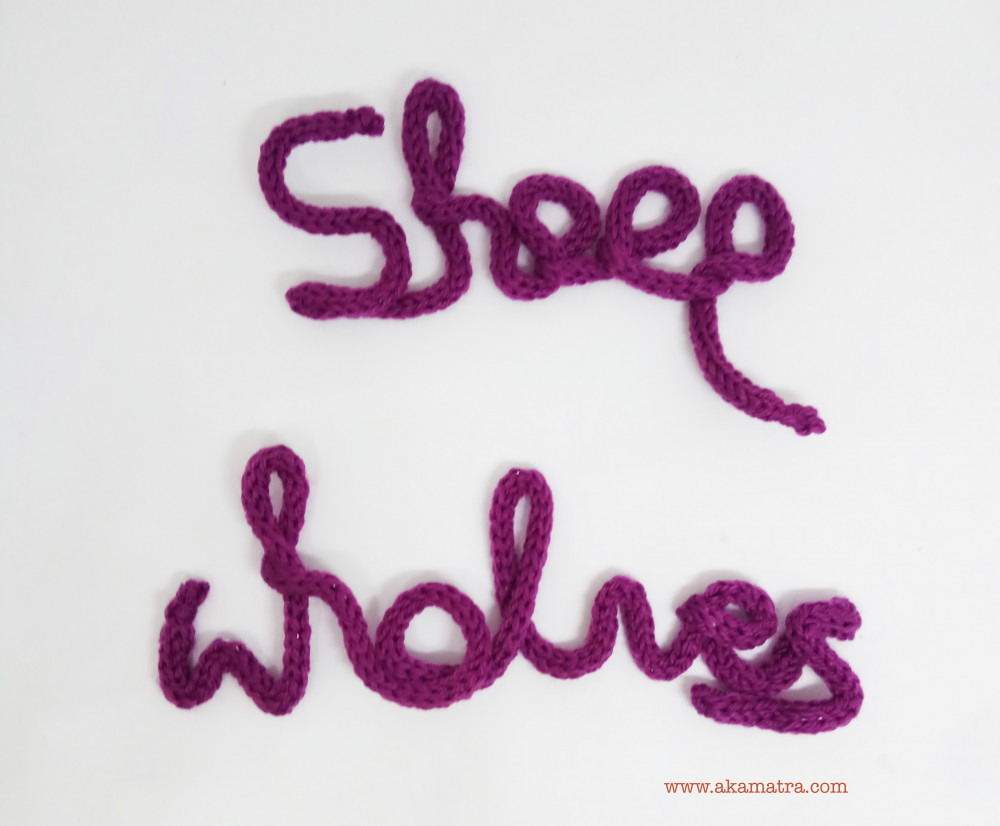
To make yours all you'll need is the cord and some wire. I used regular wire from the hardware shop. If you are not good with calligraphy, find the font you like online and print the words you want. Then place the wire in the cord and use the printed page as a template to form your words. Before inserting the wire in the cord take a pair or pliers and make a small loop so that your cord doesn't get in the way of the wire.
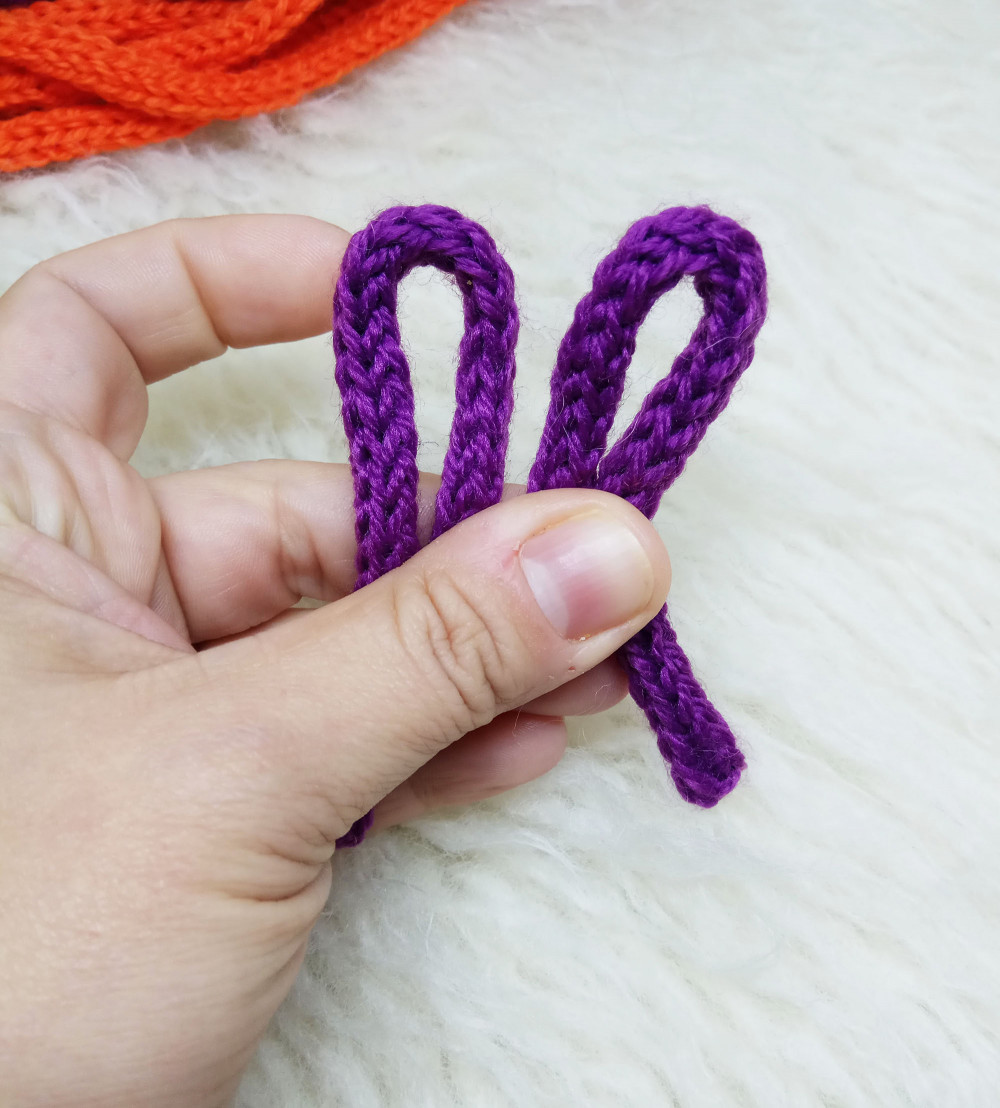
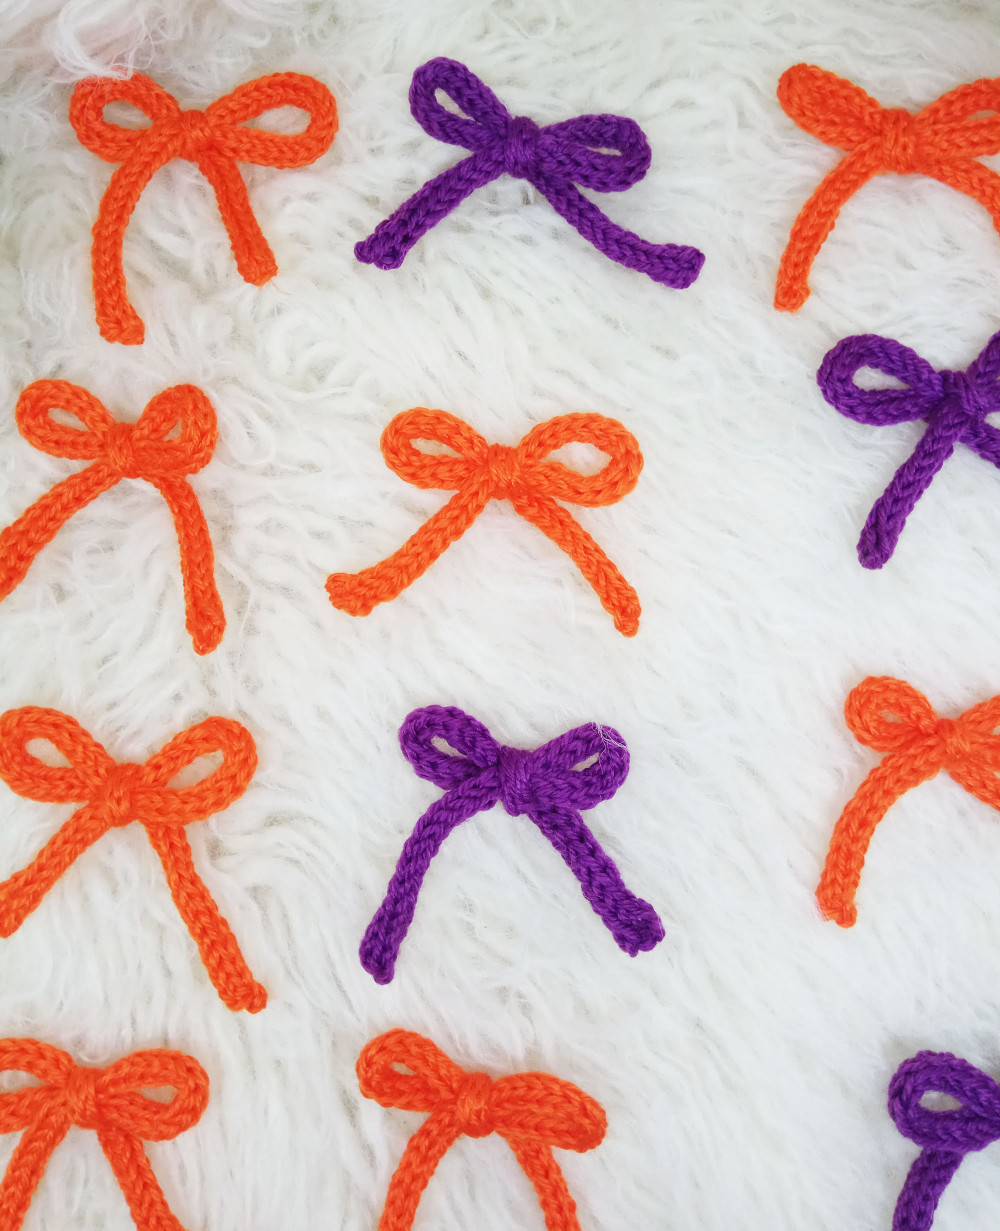
Bows
Ok, this wouldn't be complete if I didn't show you how to make bows with the cord right?
It's very easy actually! You'll need approximately 30cm of cord, some hot glue and a hair clip. Or a brooch backing, or a hair elastic or anything other you want to put a bow on.
Take your cord and make two loops one beside the other. Then use them to make an overhead knot. Boom! You've made a bow! Add a drop of glue and your hair clip and you are done! Pure magic isn't it?

I have some more French knitting projects for you for the future. I need more time to show you my larger project as of yet, but I promise it is going to be worth the wait!
Till then, keep on crafting!
Disclosure: I was gifted the automated spool knitter by Sheep and Wolves and the yarn to complete these French knitting projects. Everything you've read above is totally unbiased by that fact and it's my opinion to the last t. Besides, who would be crazy enough to not like such an amazing gadget?