After publishing my Athena amigurumi doll free crochet pattern I took a small break from crocheting amigurumis. Athena was not such a challenging pattern per se, but writing it in both English and Greek took out some of the fun for me. You see most people don't realise that taking notes while you make a crochet project is way easier than taking these notes and turning them into a blog post with the pattern for other crocheters (or knitters) to make. Anyway, today I have another amigurumi pattern for you and this time it's a really easy one! Find below my sun amigurumi free pattern!
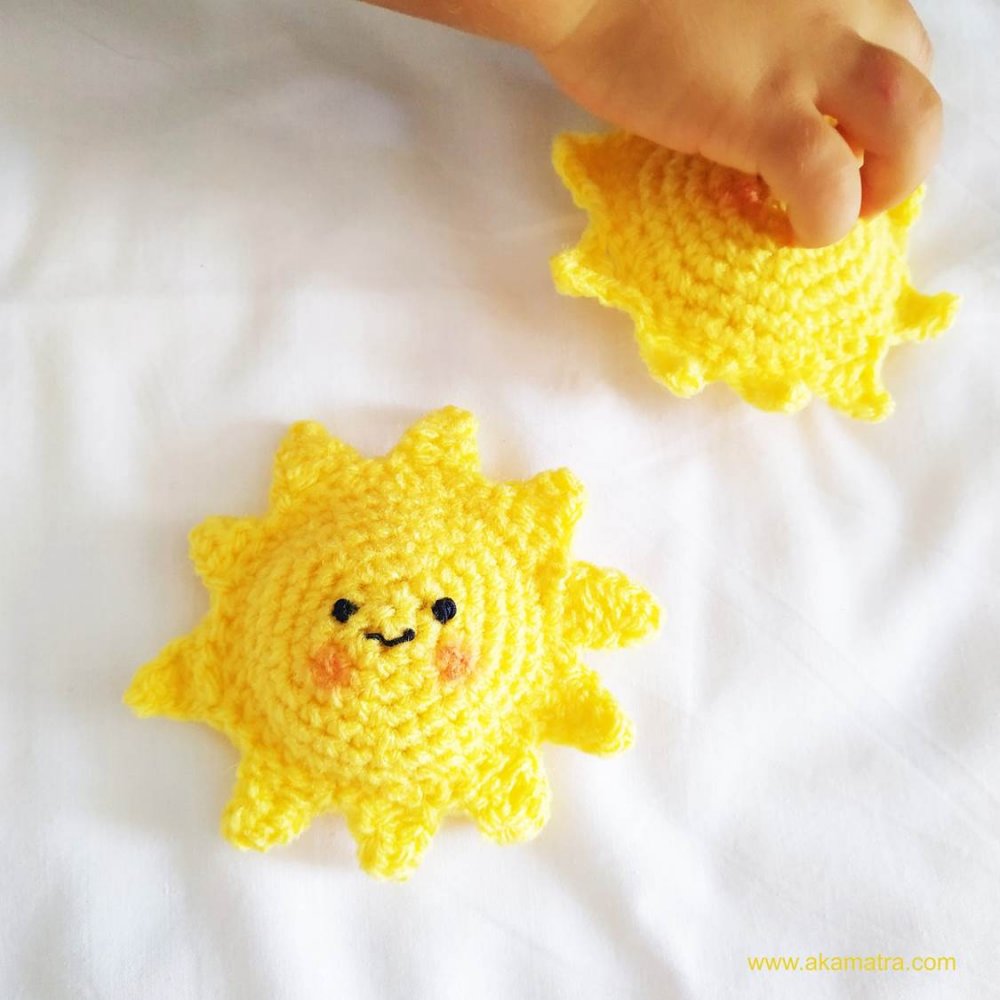
I posted a first photo of the sun during last May on my instagram but I couldn't find the time to test and write the pattern up. During our summer vacation I made a few more suns for my daughter and her friend and took the time to write down my notes and tweak the pattern to my liking.
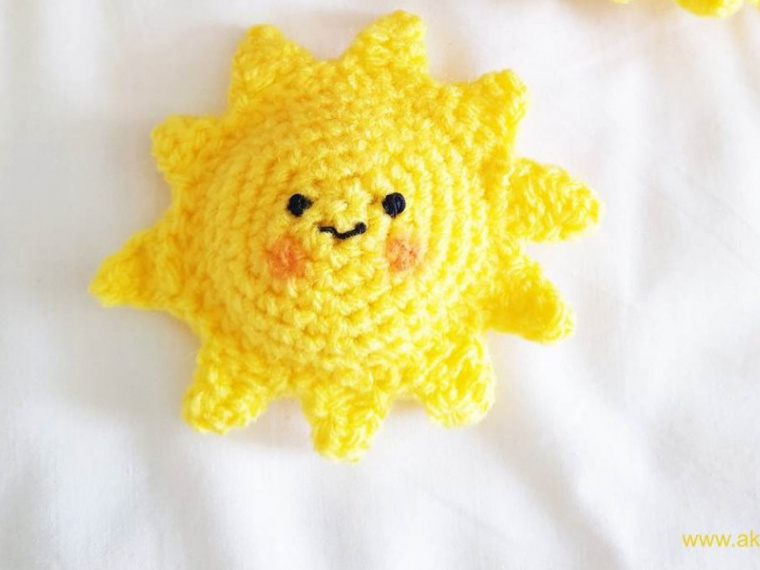
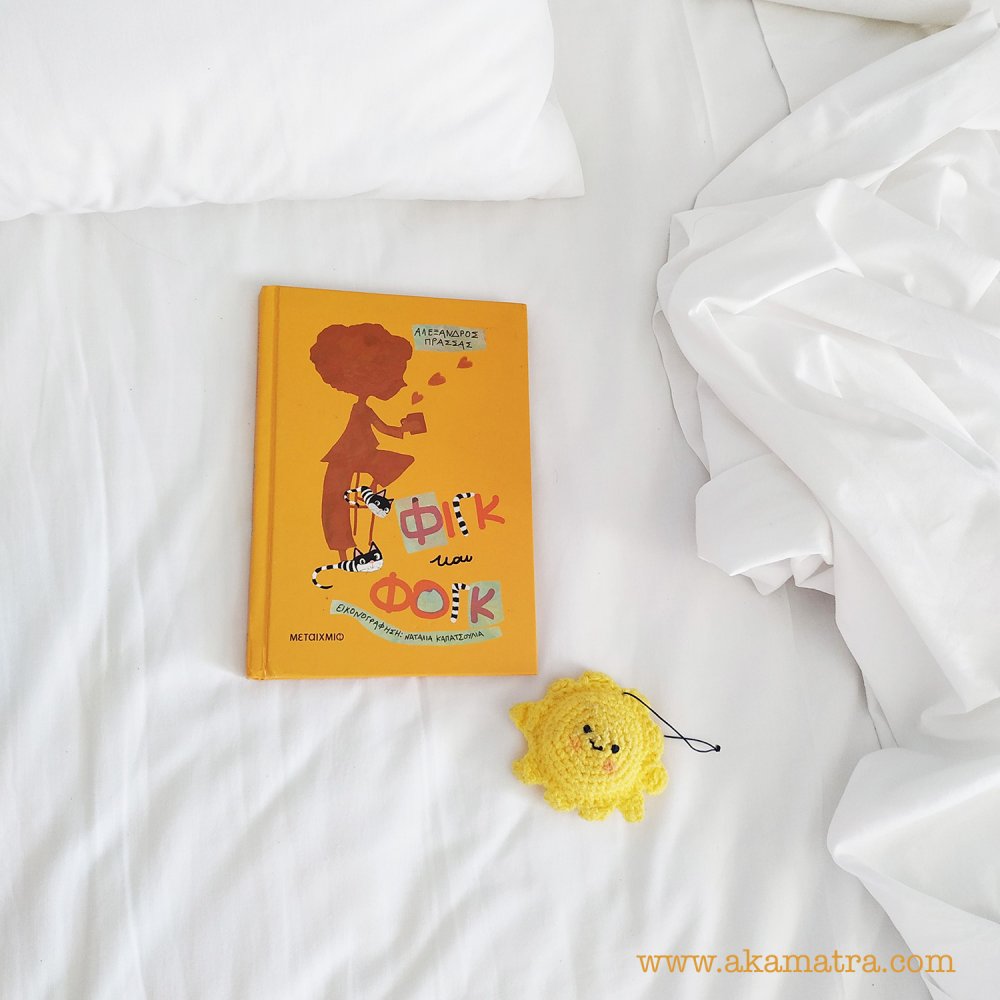
Sun amigurumi free pattern
Supplies
Yellow yarn
size B crochet hook
Two 4mm safety eyes or embroidery thread
Stuffing
Scissors

Abbreviations
This pattern is written in US terms
mc= magic circle
sc= single crochet
sl=slip
st=stitch
ch= chain
inc=increase
dec=decrease
Sun amigurumi free pattern
Front
mc
Rnd 1. 6sc in mc [6]
Rnd 2. inc in every st [12]
Rnd 3. 1 sc, 1 inc, repeat around [18]
Rnd 4. 2 sc, 1 inc, repeat around [24]
Rnd 5. 3 sc, 1 inc, repeat around [30]
Rnd 6. 4 sc, 1 inc, repeat around [36]
Rnd 7. 5 sc, 1 inc, repeat around [42]
* put the eyes between Rnds 2-3 or embroider them there. Also embroider the mouth between Rnds 1-2.
cut off and secure yarn.
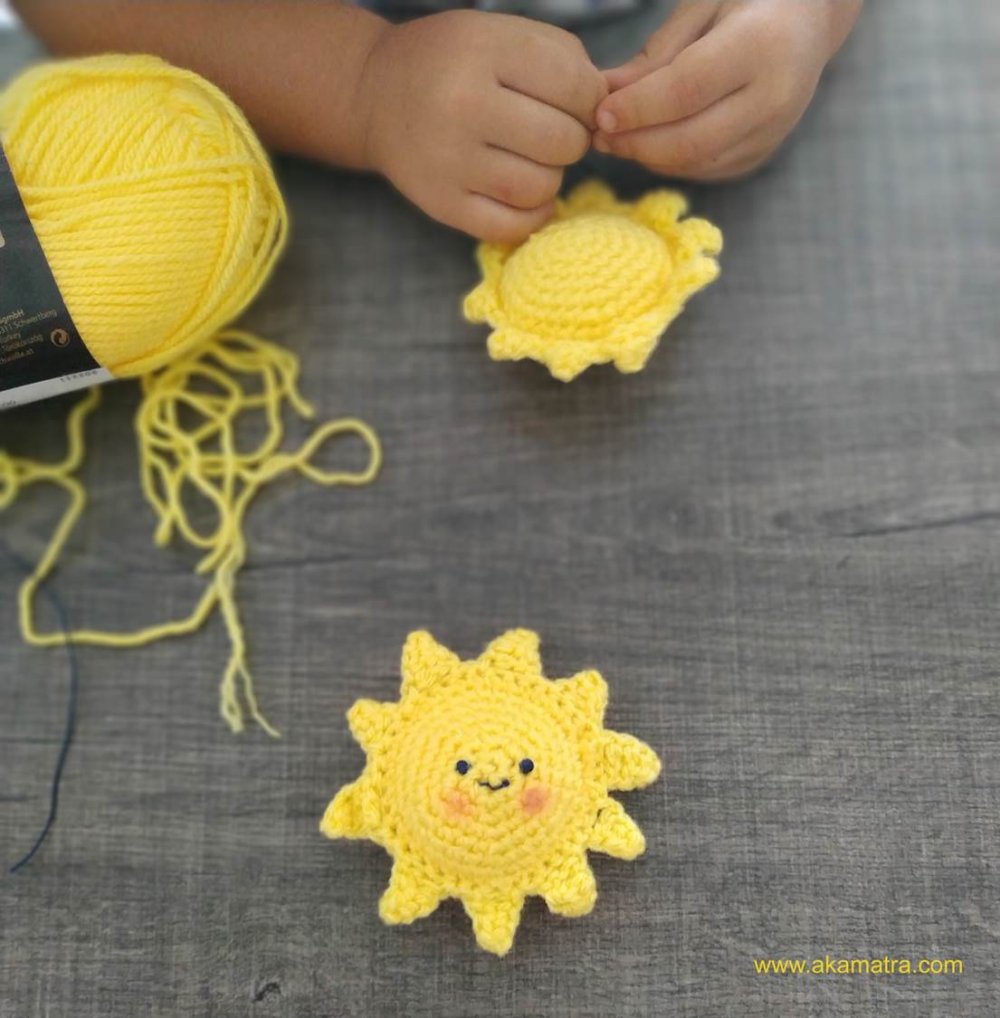
Back, sunrays & assembly
Follow the pattern for the front (you don't have to add eyes and mouth - unless you want to) but don't cut off your yarn. Instead take your front piece and place them wrong sides together. Now using single crochets, crochet around the circumference, stuffing as you go. Once you've crocheted the front and back together you now have to make the sunrays. Without cutting off the yarn continue working in the round along the circumference of your sun as follows:
*ch5, turn, sc in 2nd ch from hook, hdc in next, dc in next, sk 3 sts and sl st in next stitch of the sun's circumference**. Repeat from * to ** 8 more times (you'll have made 9 sunrays this far). For the last sunray you do the same but sk 3 sts instead of 3. So, for the last sunray you do ch5, turn, sc in 2nd ch from hook, hdc in next, dc in next, sk 2 sts and sl st in the last st of the previous round. Cut off and secure yarn.
Add some of your blusher to form cute chicks to your sun and you are ready!
Sun amigurumi free pattern
Sun amigurumi notes
- This is an easy pattern. If you have any problems with stitches you can find many great tutorials on youtube. Please feel free to reach out to me and I can help you the best that I can.
- You can make the sun as large as you want just by adding rows and increasing accordingly. I am thinking of making a large one as a pillow! Will share more once I do!
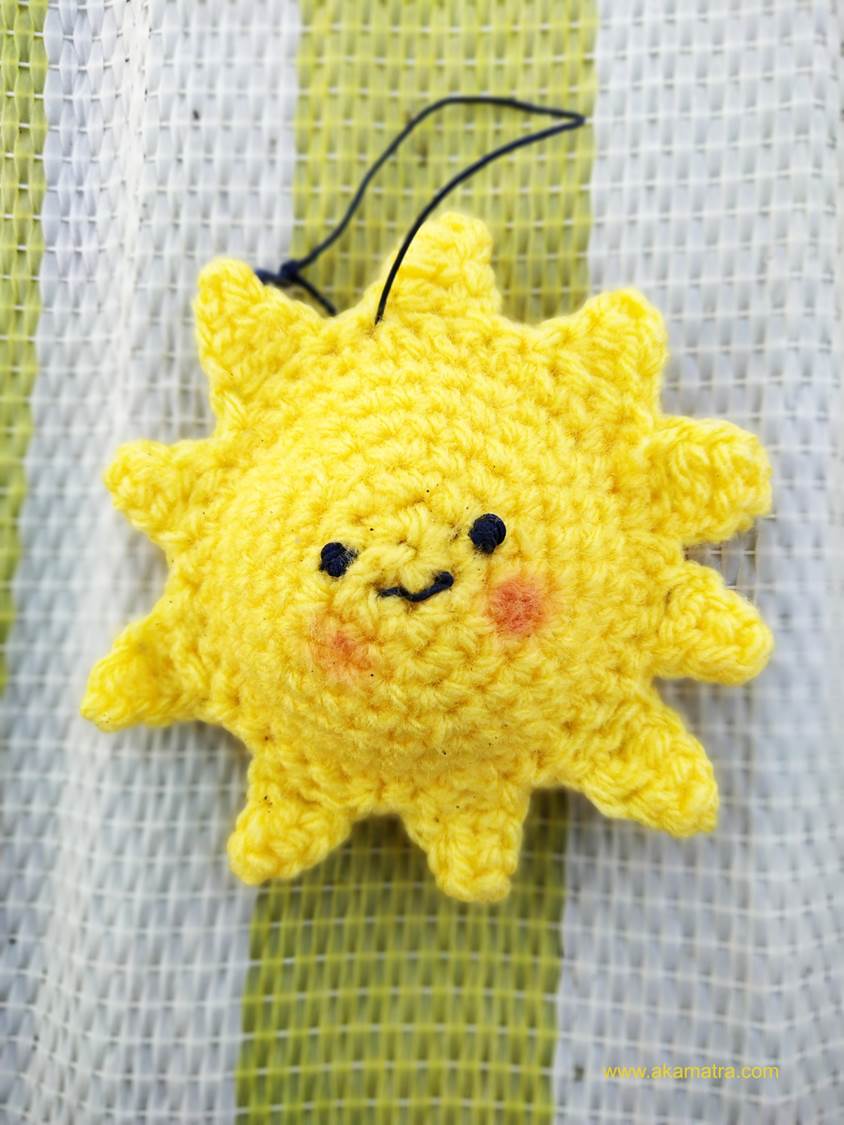
- These make the cutest party/wedding/baptism favors!