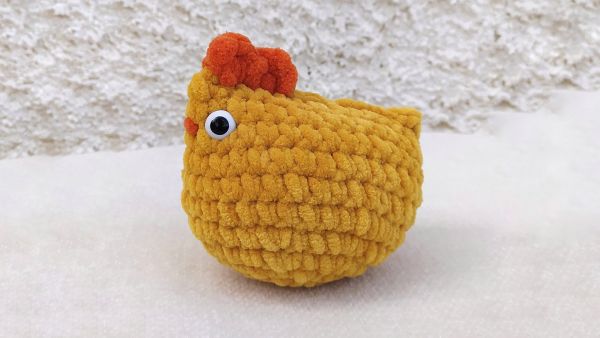
Hi friends! Long time no blog, I know but life lately...you know how it goes. I've missed blogging so much and I am thrilled to share with all of you today my no sew crochet chicken as a free amigurumi pattern. I wrote this pattern as part of my ongoing collaboration with Hobbii Yarn for the Easter Craft Challenge. It's so easy you can make one in ten minutes and a whole bunch as Easter gifts! I love making crafts during Easter and this is my second free Easter pattern I share with you after my monsters egg cozy crochet pattern.
This post contains affiliate links which means that if you click through and make a purchase, at no additional cost to you, I’ll get pocket money to go yarn shopping. So you are feeding my yarn addiction. I knew you’d be a bad influence!
For this pattern I used a very soft velvet yarn called Toucan by Hobbii Yarn. It's a voluptuous chenille super bulky yarn in amazing colors, made of 100% polyester. I love the way it slips off my crochet hook and it's a pleasure to work with. The skein is 100g which equals 120m and you can make amazing amigurumis with it. I will make some of my crochet amigurumi little stars with it as keychains!
No sew crochet chicken - Free amigurumi pattern
Supplies
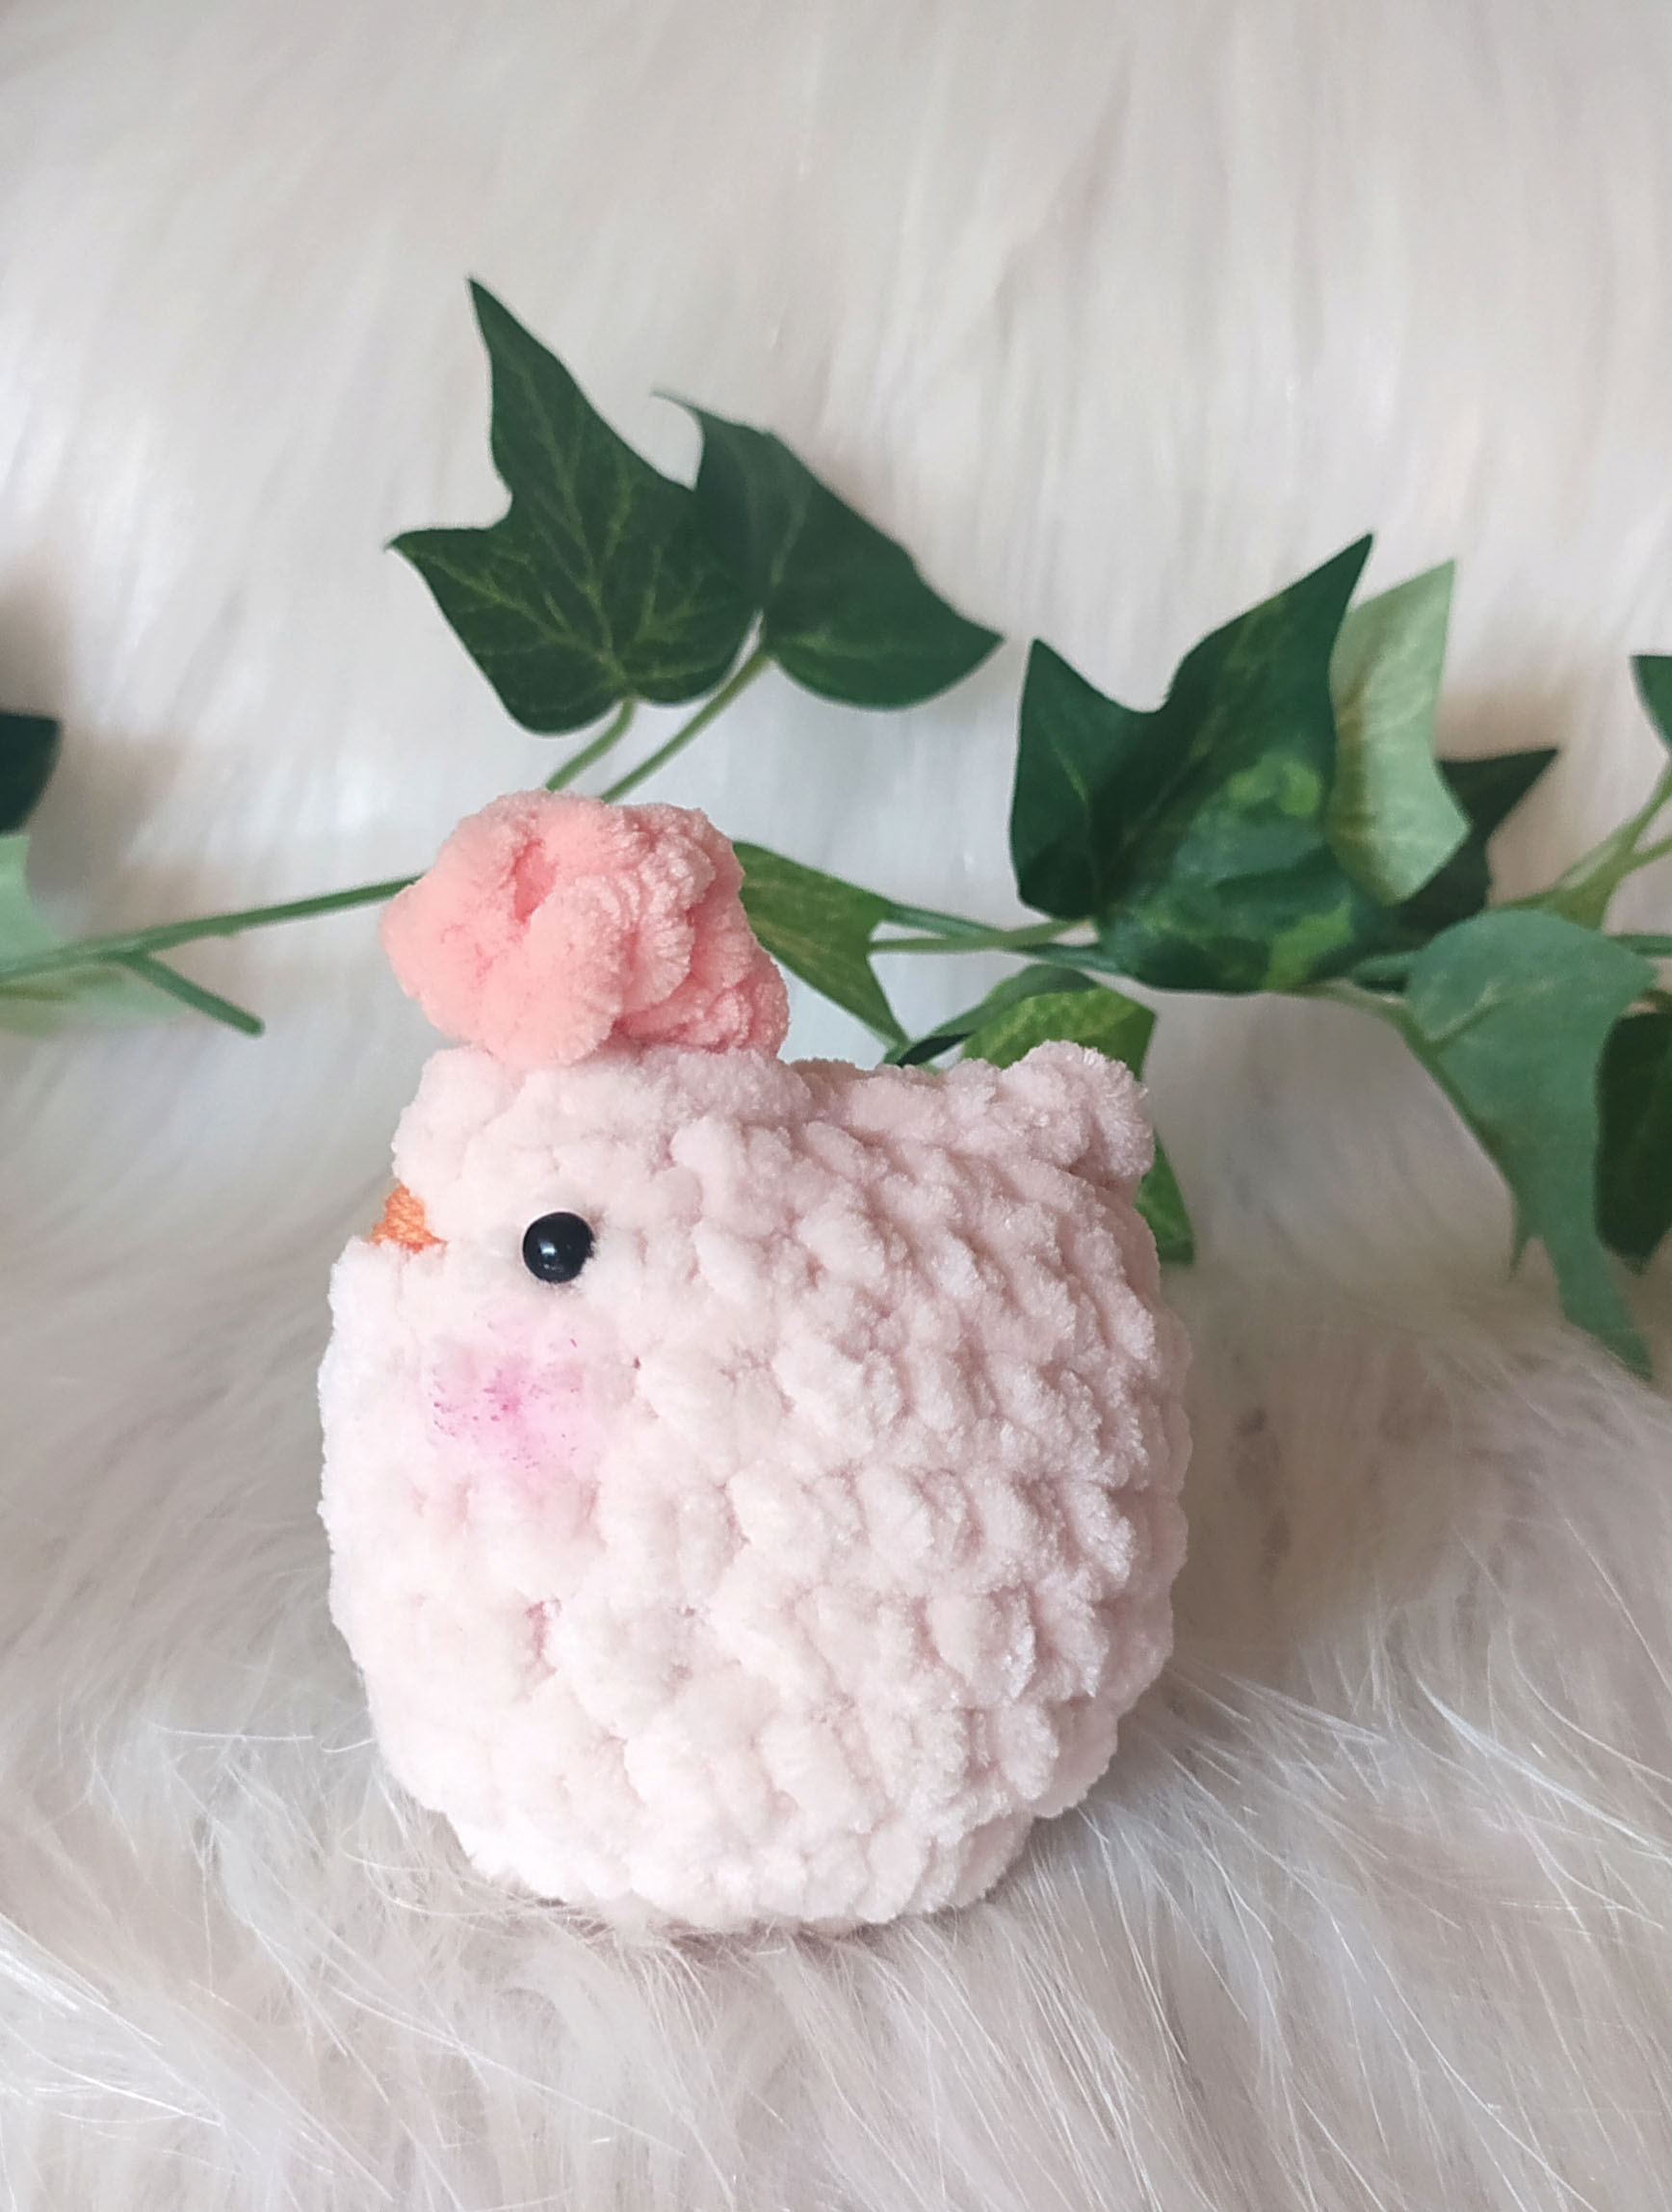
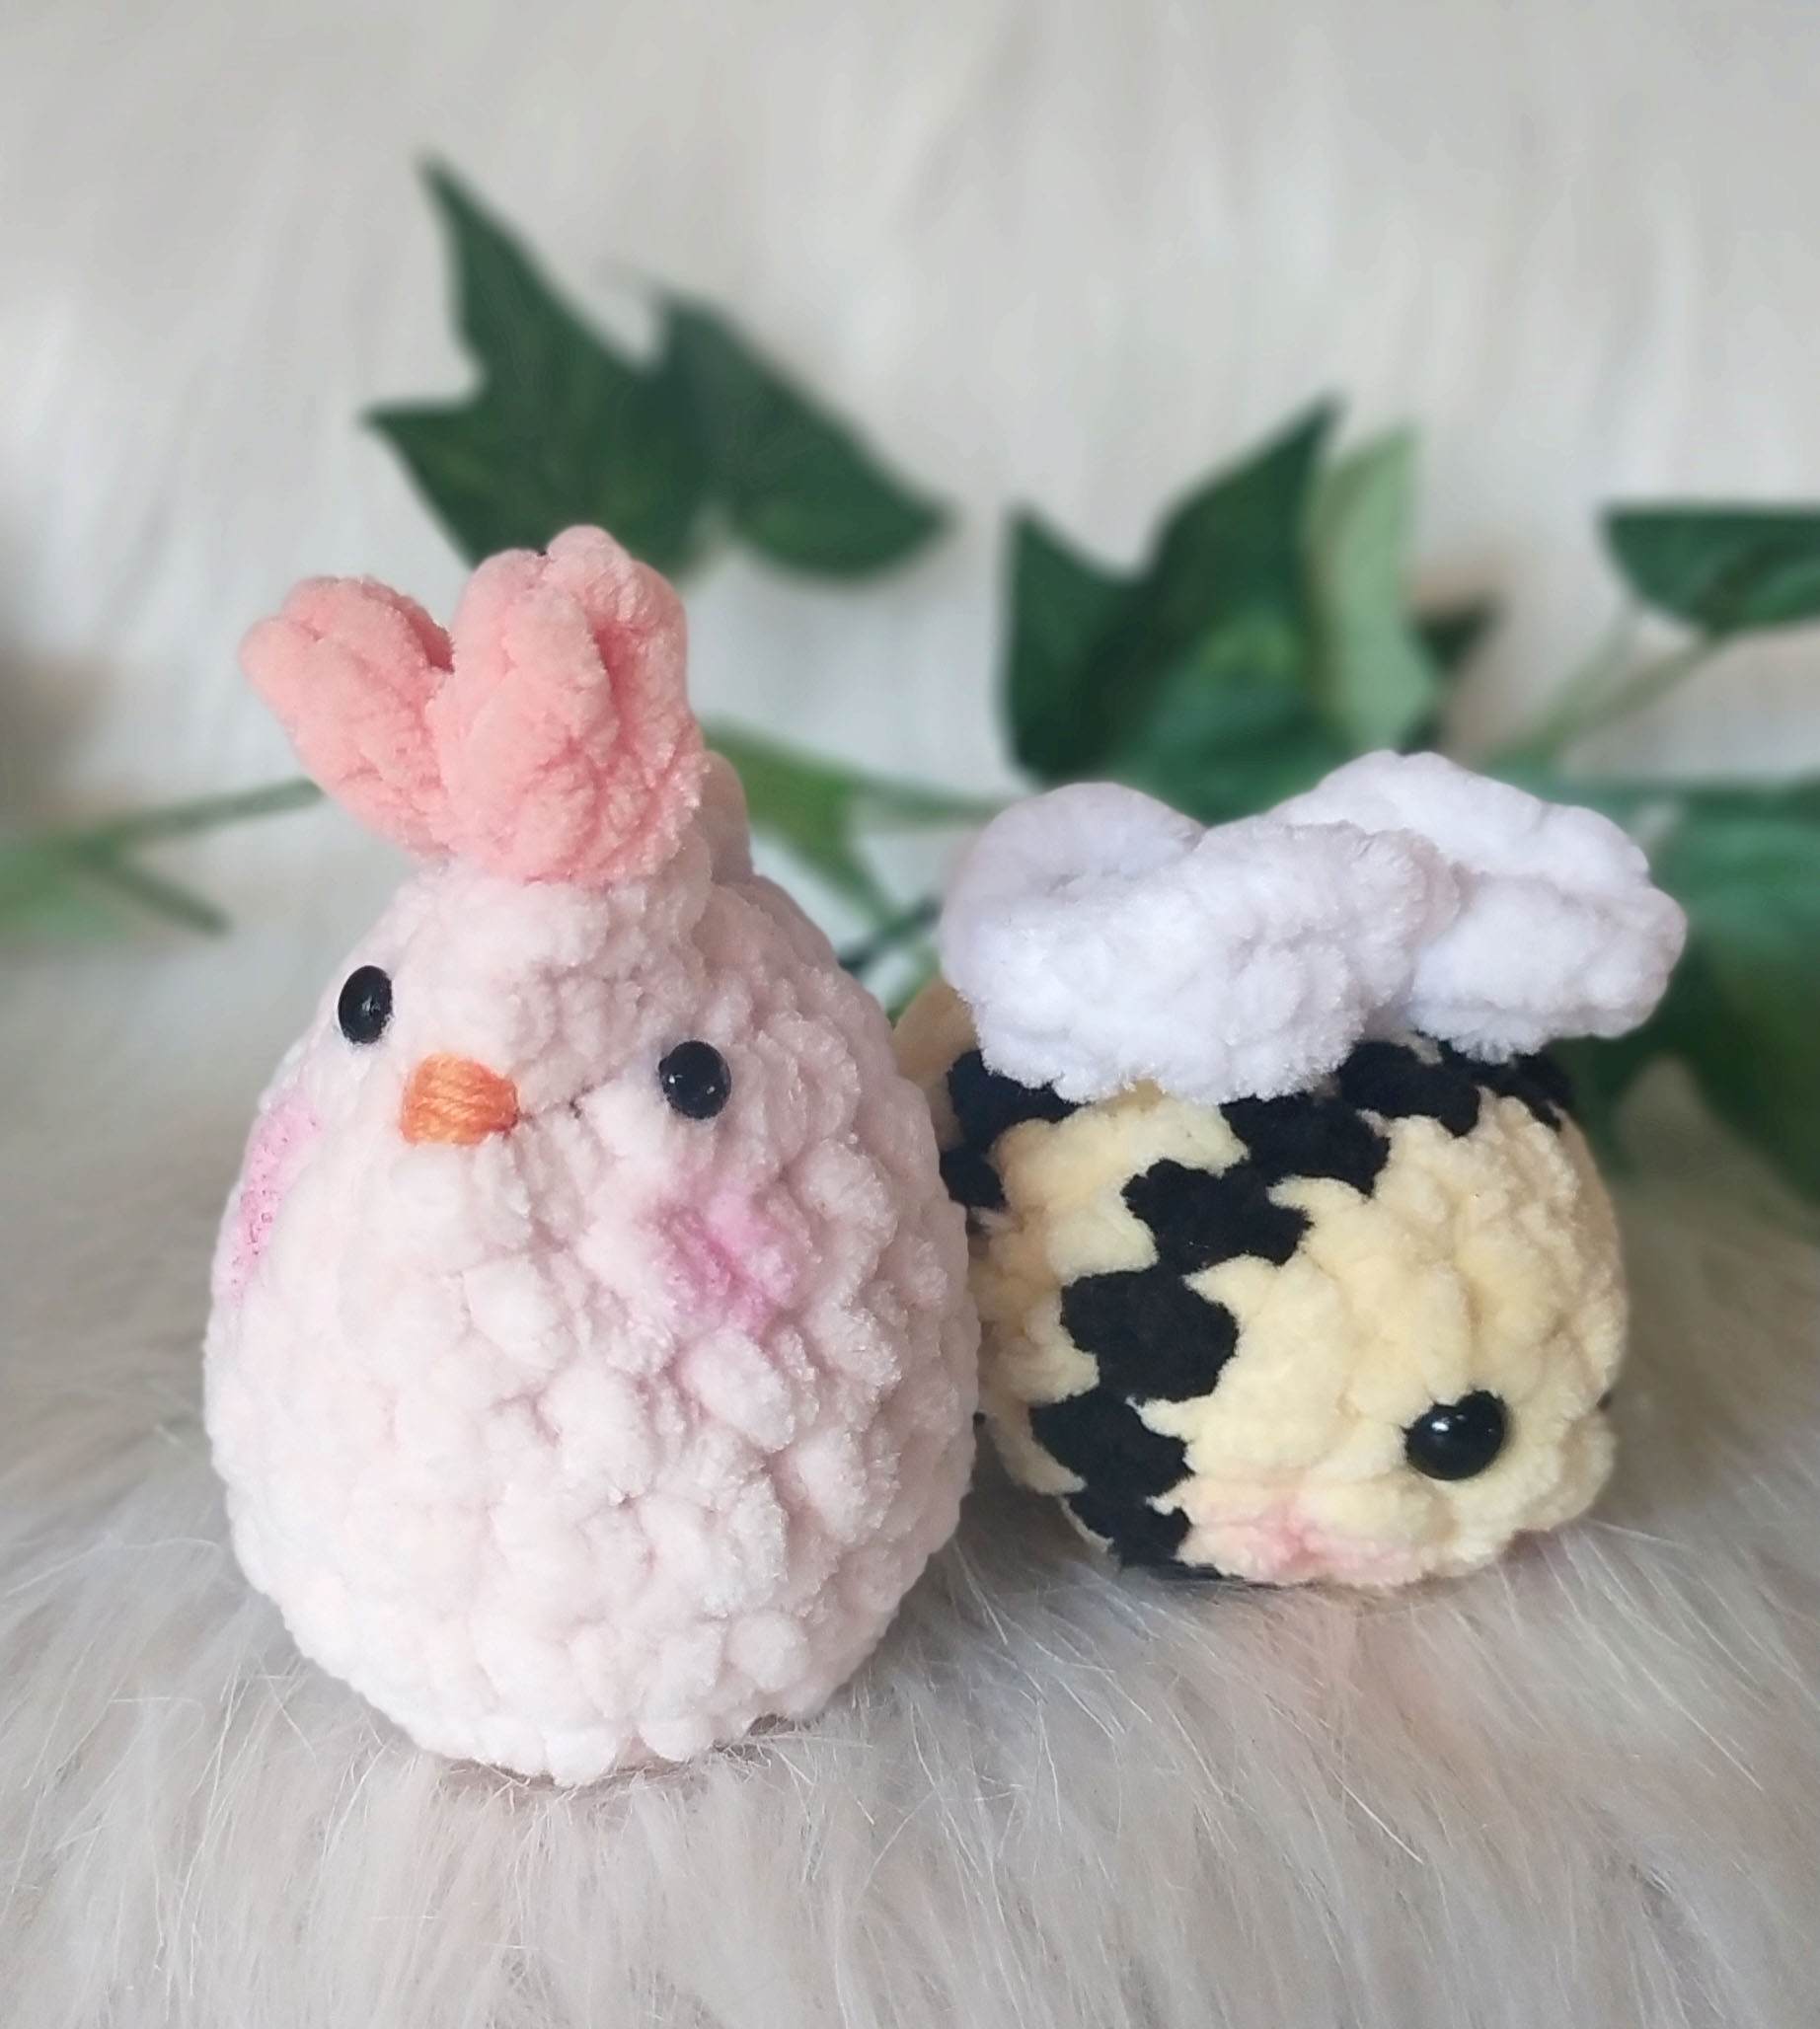
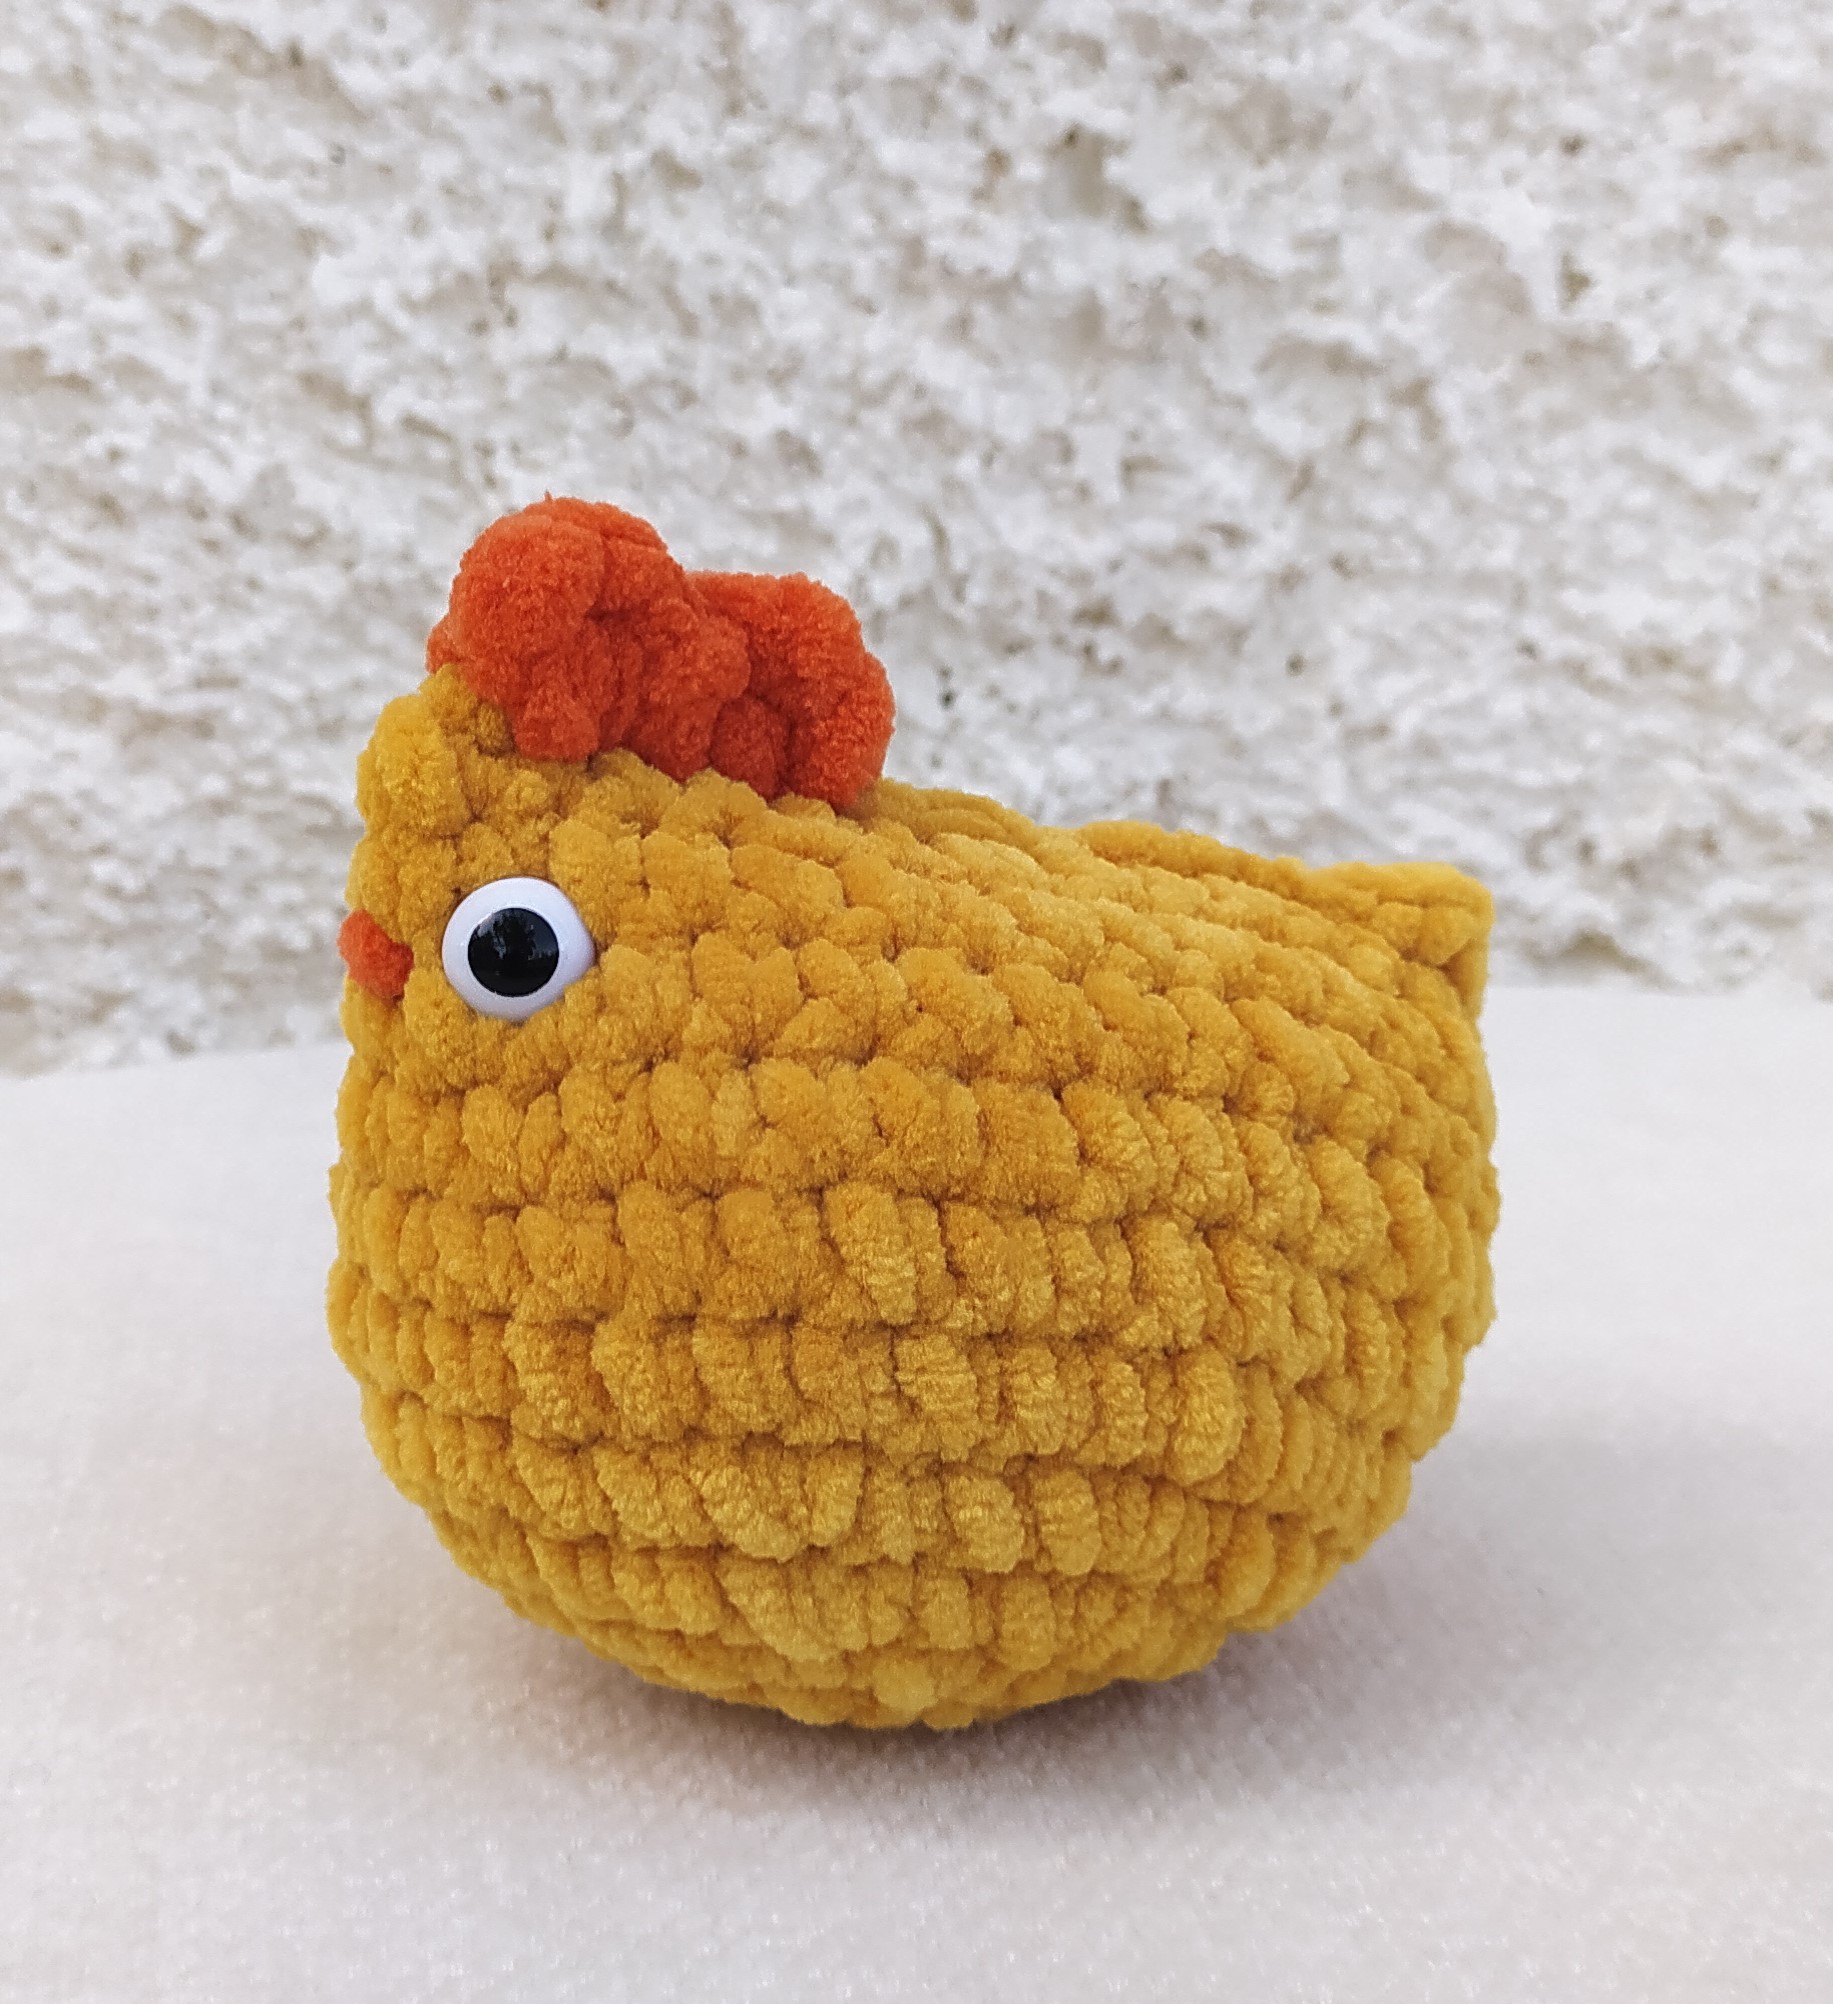
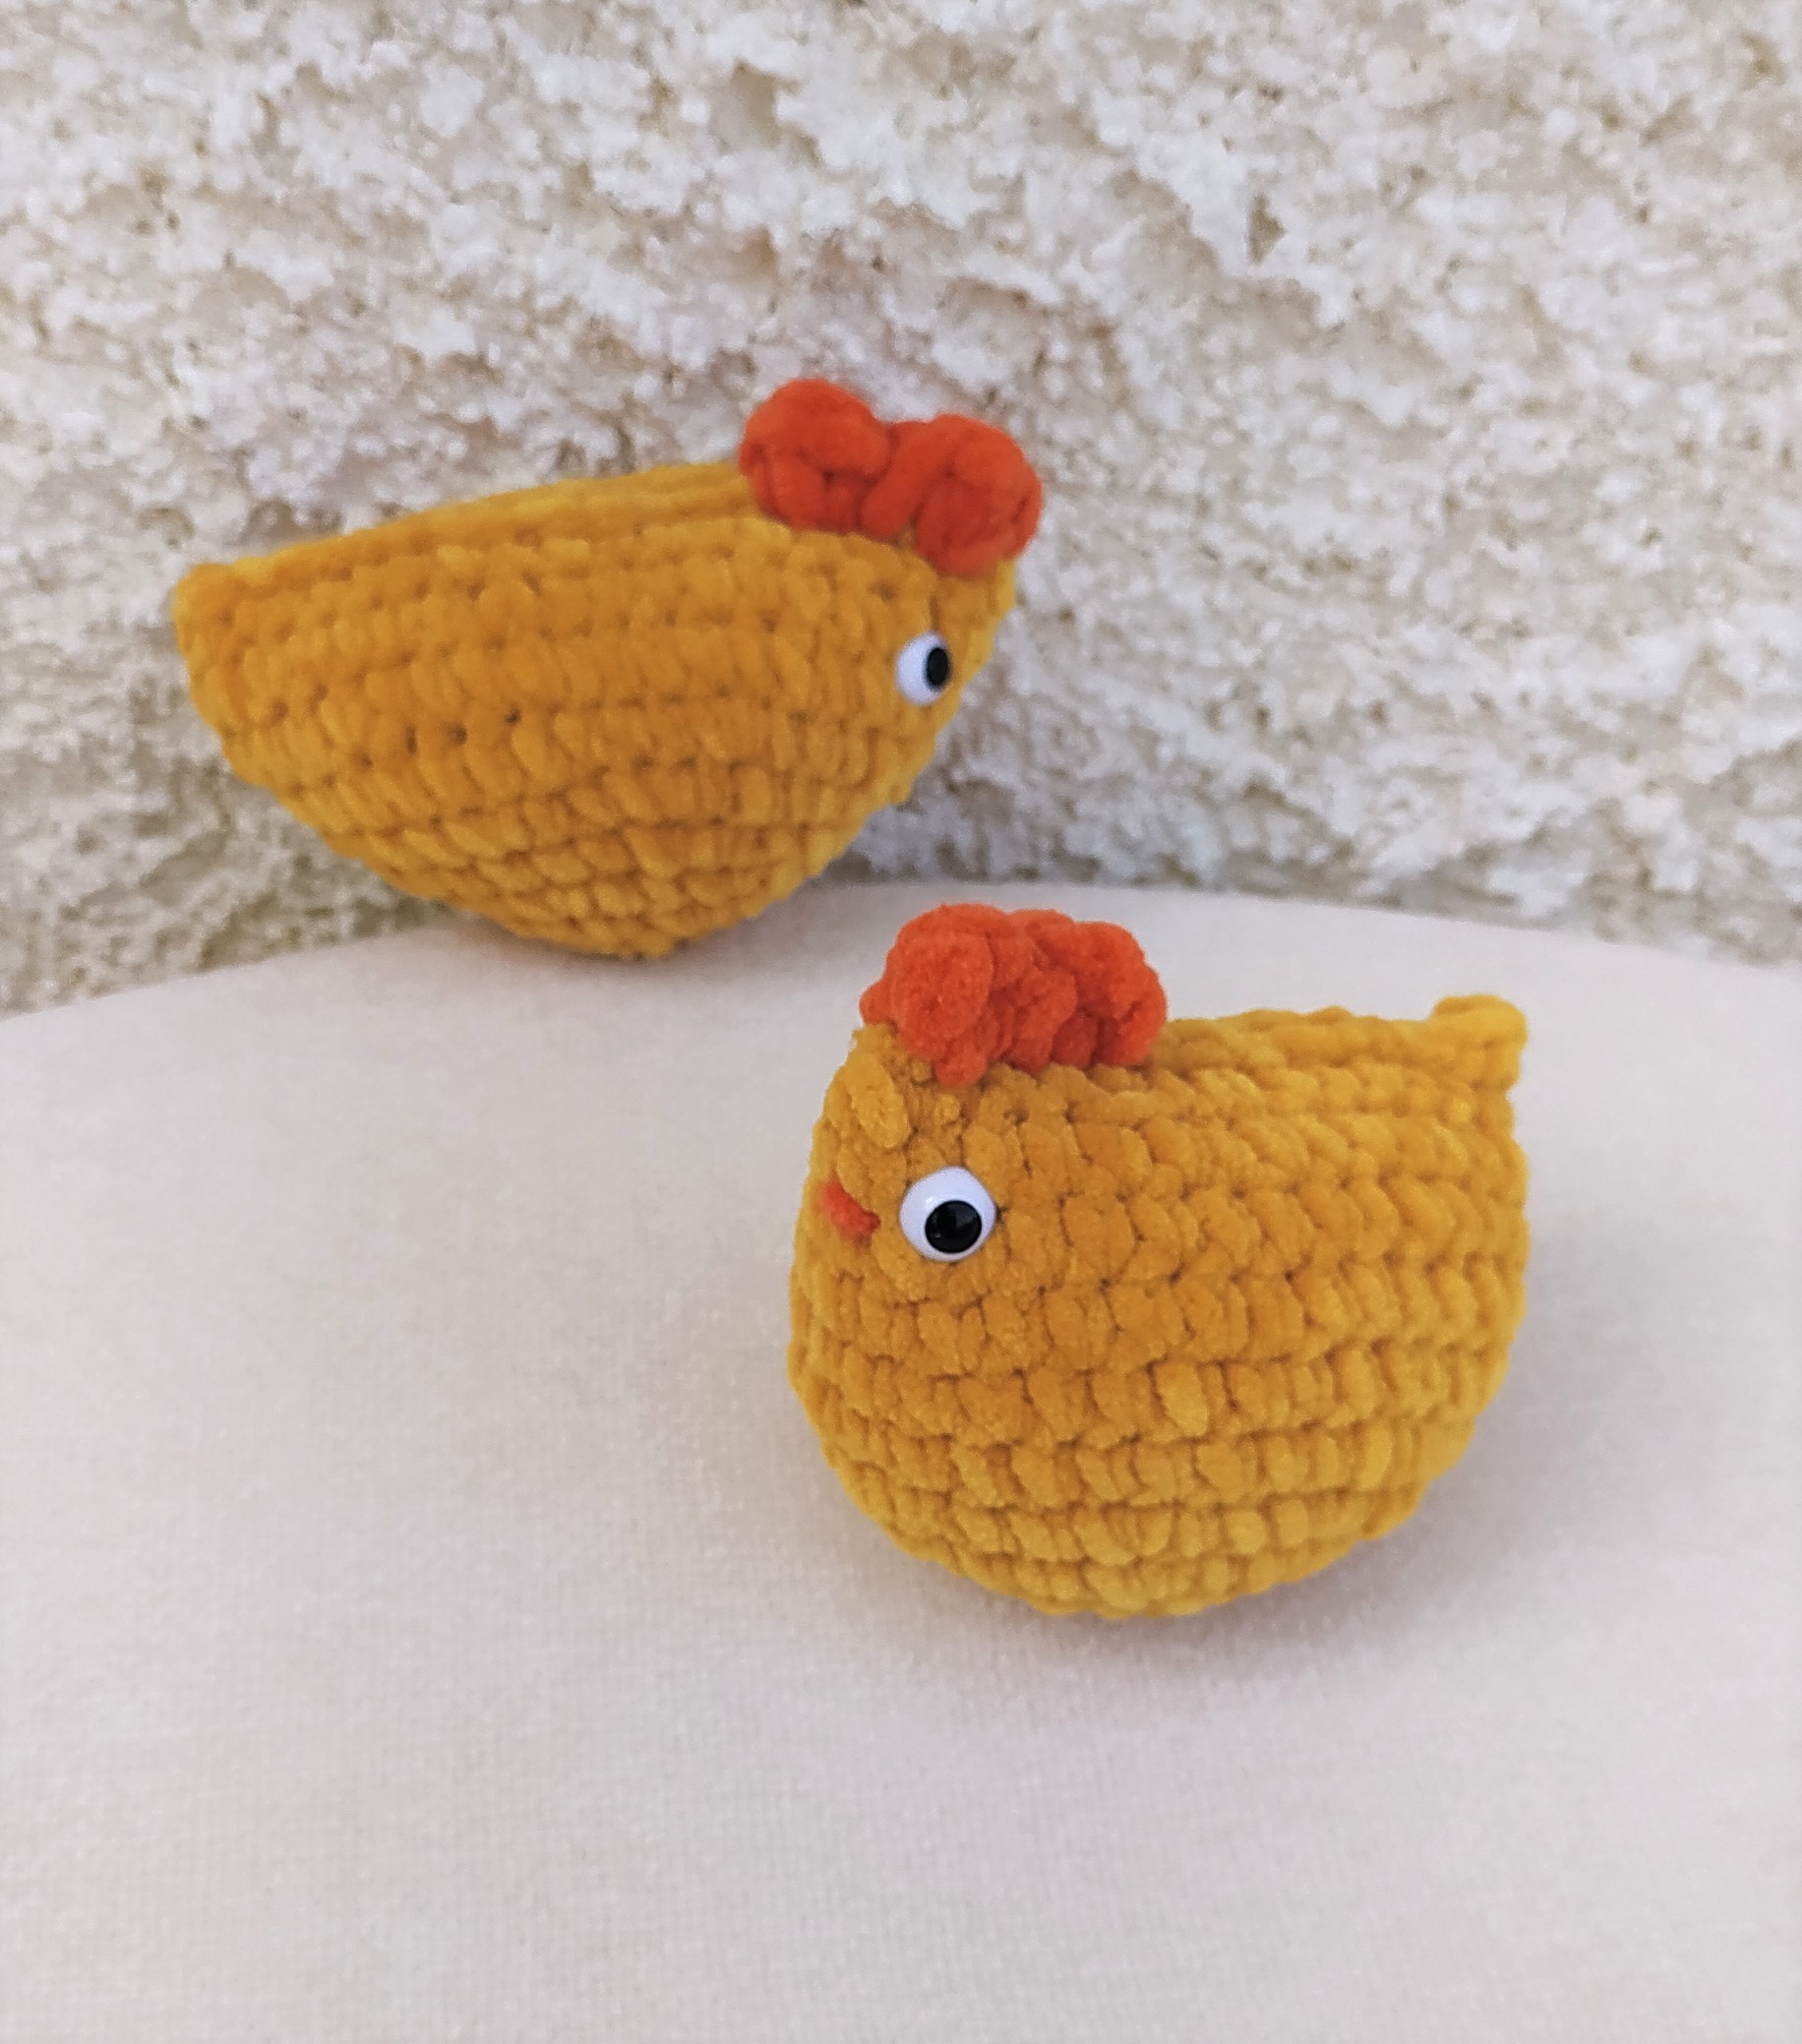
Toucan yarn by Hobbii in Peach (08) and Cotton Candy (16) for the pastel chicken and mustard (06) and orange (09) for the darker one.
A piece of orange yarn for the beak
Size G crochet hook (or appropriate for yarn weight)
Two 3mm safety eyes (or embroidery thread)
Stuffing
Yarn needle
Scissors
No sew crochet chicken - Free amigurumi pattern
Abbreviations
This pattern is written in US terms
mc= magic circle
sc= single crochet
st=stitch
inc=increase
dec=decrease
Rnd=round
This pattern is worked in continuous rounds.
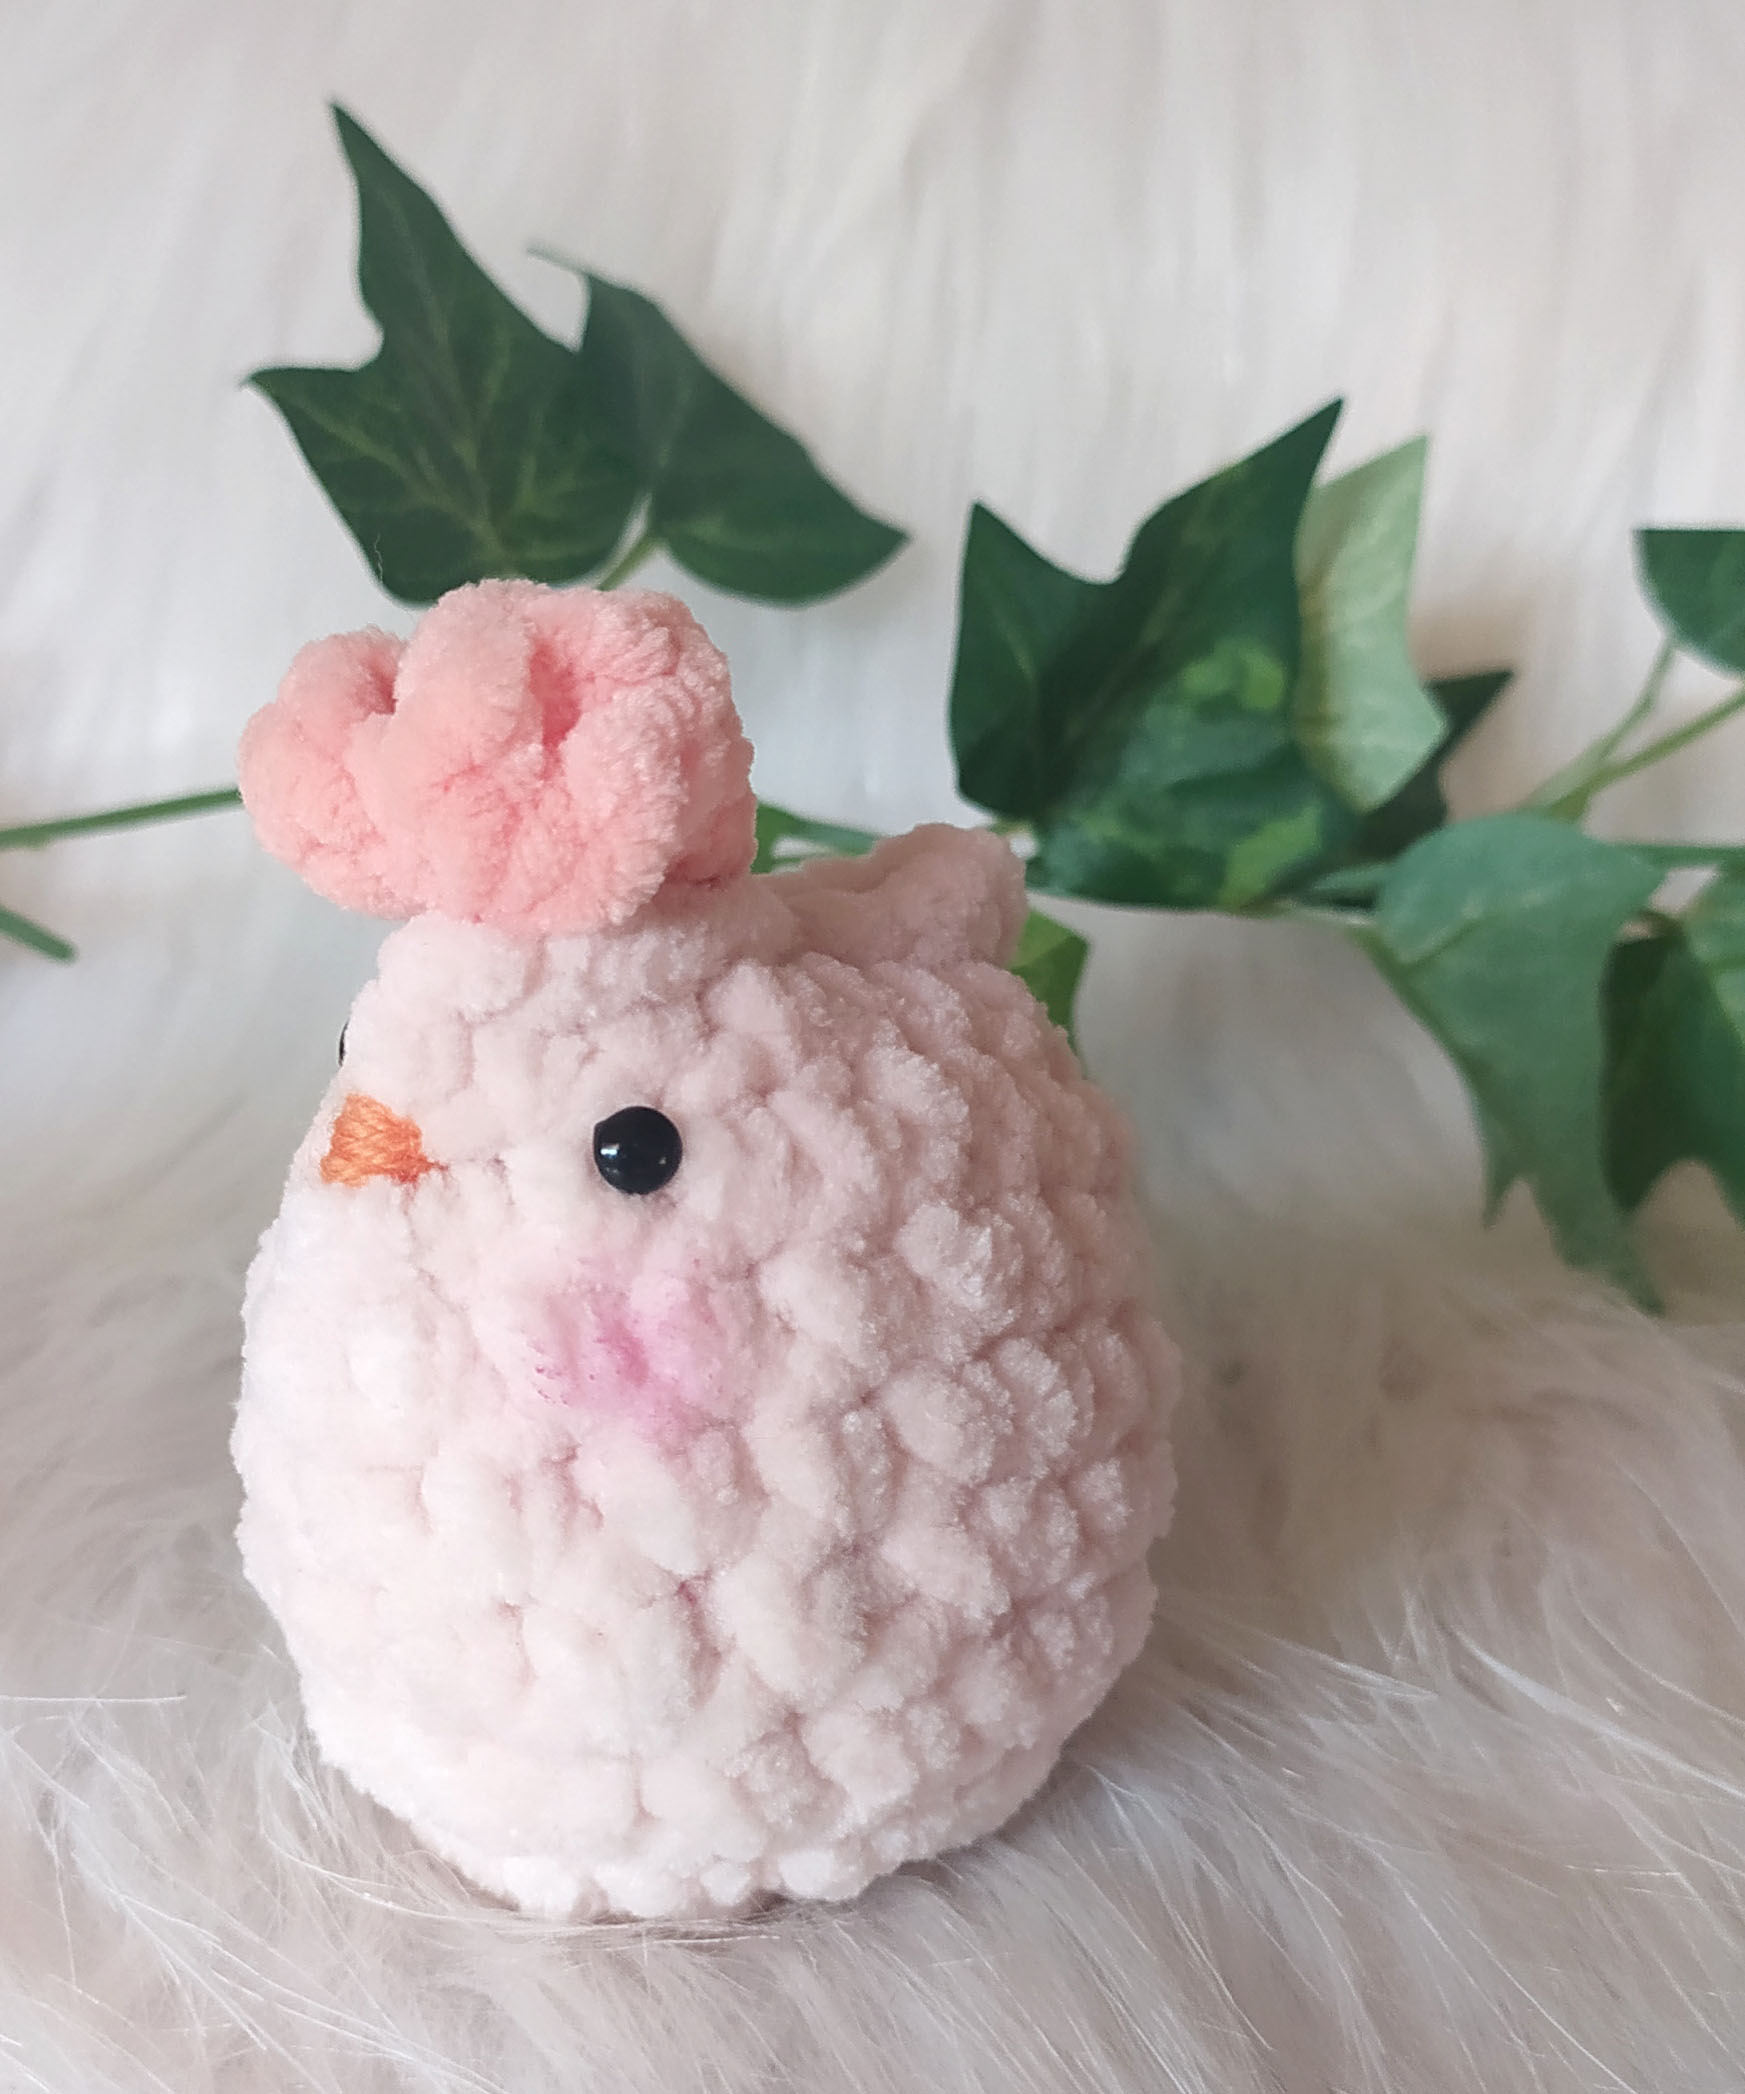
No sew crochet chicken - Free amigurumi pattern
Body
With peach color yarn
mc
Rnd 1. 6 sc in mc [6]
Rnd 2. inc in every st [12]
Rnd 3. 1 sc, 1 inc, repeat around [18]
Rnd 4. - 8. sc around [18], do not cut yarn.
Place the safety eyes if you are using them, between rows 7 and 8 with 5 stitches between them.
Now you can going to pinch together the opening and sl st together to close it. You want to do that bearing in mind the placement of the eyes. They should end up at the one end of your closed work and not in the center of it.
You will end up with 9 sts. Cut and secure yarn.
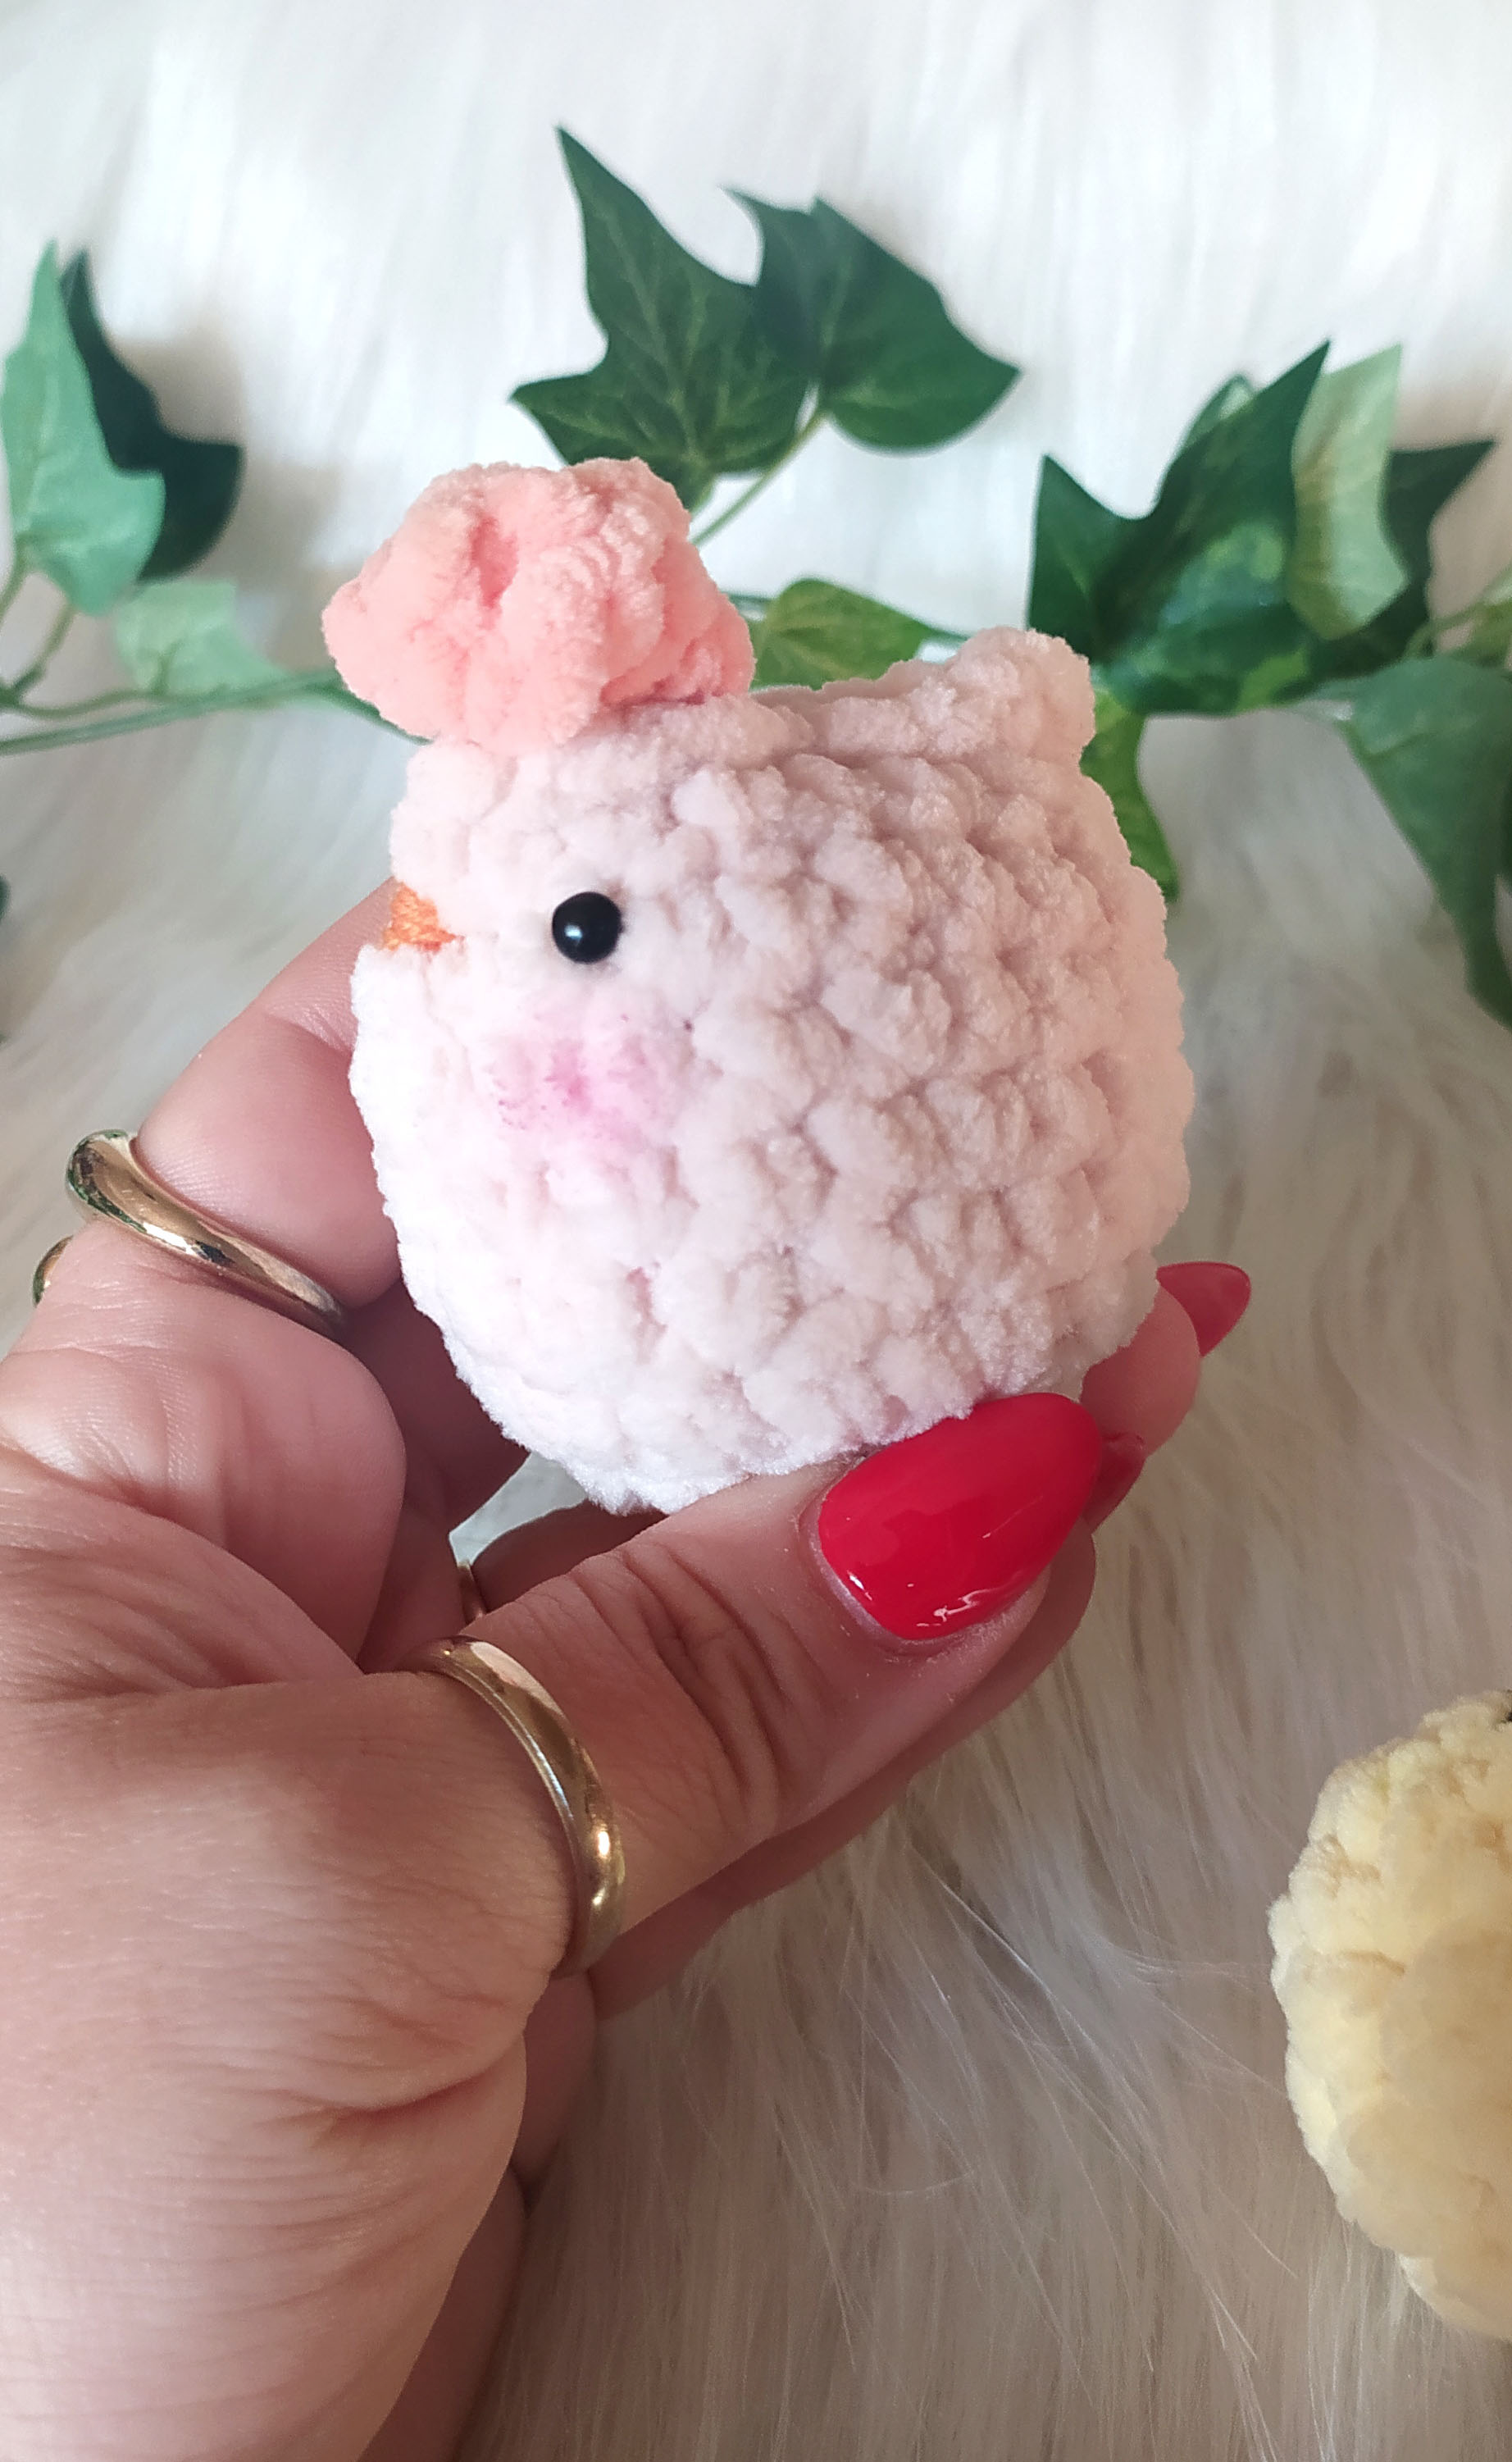
Comb
With cotton candy yarn slip your hook in the previous to last stitch of the last row of the body.
Ch2 and make 2 dc and 1sl st in the same st. Then make 2dc and a sl st in the next stitch (the last one of the row), cut and secure the yarn.
Using your orange color yarn, make the beak by embroidering a couple of stitches between the eyes
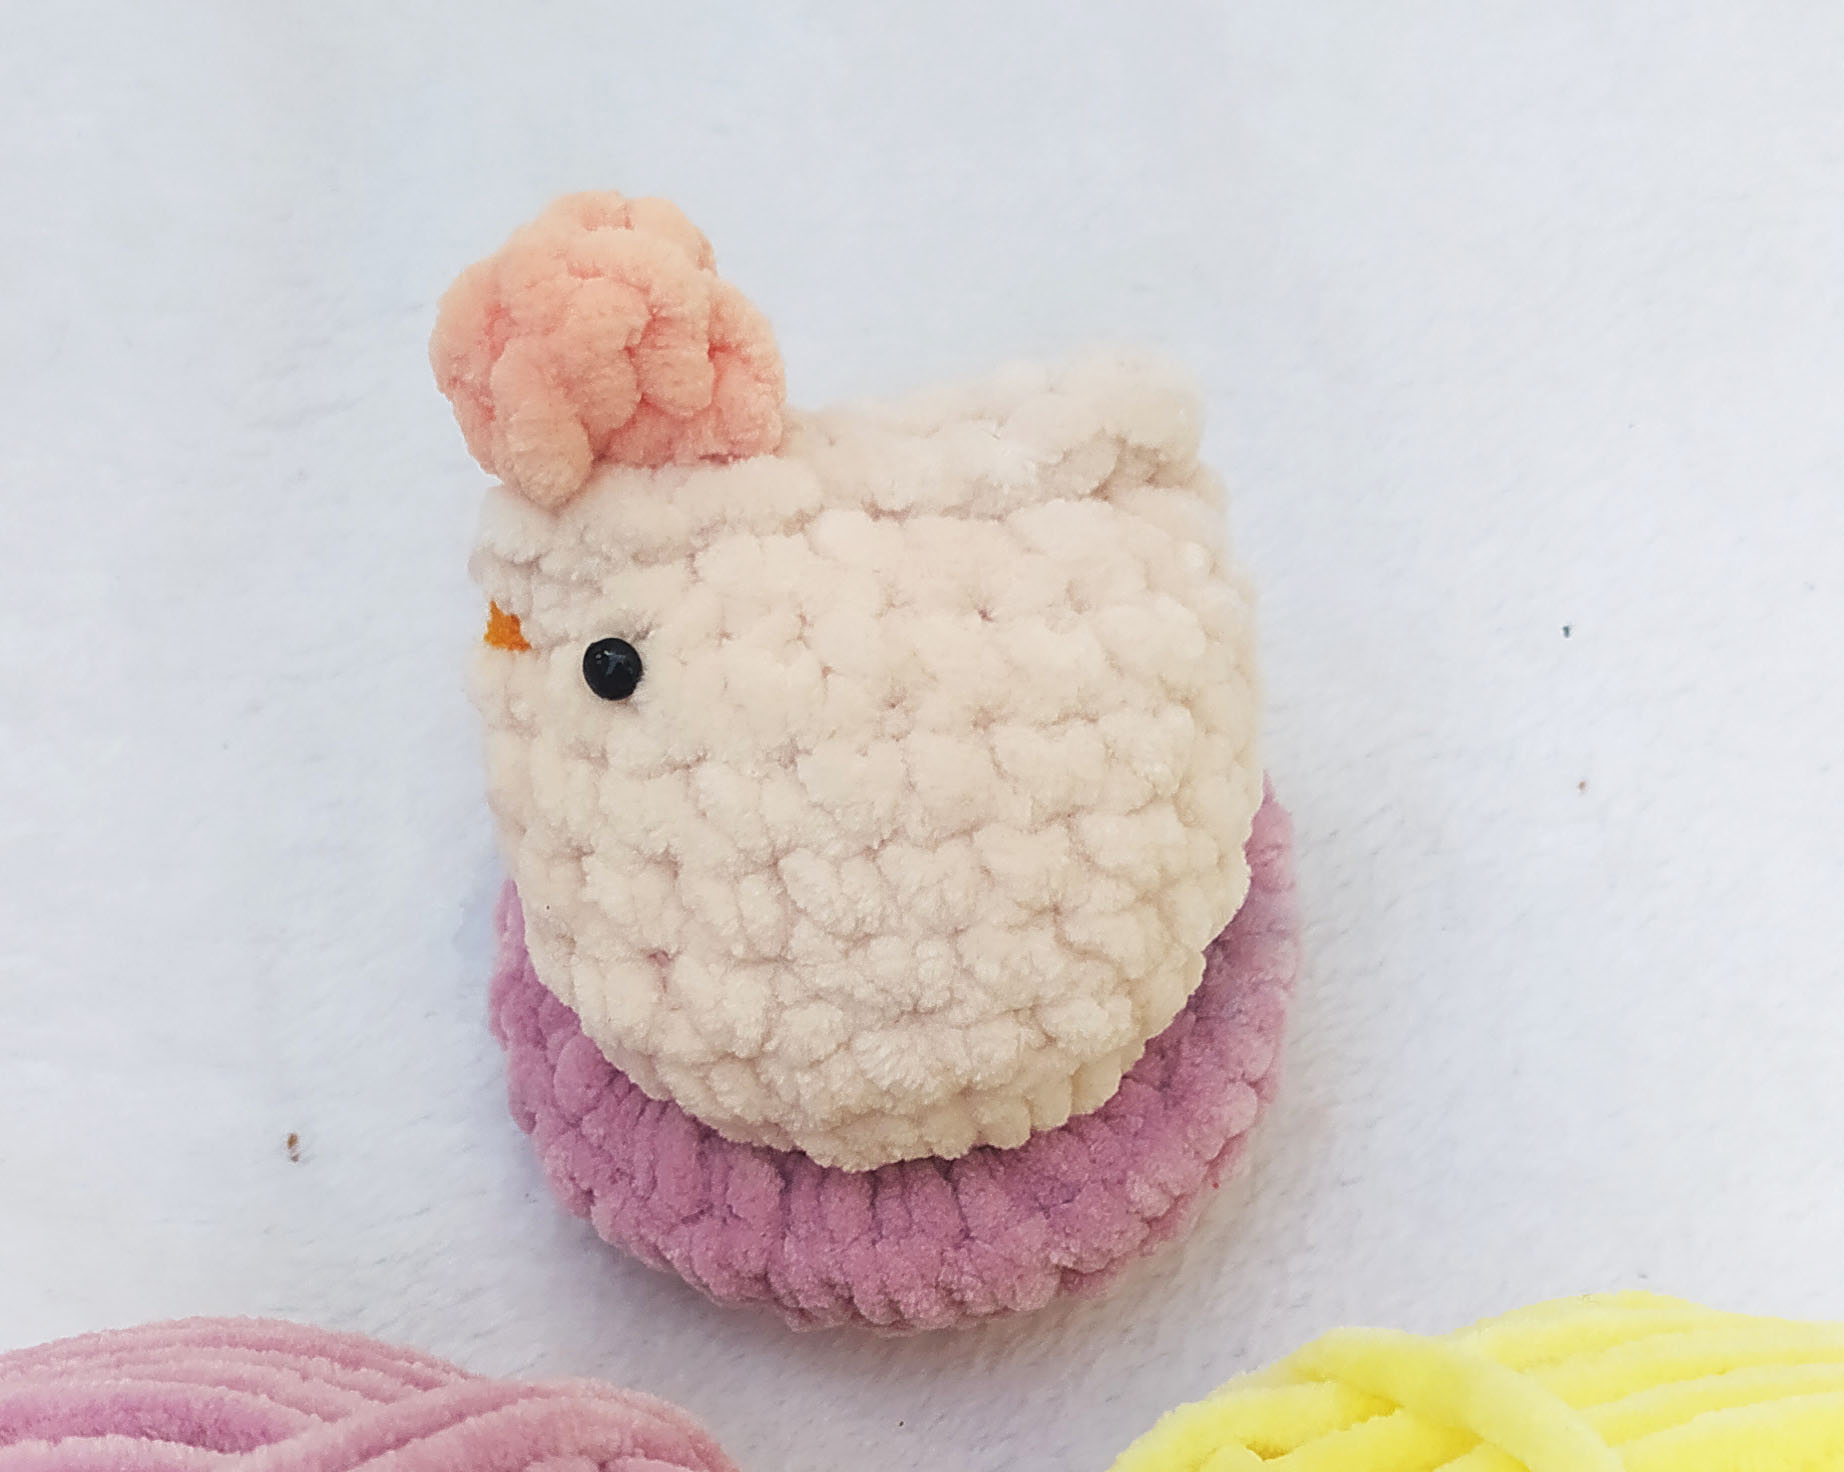
Your chicken is now ready! You can make them in different colors and add them to your Easter basket or use them as little treats for the Easter egg hunt! Whatever you decide I'd love to see it, so don't forget to tag me in your makes (@akamatra). And if you're interested in other animal amigurumi patterns, brands like Fuppy's (UK) and Woobles (USA) have great options

Enjoy!

